How to Dye Brown Eggs: Easy Step-by-Step Guide
Dyeing eggs is one of the most fun spring traditions, especially when you’re decorating with family or planning an Easter celebration. But many people believe you have to use white eggs to get beautiful colors. That’s simply not true.
If you need to know how to dye brown eggs, I’m here to help. Brown eggs can turn out absolutely gorgeous when done right. In fact, the natural shell color can create deeper, richer tones that white eggs can’t replicate.
The good news is that dyeing brown eggs isn’t any harder than dyeing white eggs, and there’s more than one way to do it. In this guide, we’ll walk through several popular methods including:
- Food coloring
- Egg decorating kits
- Kool-Aid
- Jello (and why we don’t recommend it)
We’ll also cover two different techniques many people use when dyeing brown eggs:
- Vinegar pre-soak method
- No pre-soak method
Both approaches work well—it simply depends on the look you prefer.
Whether you’re decorating eggs for an Easter basket, hosting a spring craft activity with kids, or simply enjoying a nostalgic holiday tradition, this guide will help you get beautiful results every time.
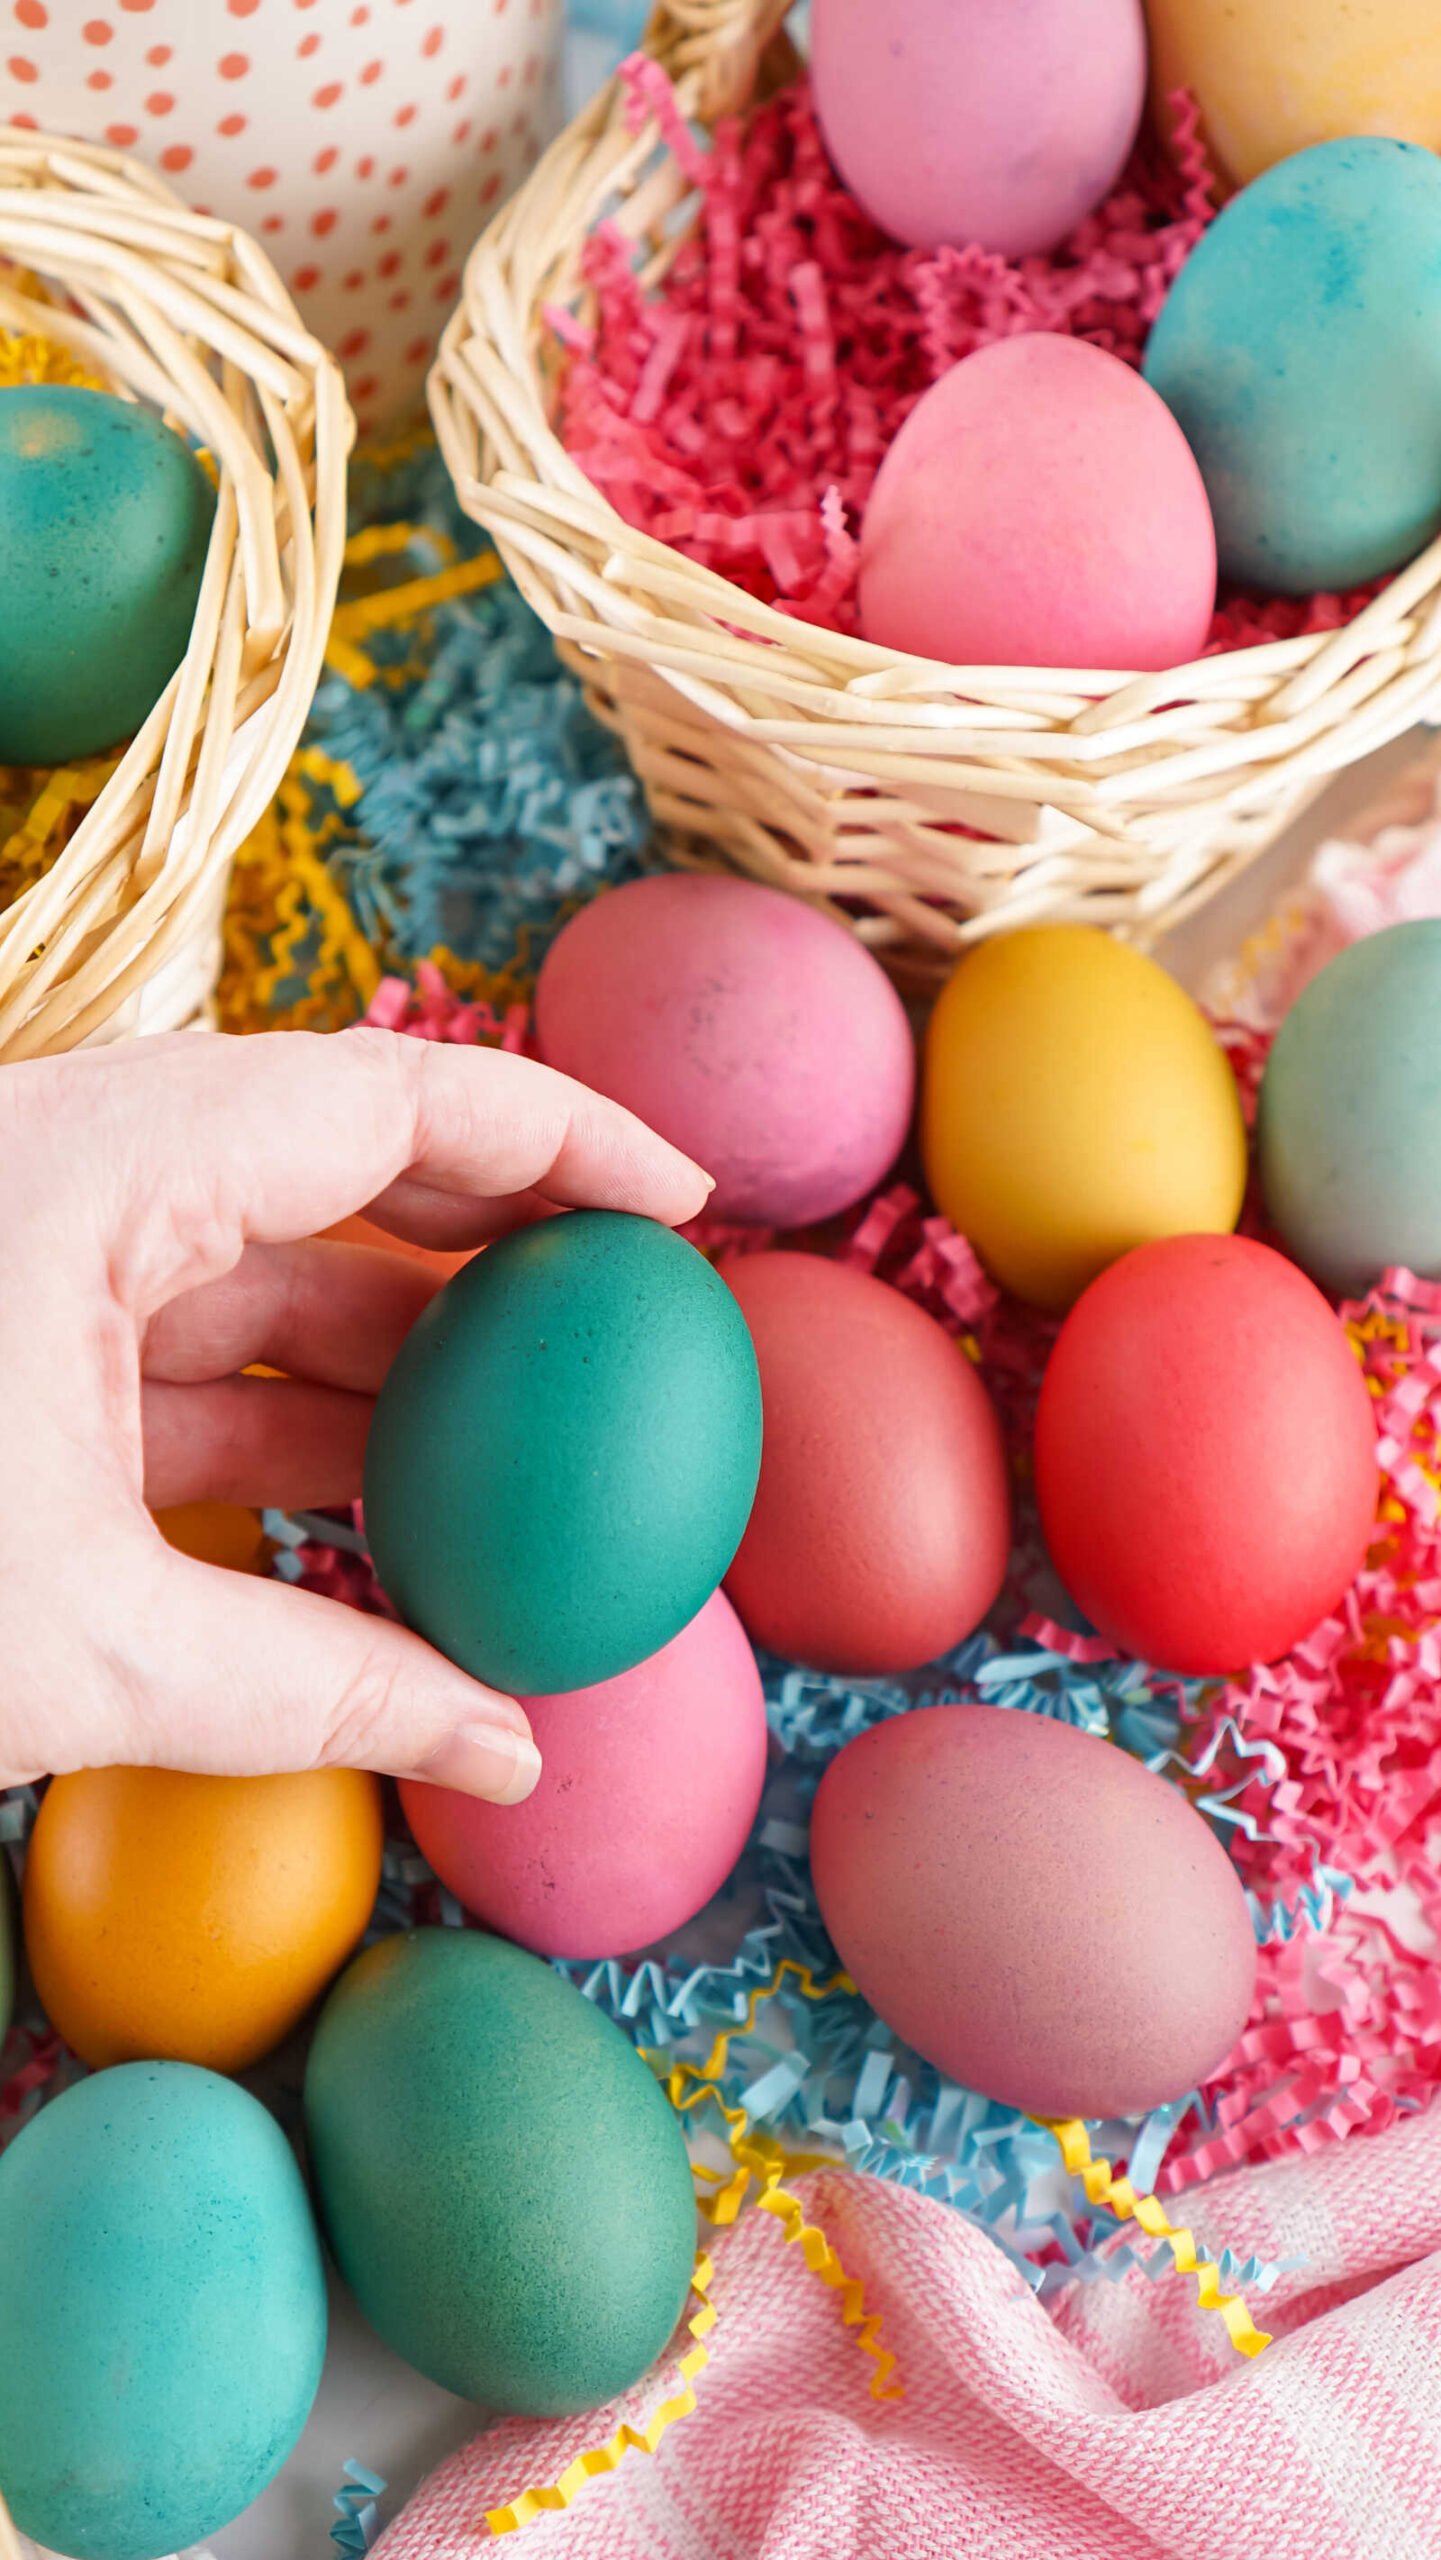

Table of Contents


Prep Time
Prep Time: 10 Minutes
Rest Time:
• No Pre-Soak Method: 7 Minutes
• Pre-Soak Method: 12 Minutes
Yields: As many eggs as you’d like

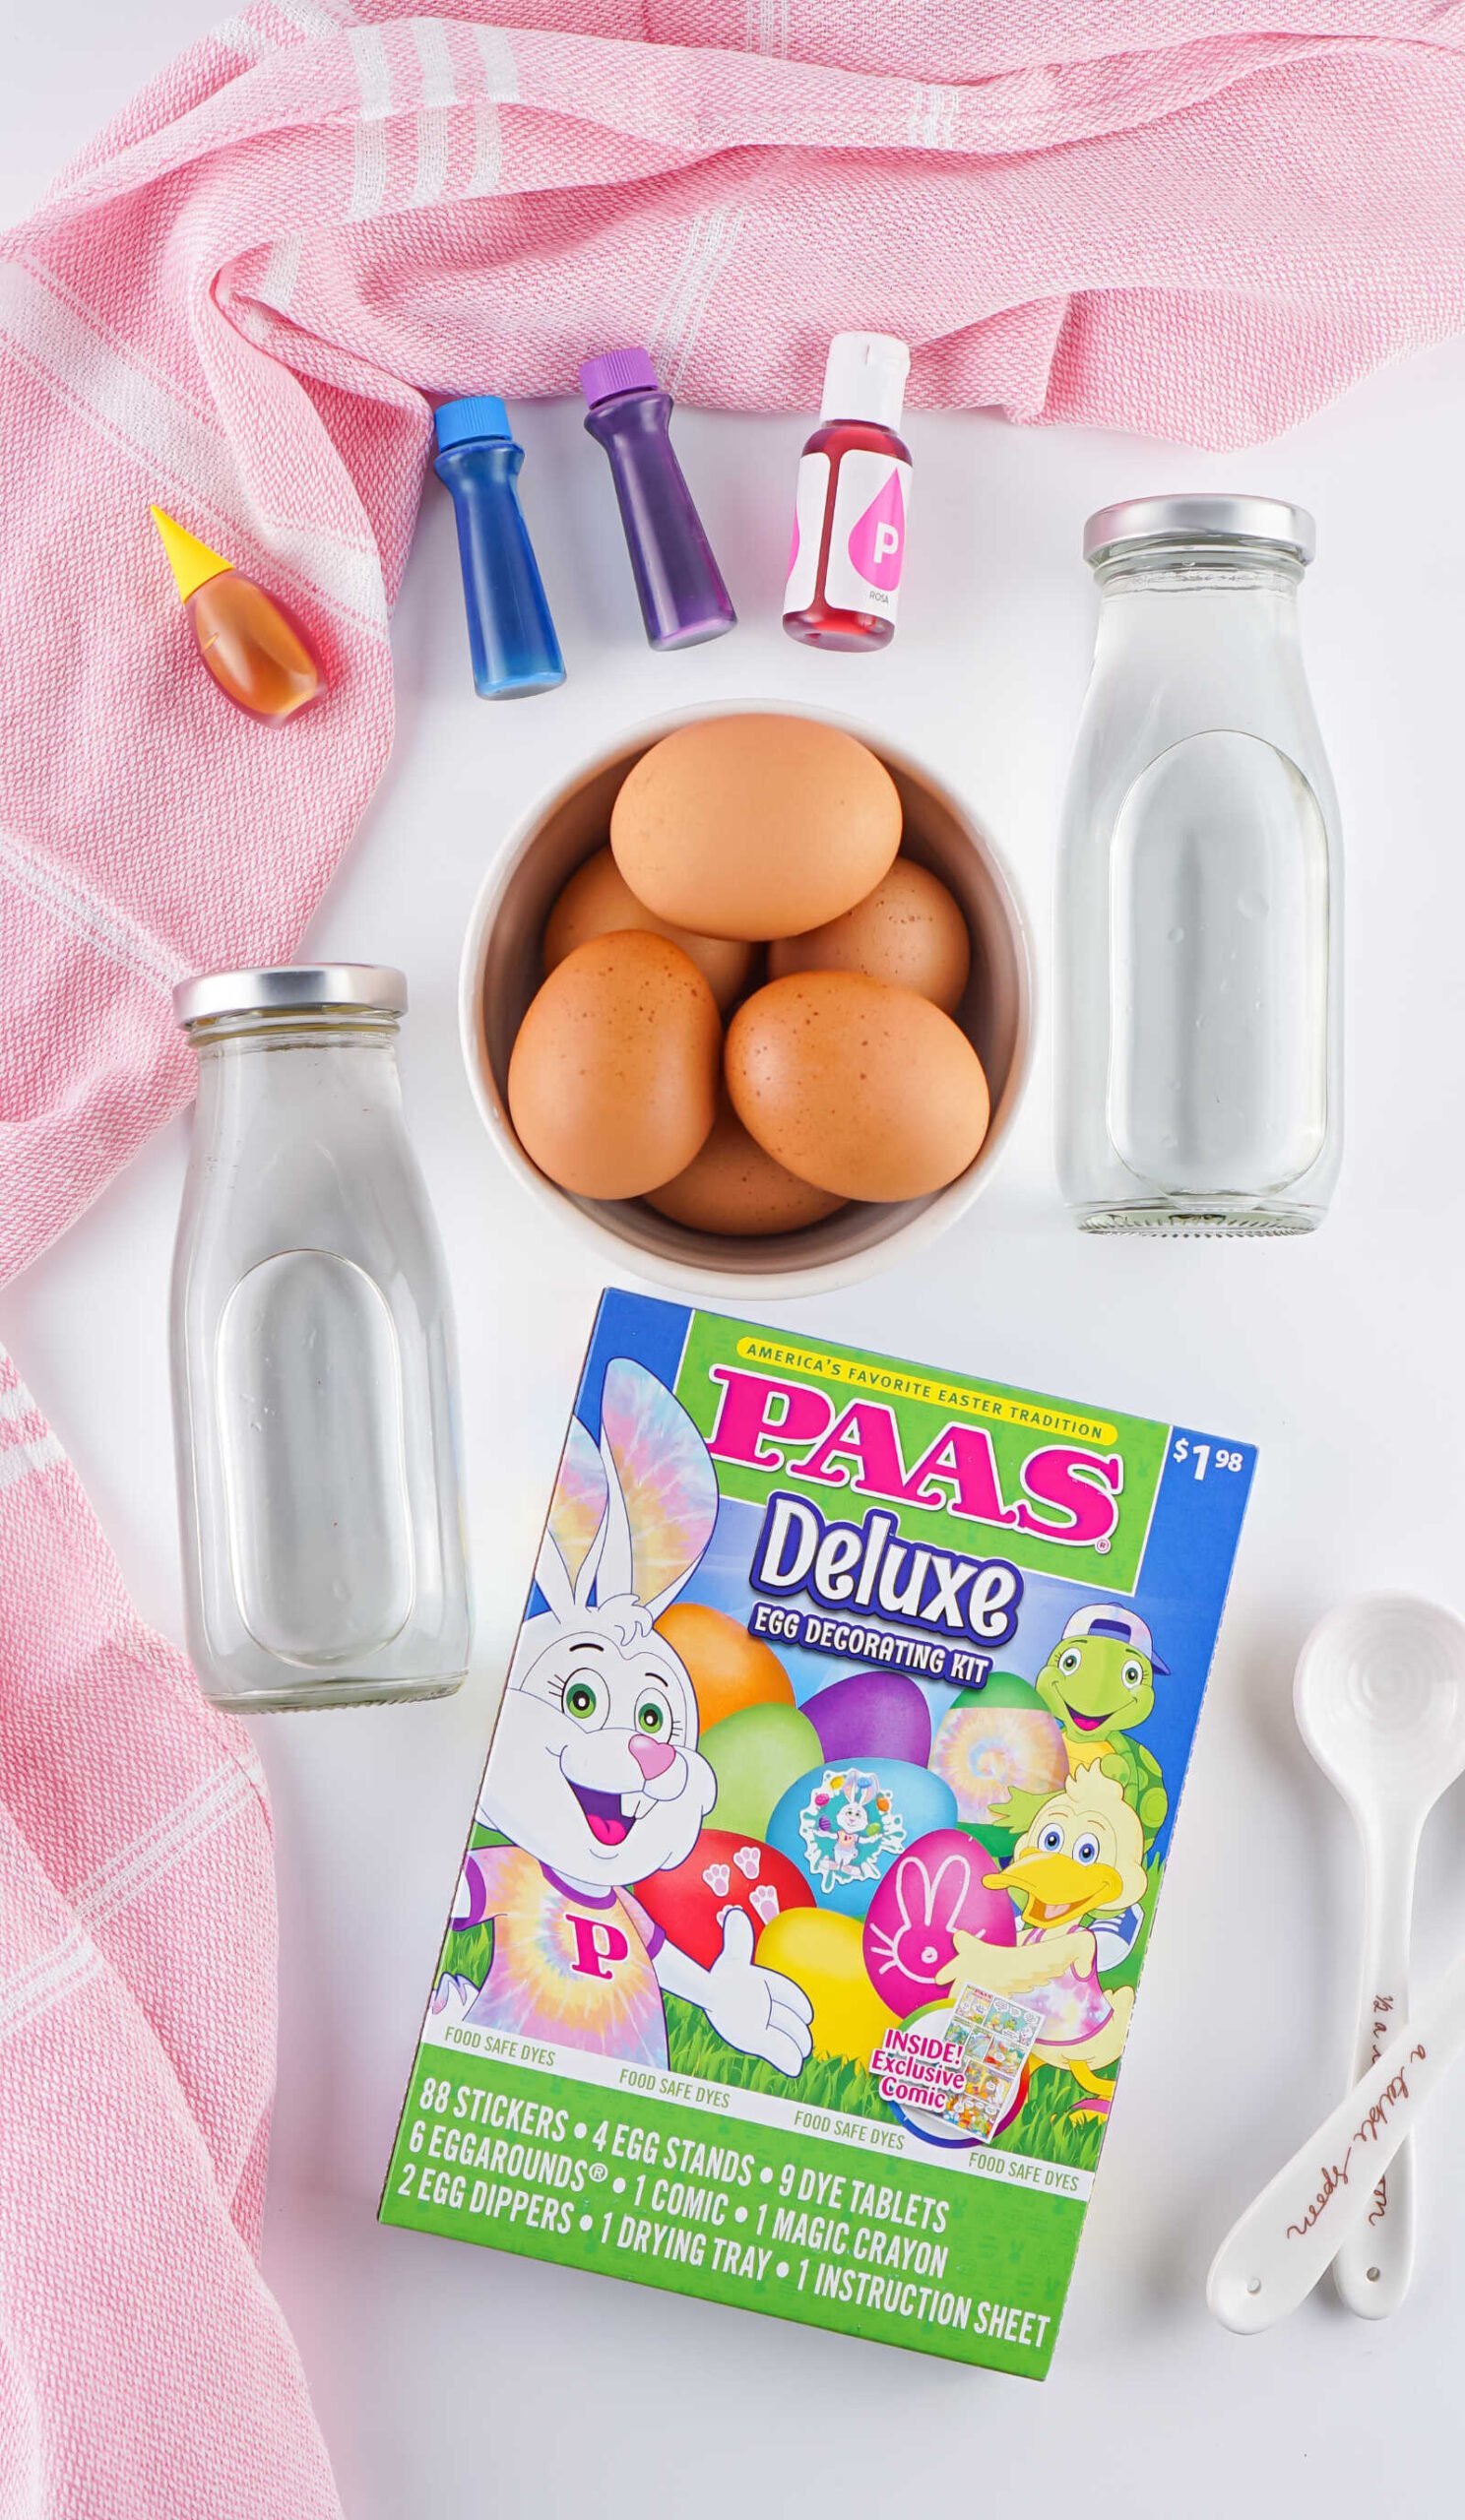
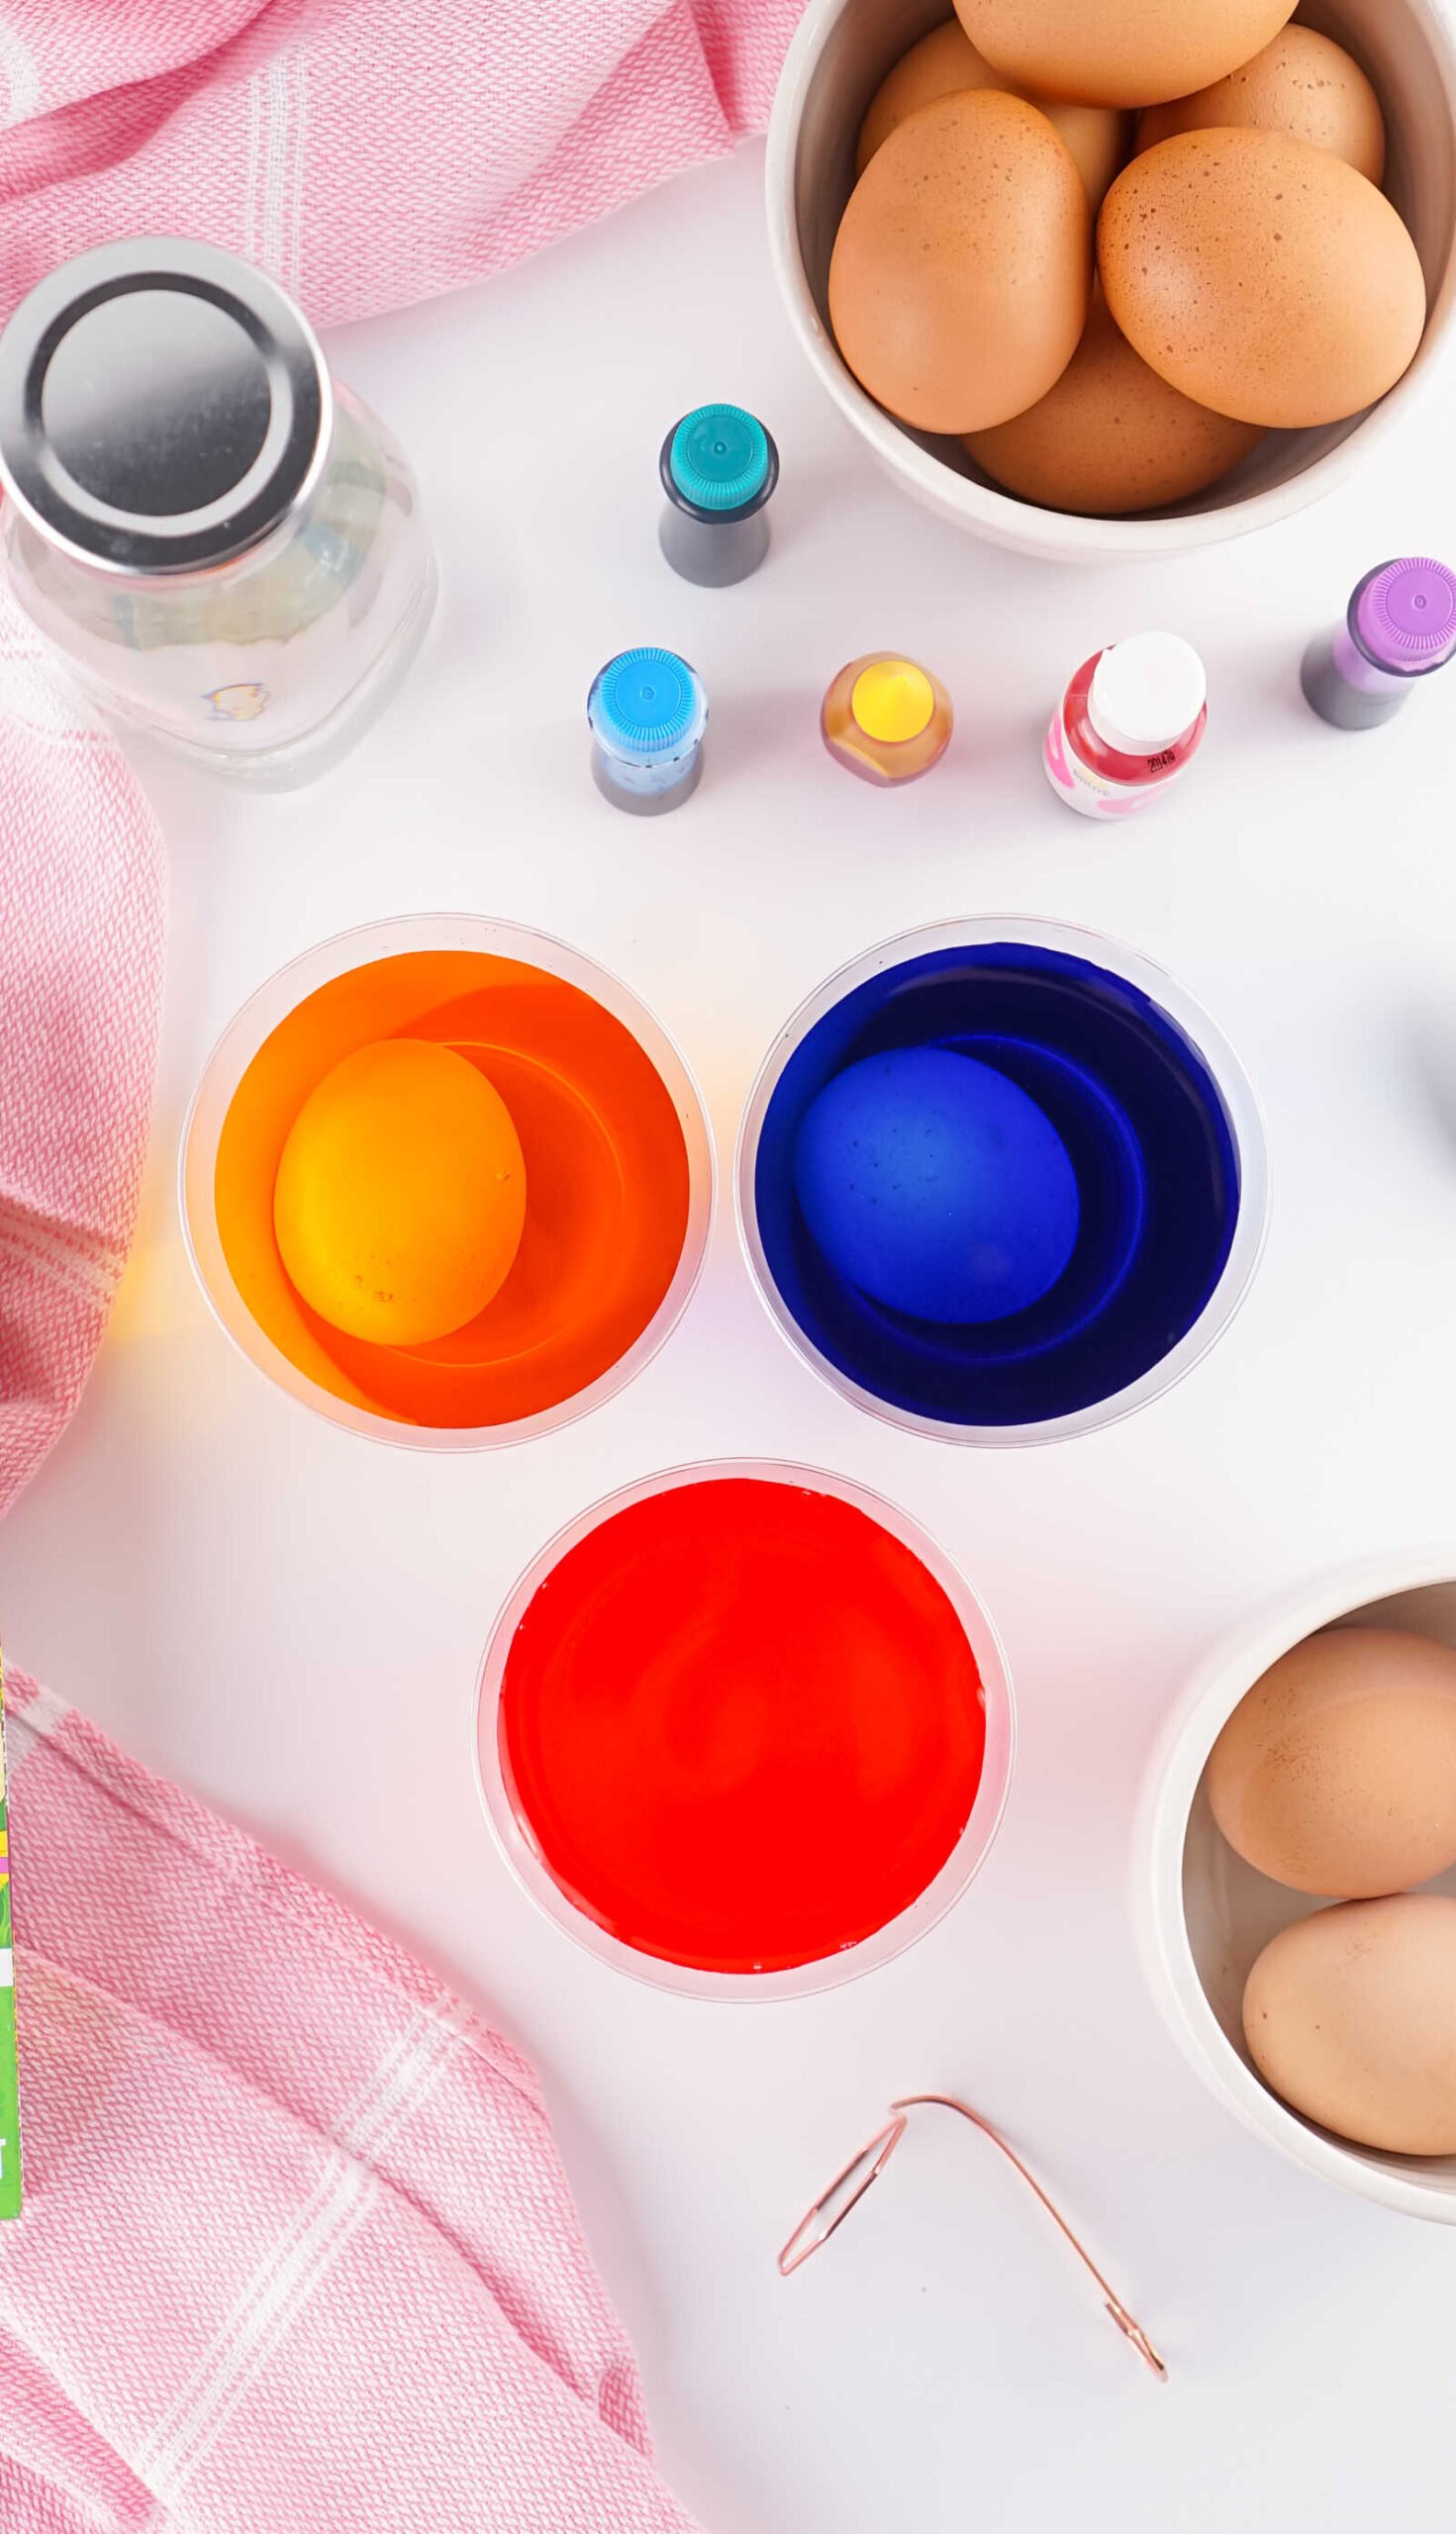
Ingredients
To dye brown eggs using traditional egg dye methods, you’ll need just a few simple ingredients.
• 1 ½ Cups White Vinegar (optional for pre-soak)
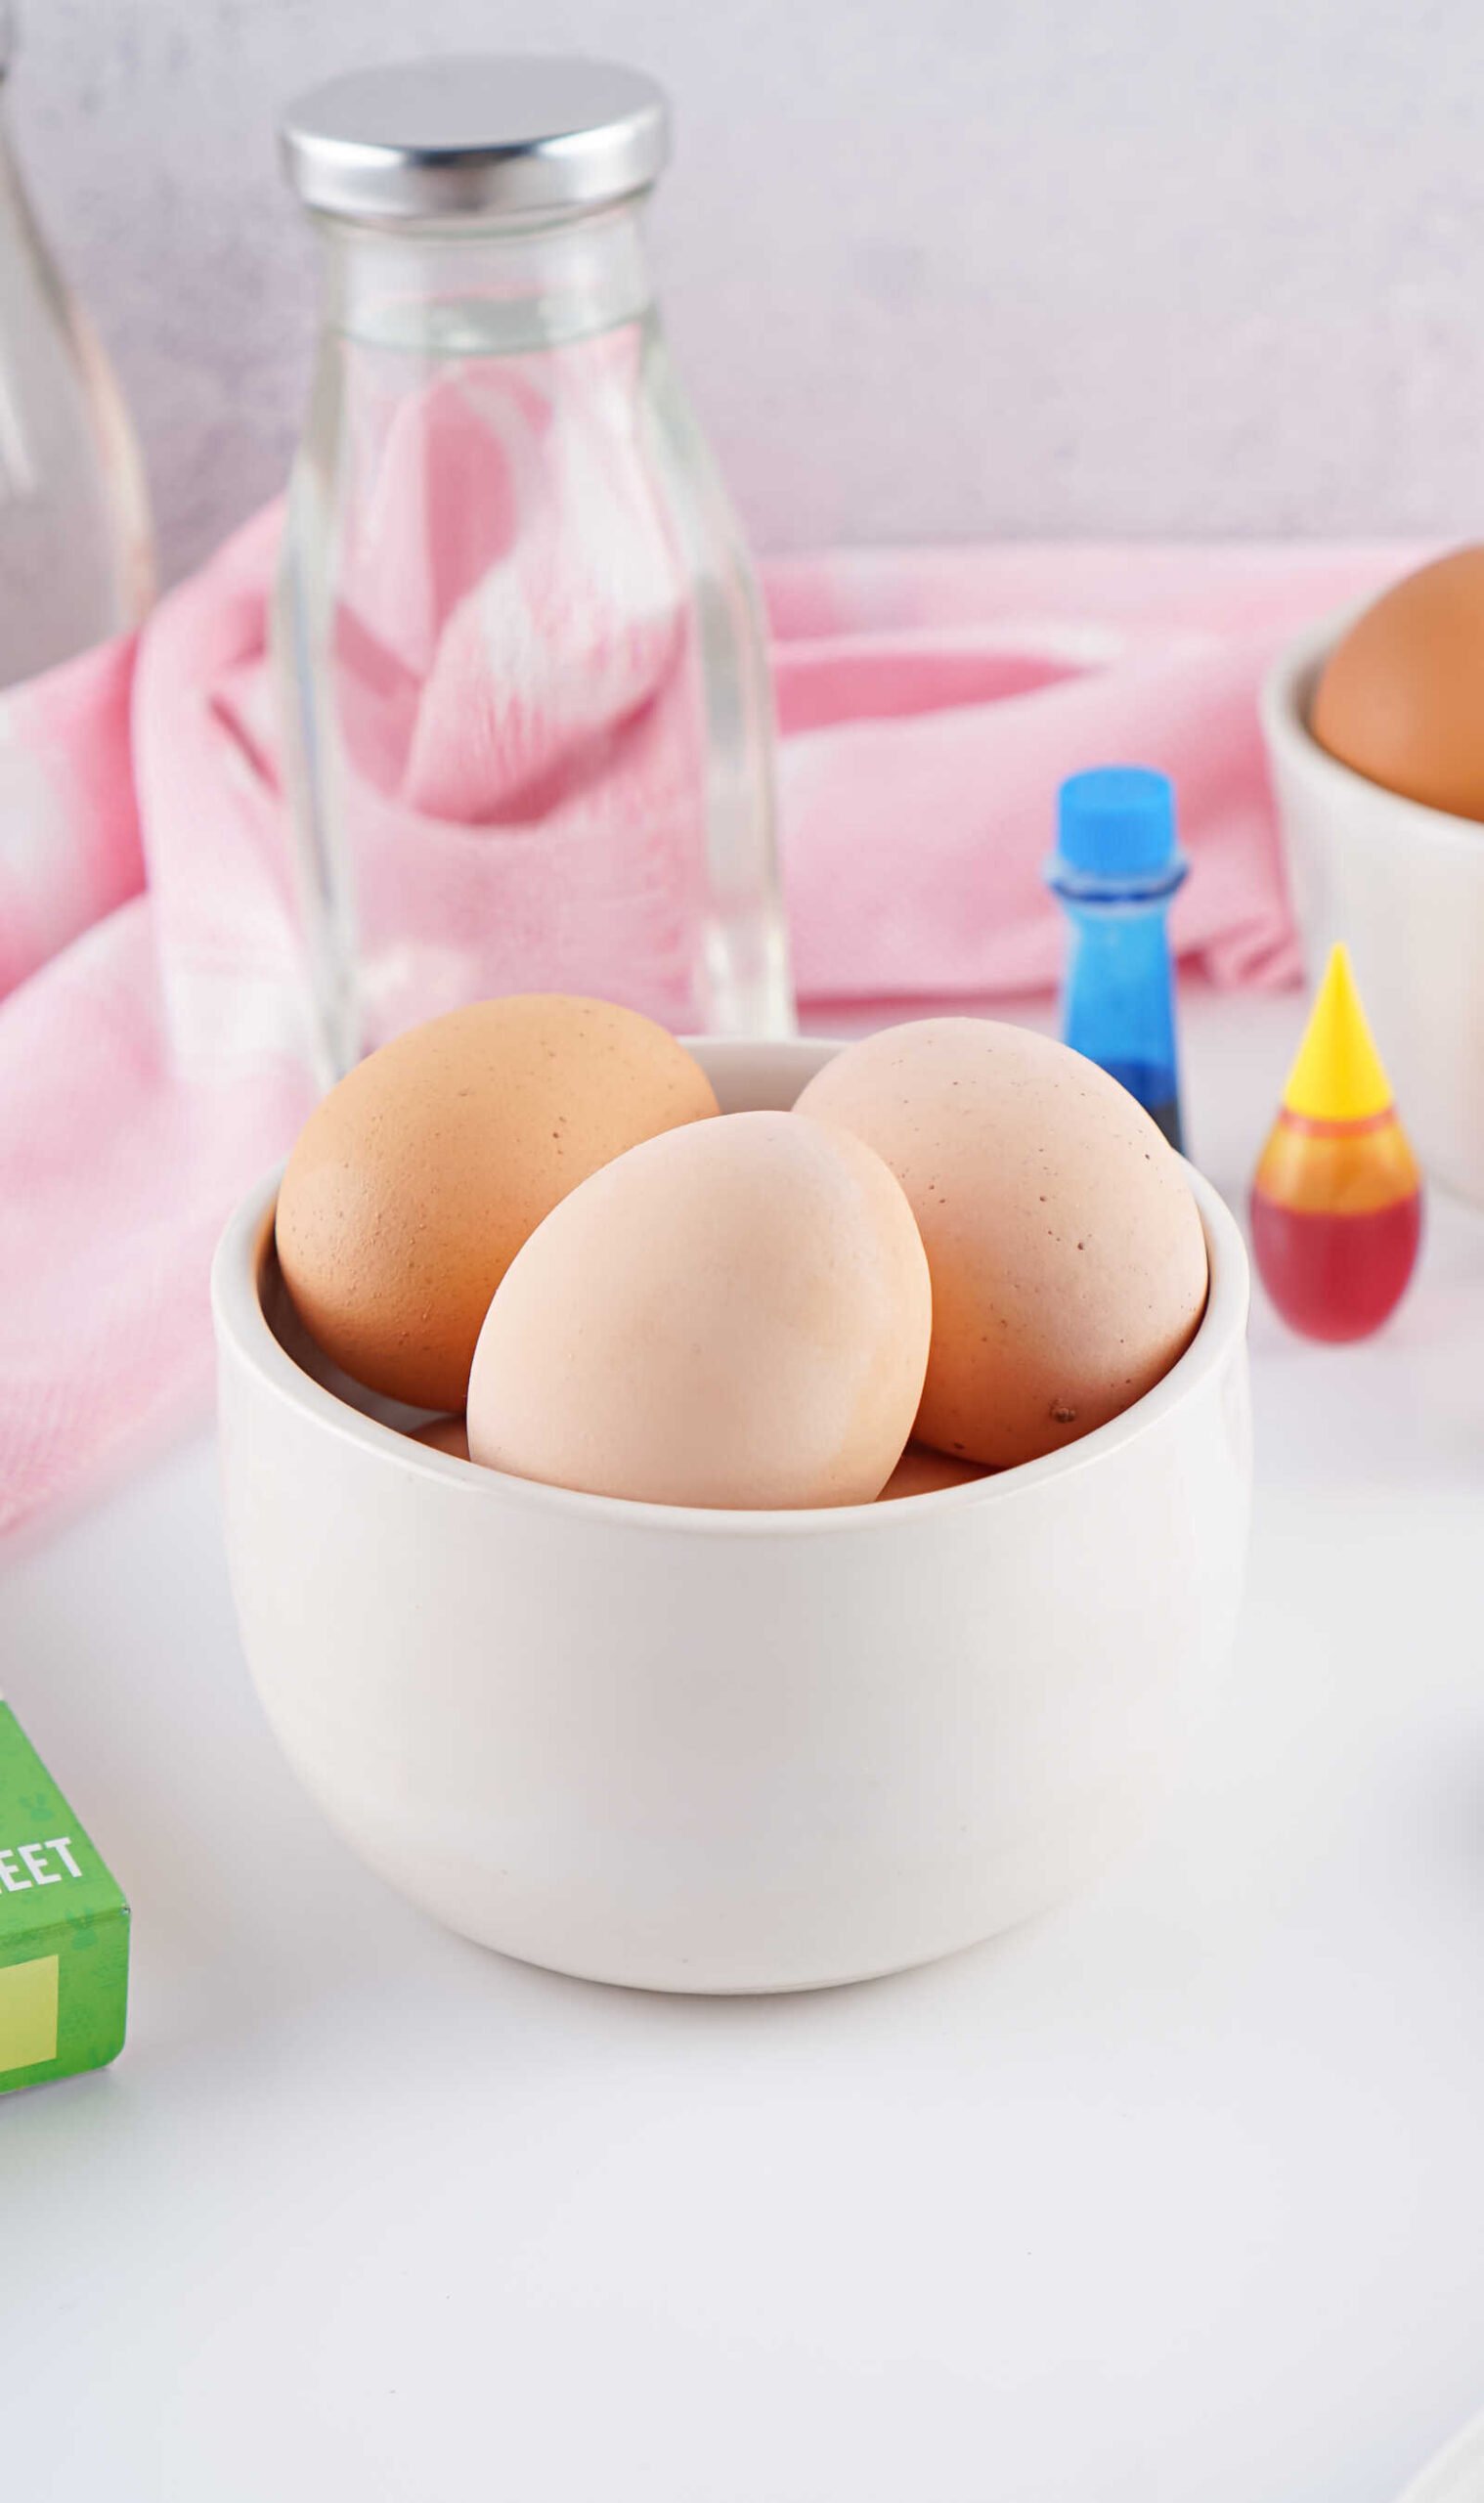
• Boiled Brown Eggs
• 1 Egg Decorating Kit OR 10 Drops Food Coloring Per Color
• ½ Cup Warm Water Per Color
• 1 Tablespoon White Vinegar Per Color
These simple ingredients create vibrant dyes that work well even on darker eggshells.

Items Needed
Gather these basic supplies before you start:
• Disposable plastic cups
• Medium mixing bowl (optional for soaking)
• Rubber gloves (optional, but helpful to avoid stained fingers)
• Measuring spoons and measuring cups
• Paper towels
Disposable cups are especially helpful because they keep colors separate and make cleanup easier.
Should You Pre-Soak Brown Eggs?
One of the biggest questions people ask when learning how to dye brown eggs is whether the vinegar pre-soak step is necessary.
The answer is: it’s completely optional.
Here’s how the two methods differ.
Vinegar Pre-Soak Method
When eggs soak in vinegar before dyeing, the vinegar removes a small amount of the natural brown pigment from the shell. This slightly lightens the eggs, allowing the dye colors to appear brighter.
This method produces:
- Lighter pastel tones
- Slightly more vibrant colors
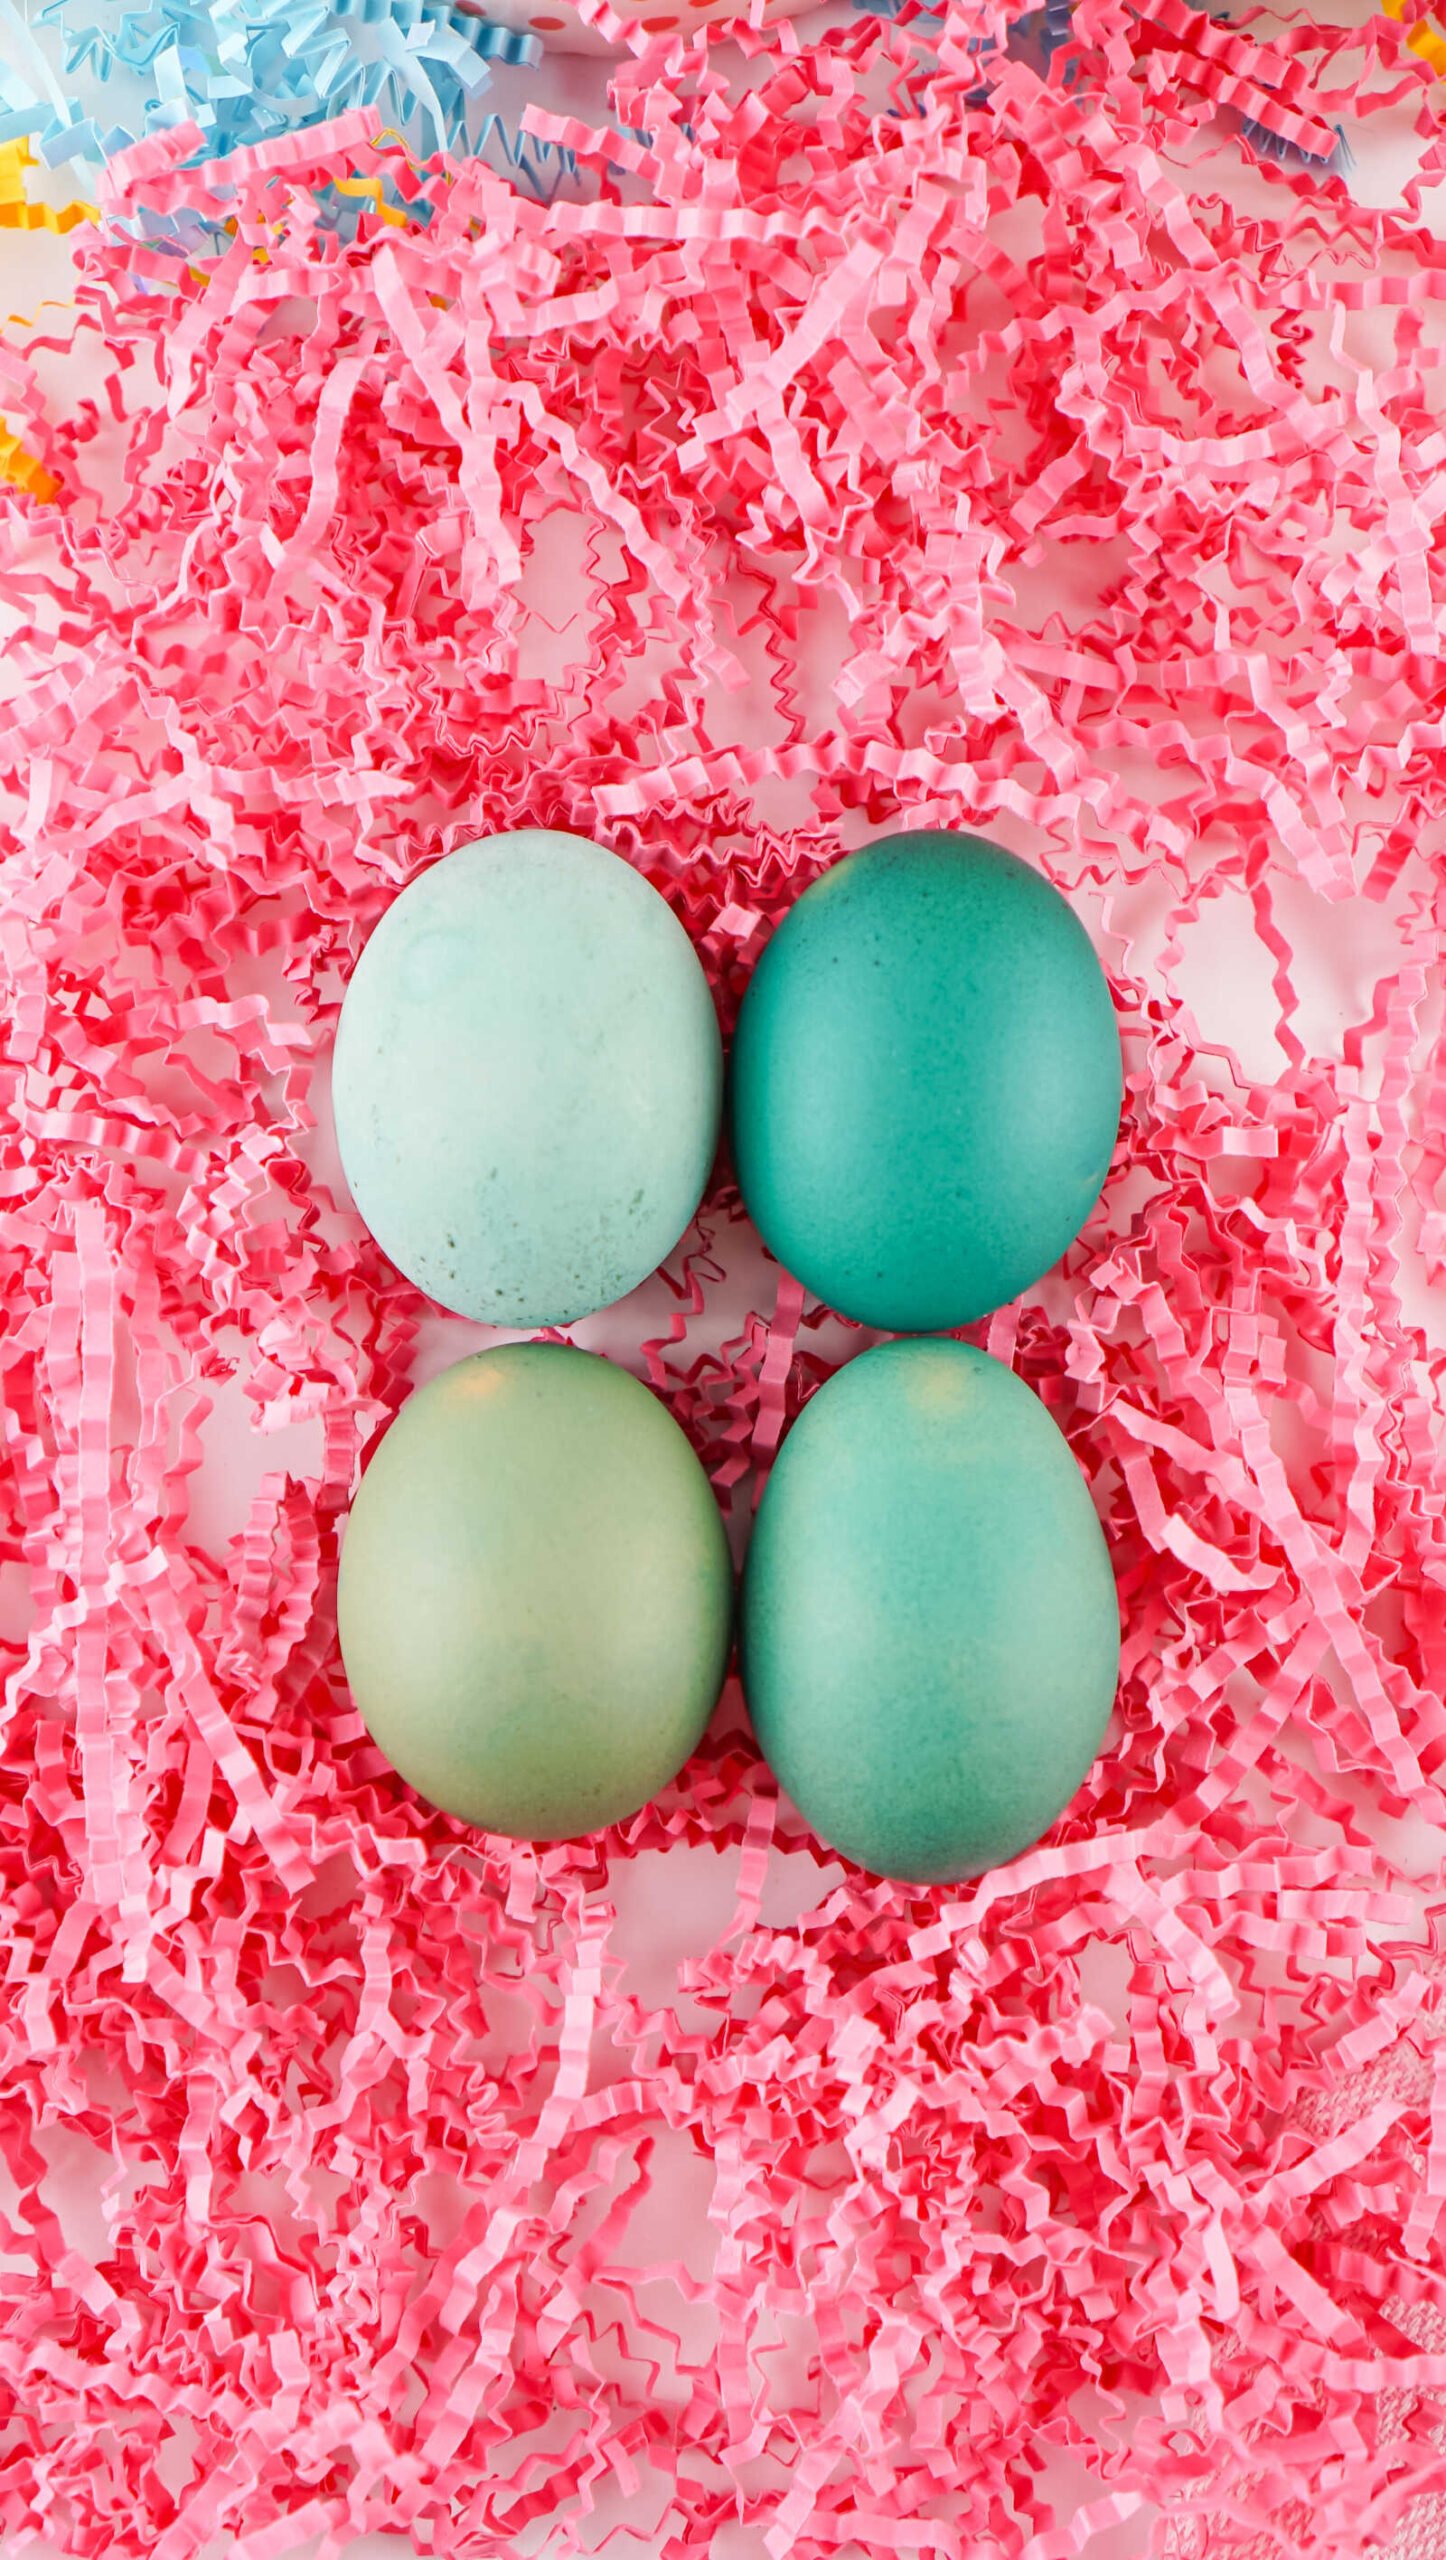
No Pre-Soak Method
Skipping the vinegar soak keeps the natural shell color intact.
This produces:
- Richer, deeper tones
- More earthy, jewel-like shades
Both results are beautiful, so the choice simply comes down to personal preference.
Step-by-Step Directions
Follow these steps to dye brown eggs using either method.
Step 1: Skip Ahead If Not Pre-Soaking
If you are not pre-soaking your boiled brown eggs, simply skip to step 5 and begin preparing the dye cups.
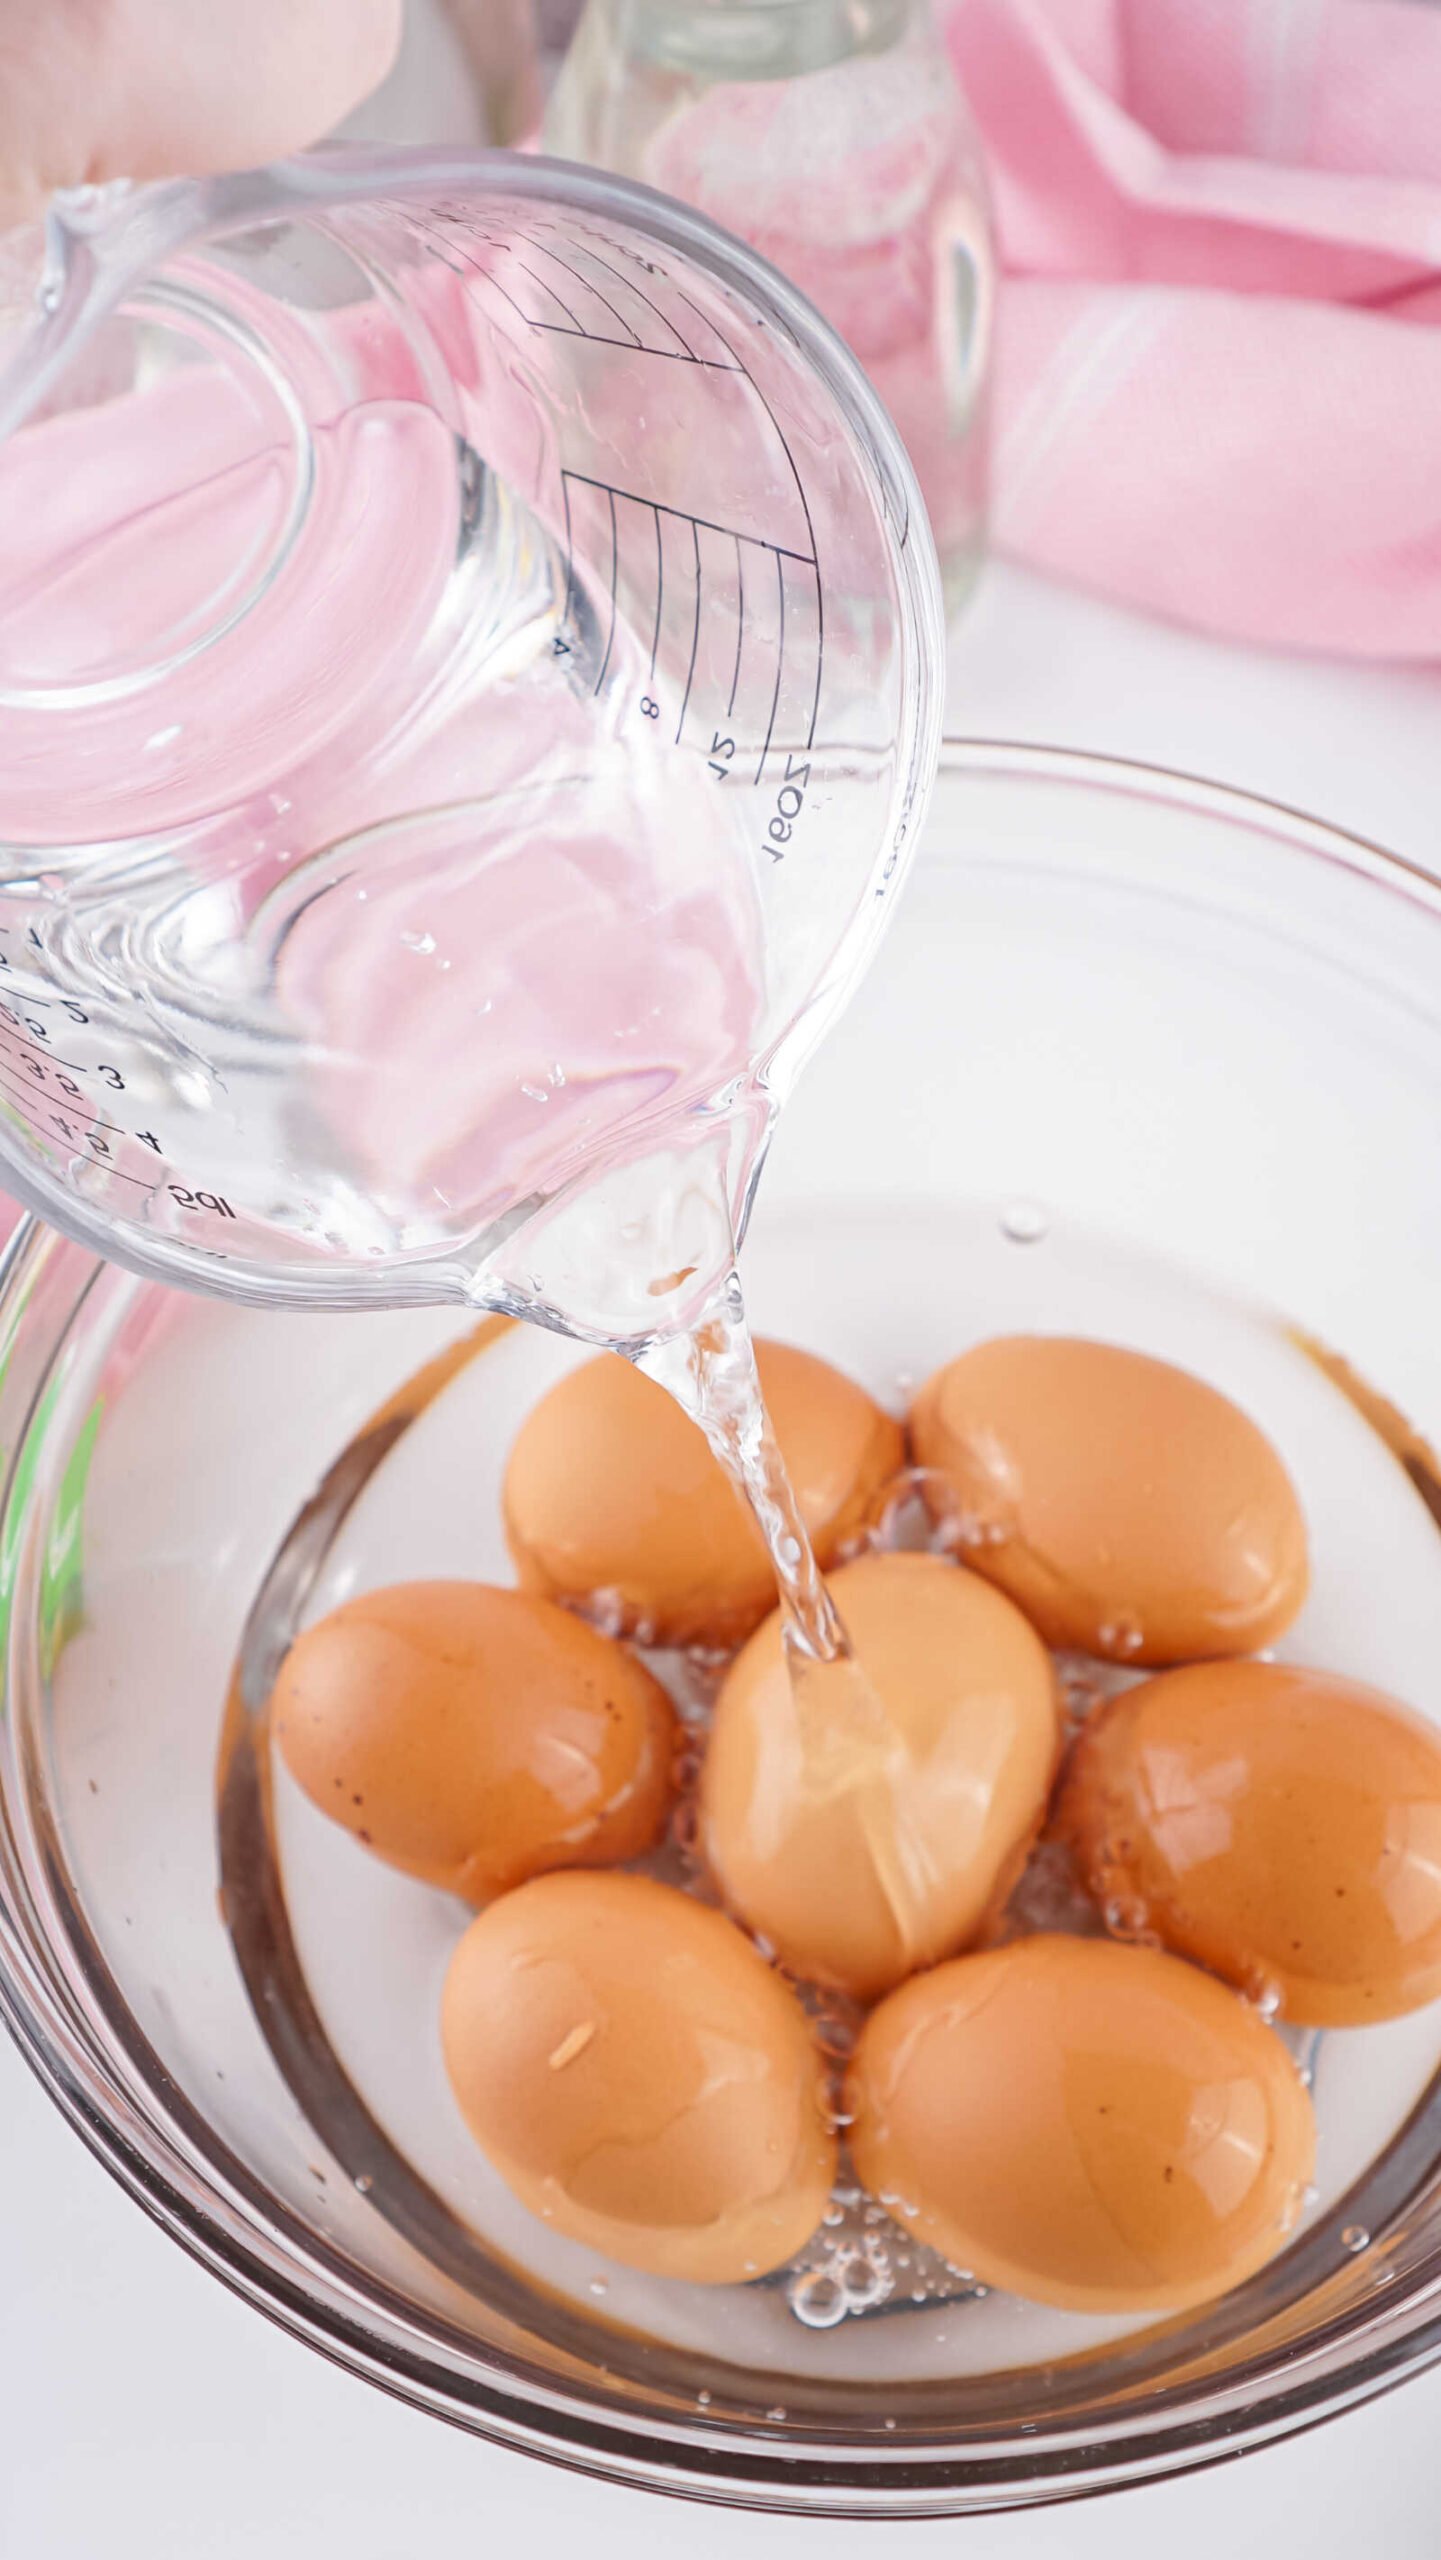
Step 2: Soak Eggs in Vinegar (Optional)
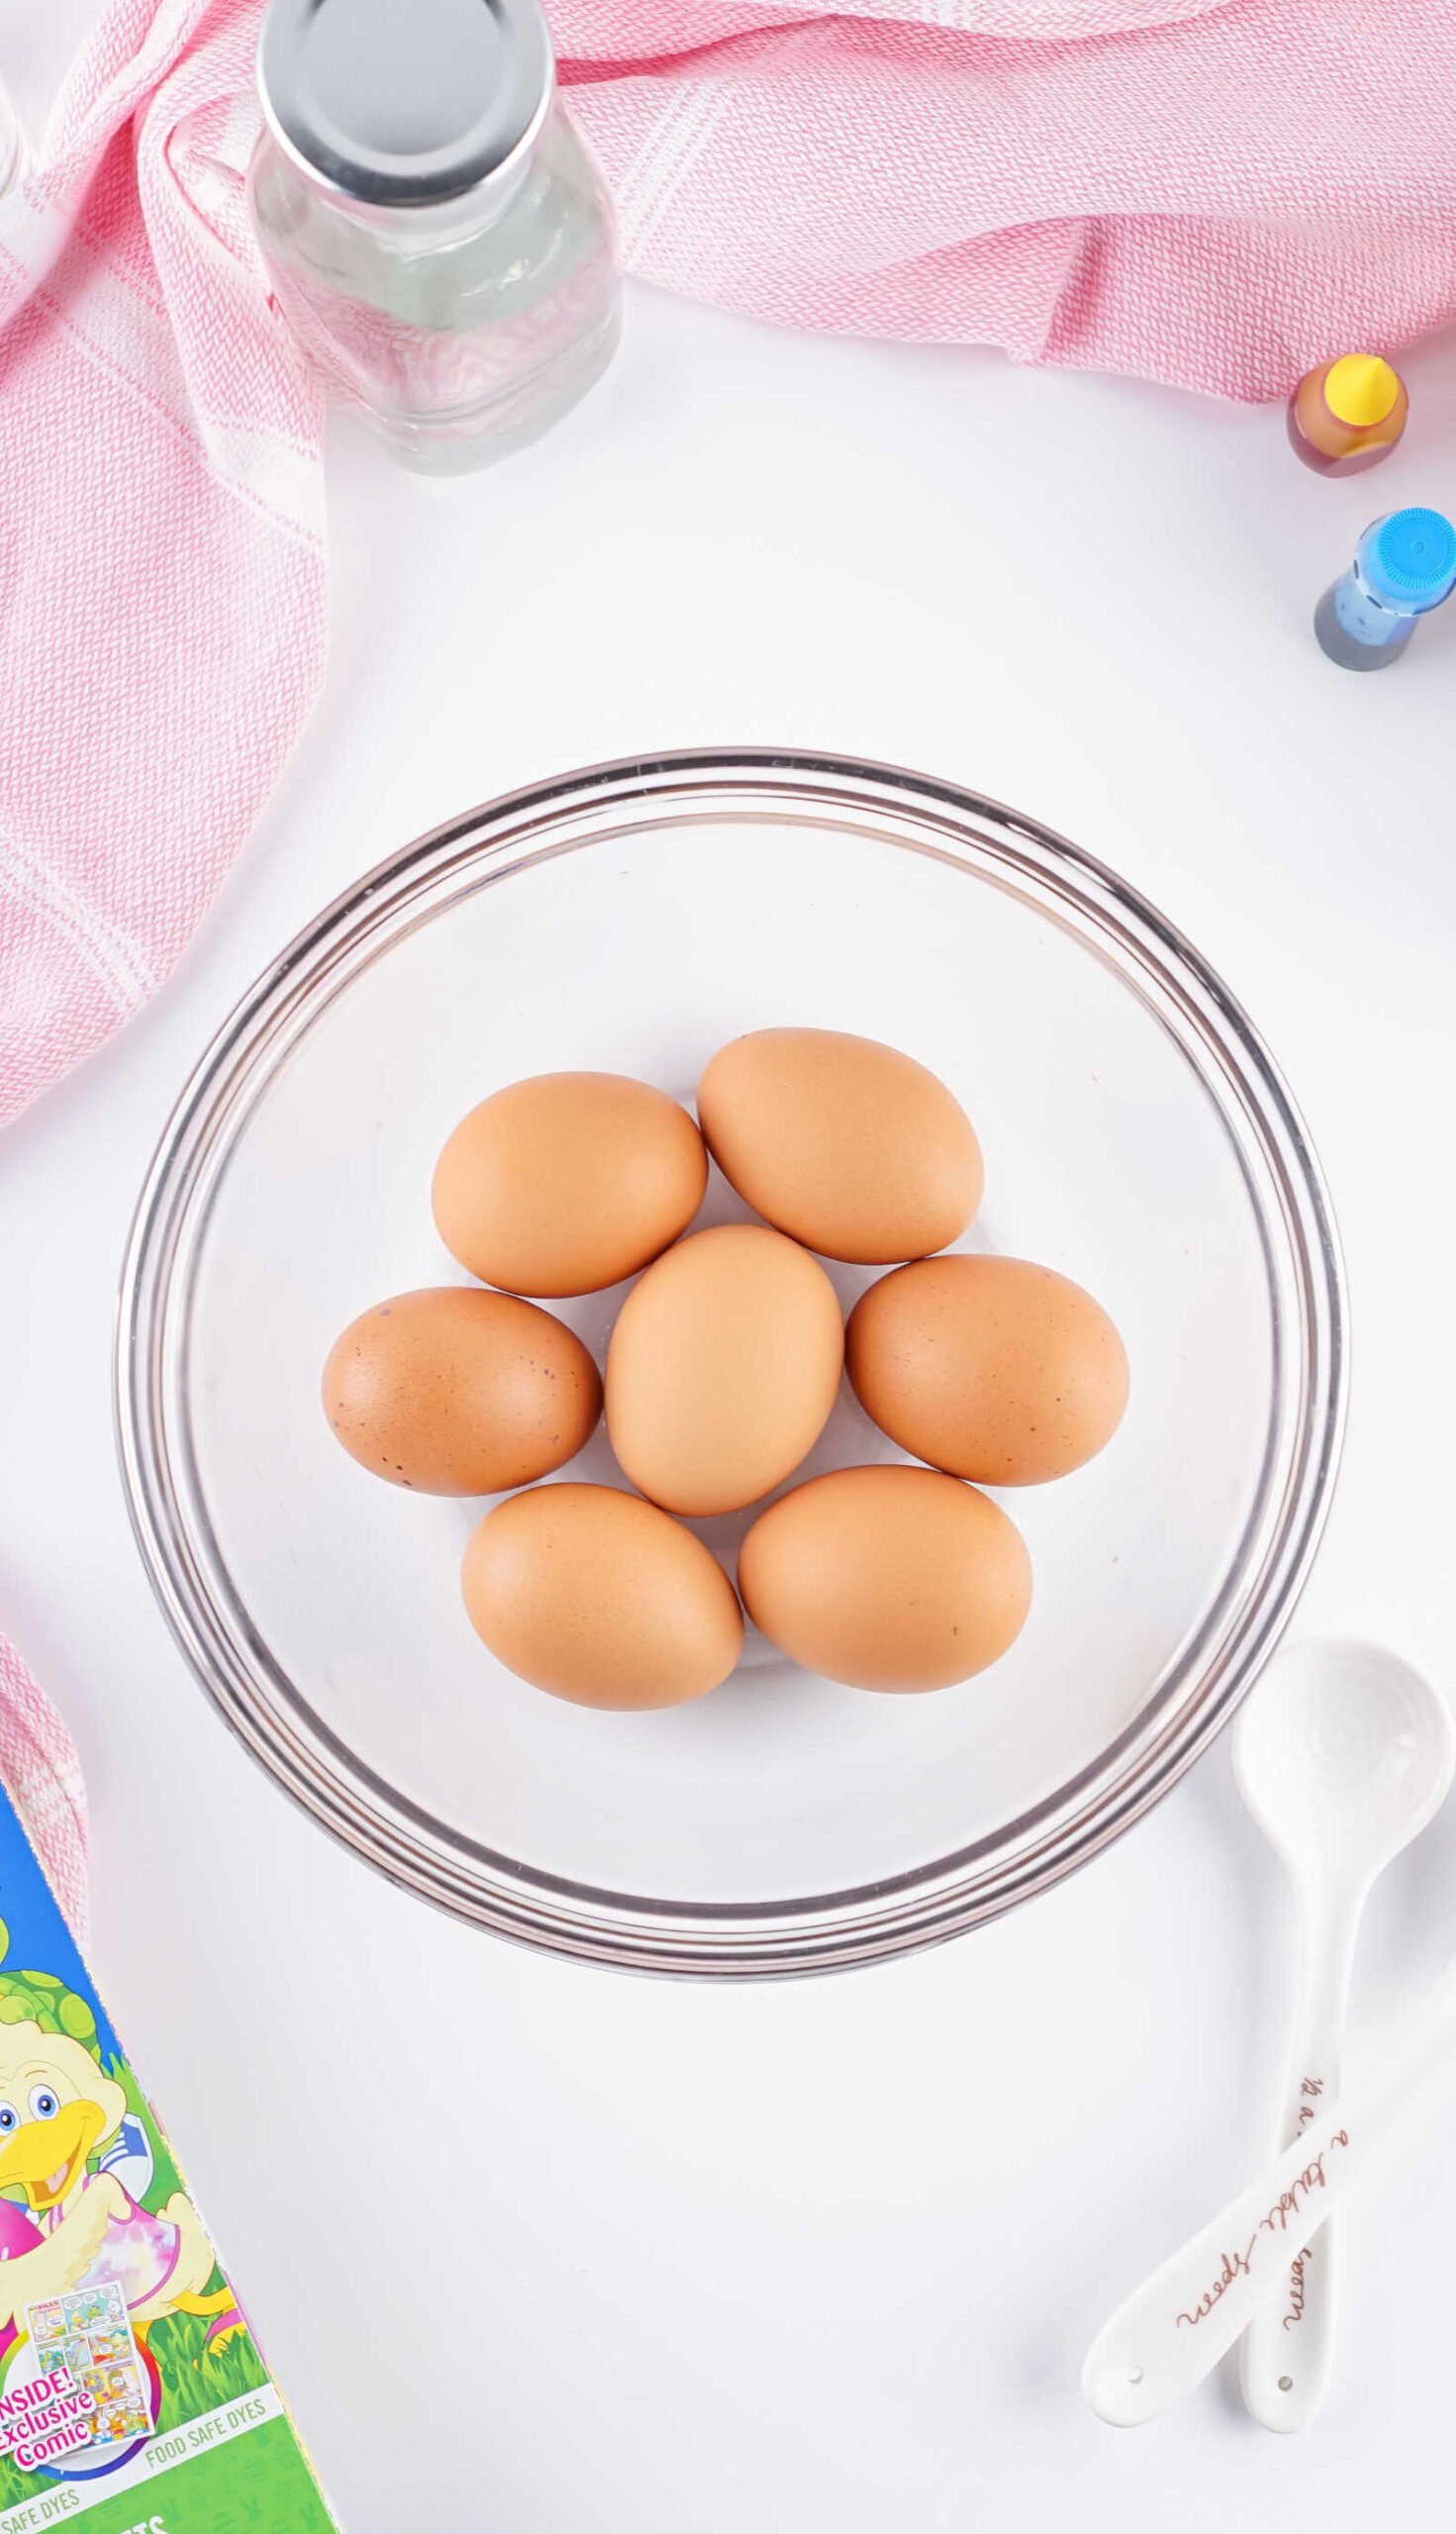
Place your boiled eggs gently into a medium mixing bowl.
I usually do about 8 eggs at a time, depending on the bowl size.
Pour 1 ½ cups of white vinegar over the eggs. If they aren’t fully covered, add a little more vinegar until they are completely submerged.
Allow the eggs to rest in the vinegar for 5 minutes.
If you’re doing multiple batches, repeat this step for each round of eggs.
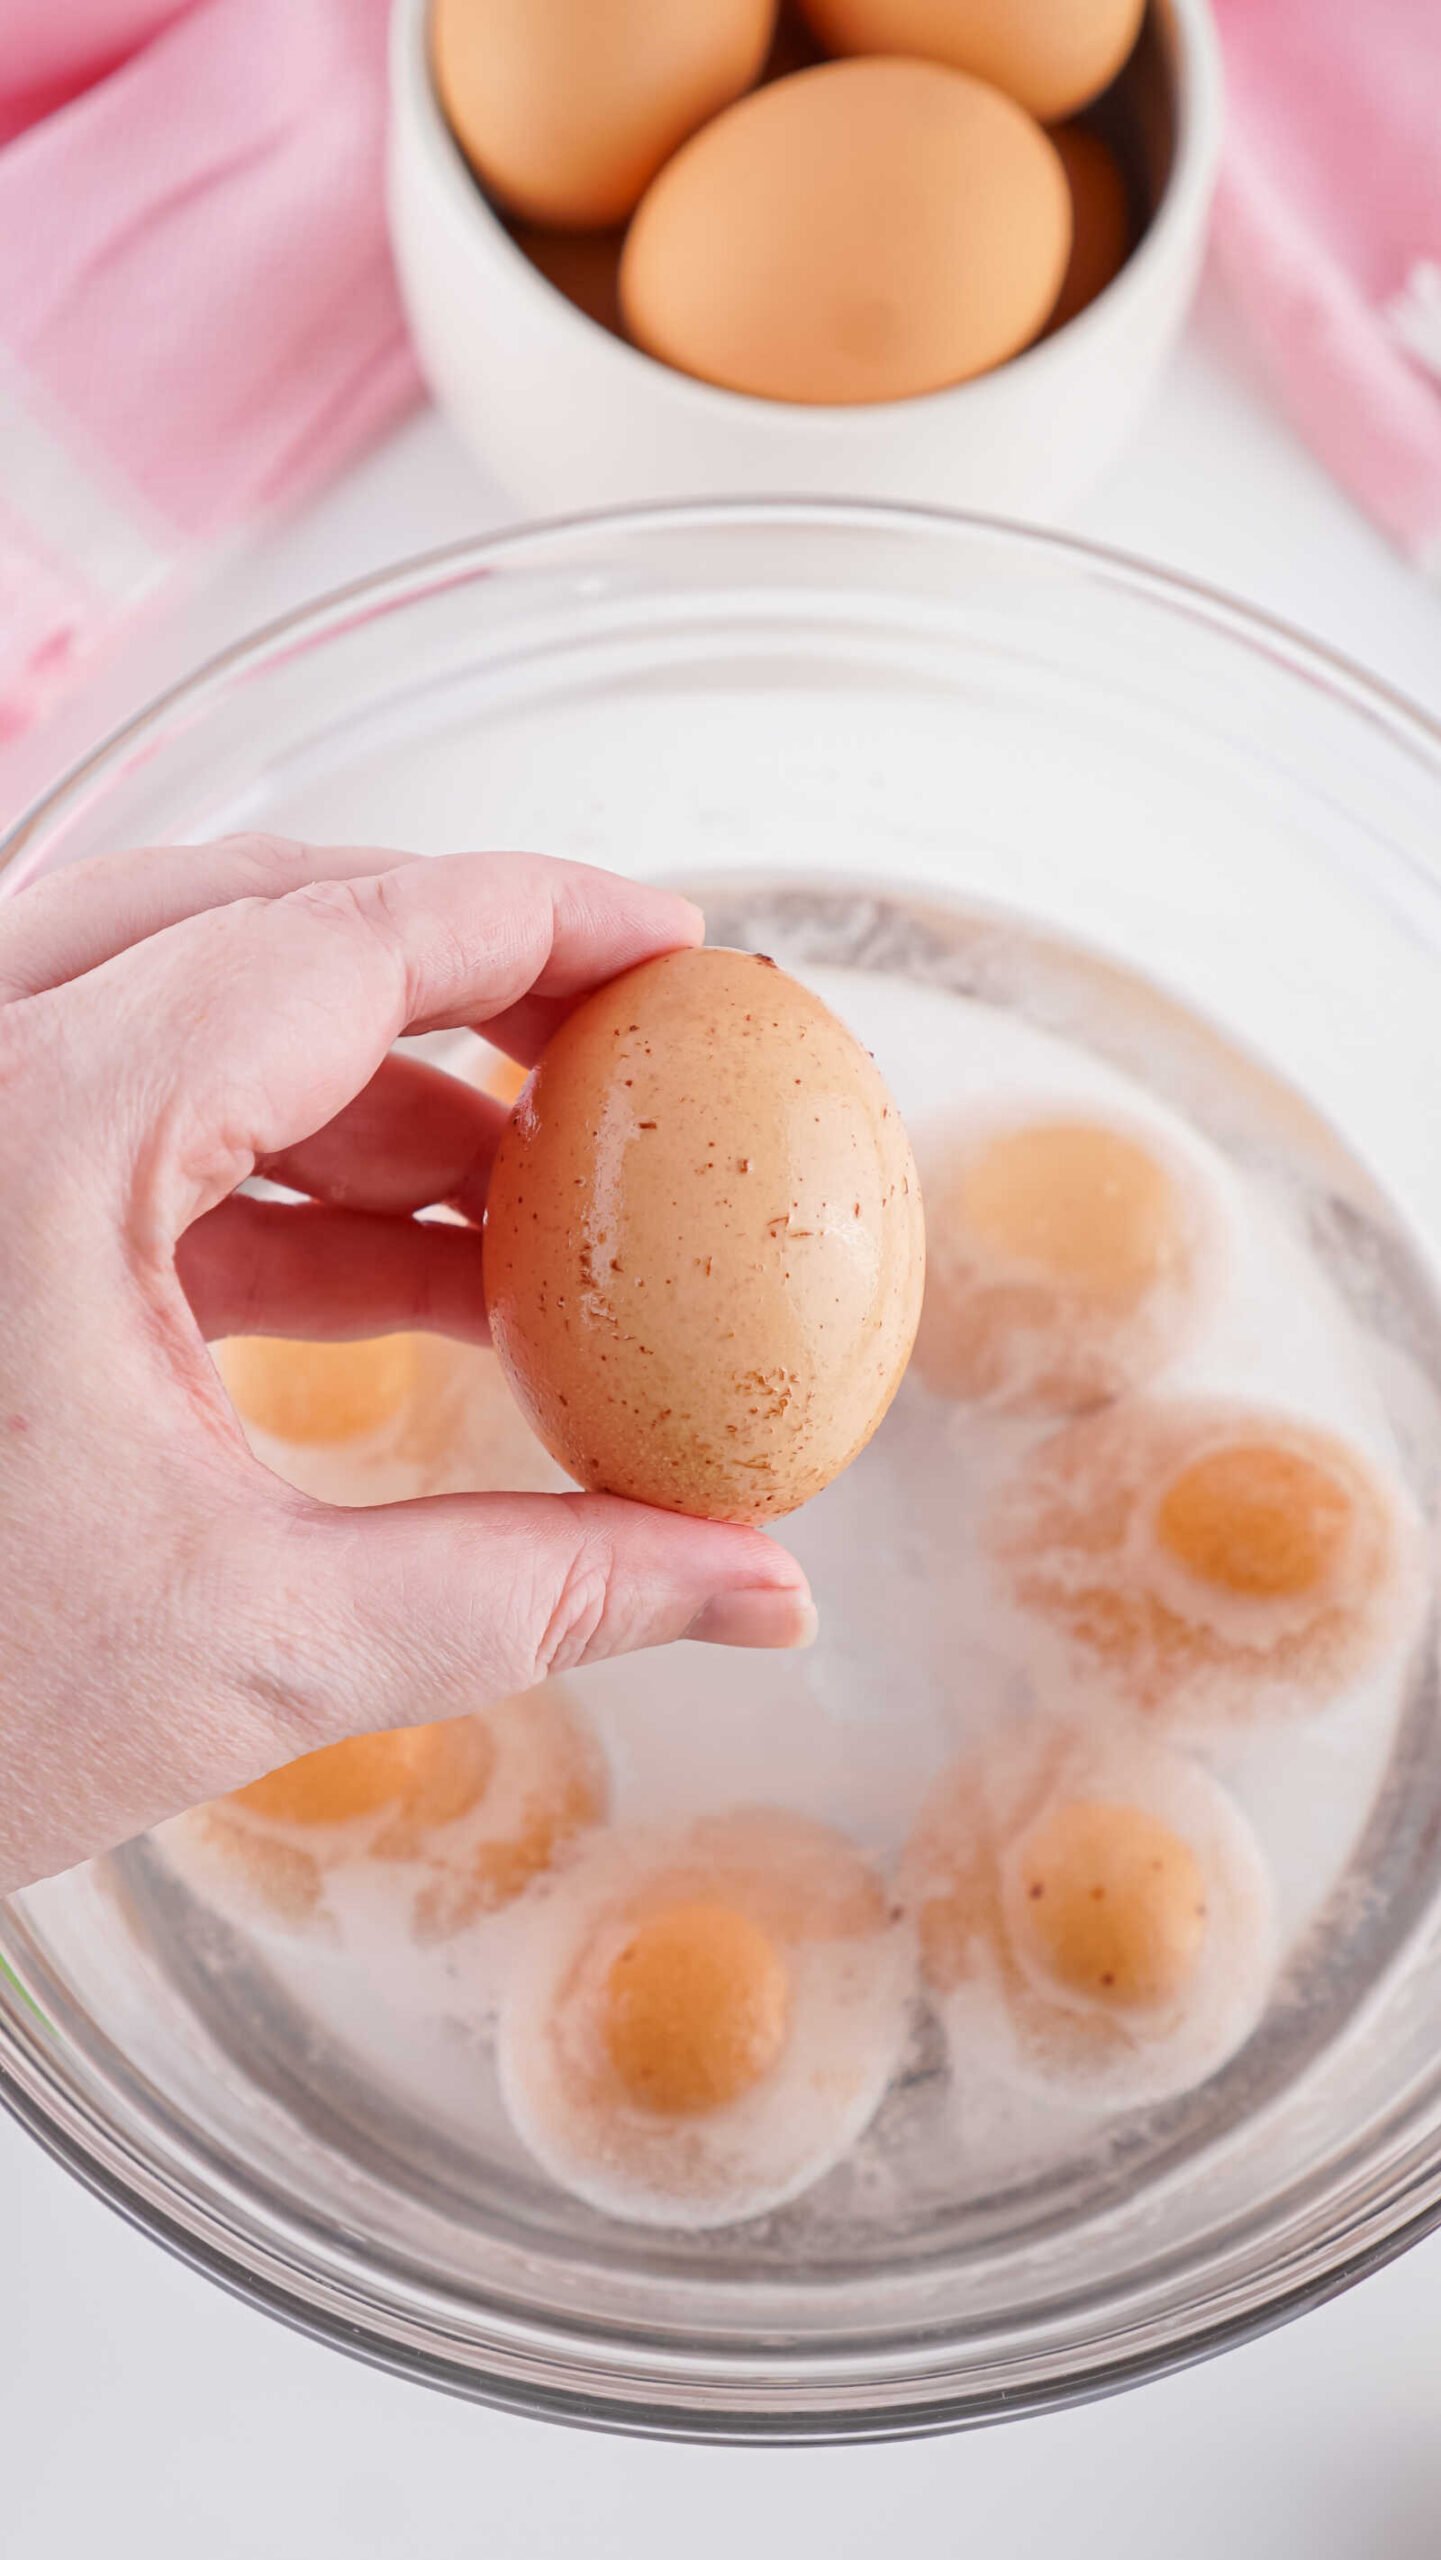
Step 3: Remove the Natural Brown Pigment
After soaking, gently rub your thumbs along the shell of the egg.
You’ll notice the brown coating loosening and coming off slightly, almost like dirt washing away.
Run each egg under cool water to rinse off the residue.
This process slightly lightens the shell so that dye colors show up more clearly.

Step 4: Dry the Eggs
Pat the eggs dry with a paper towel.
Set them aside while you prepare your dye cups.

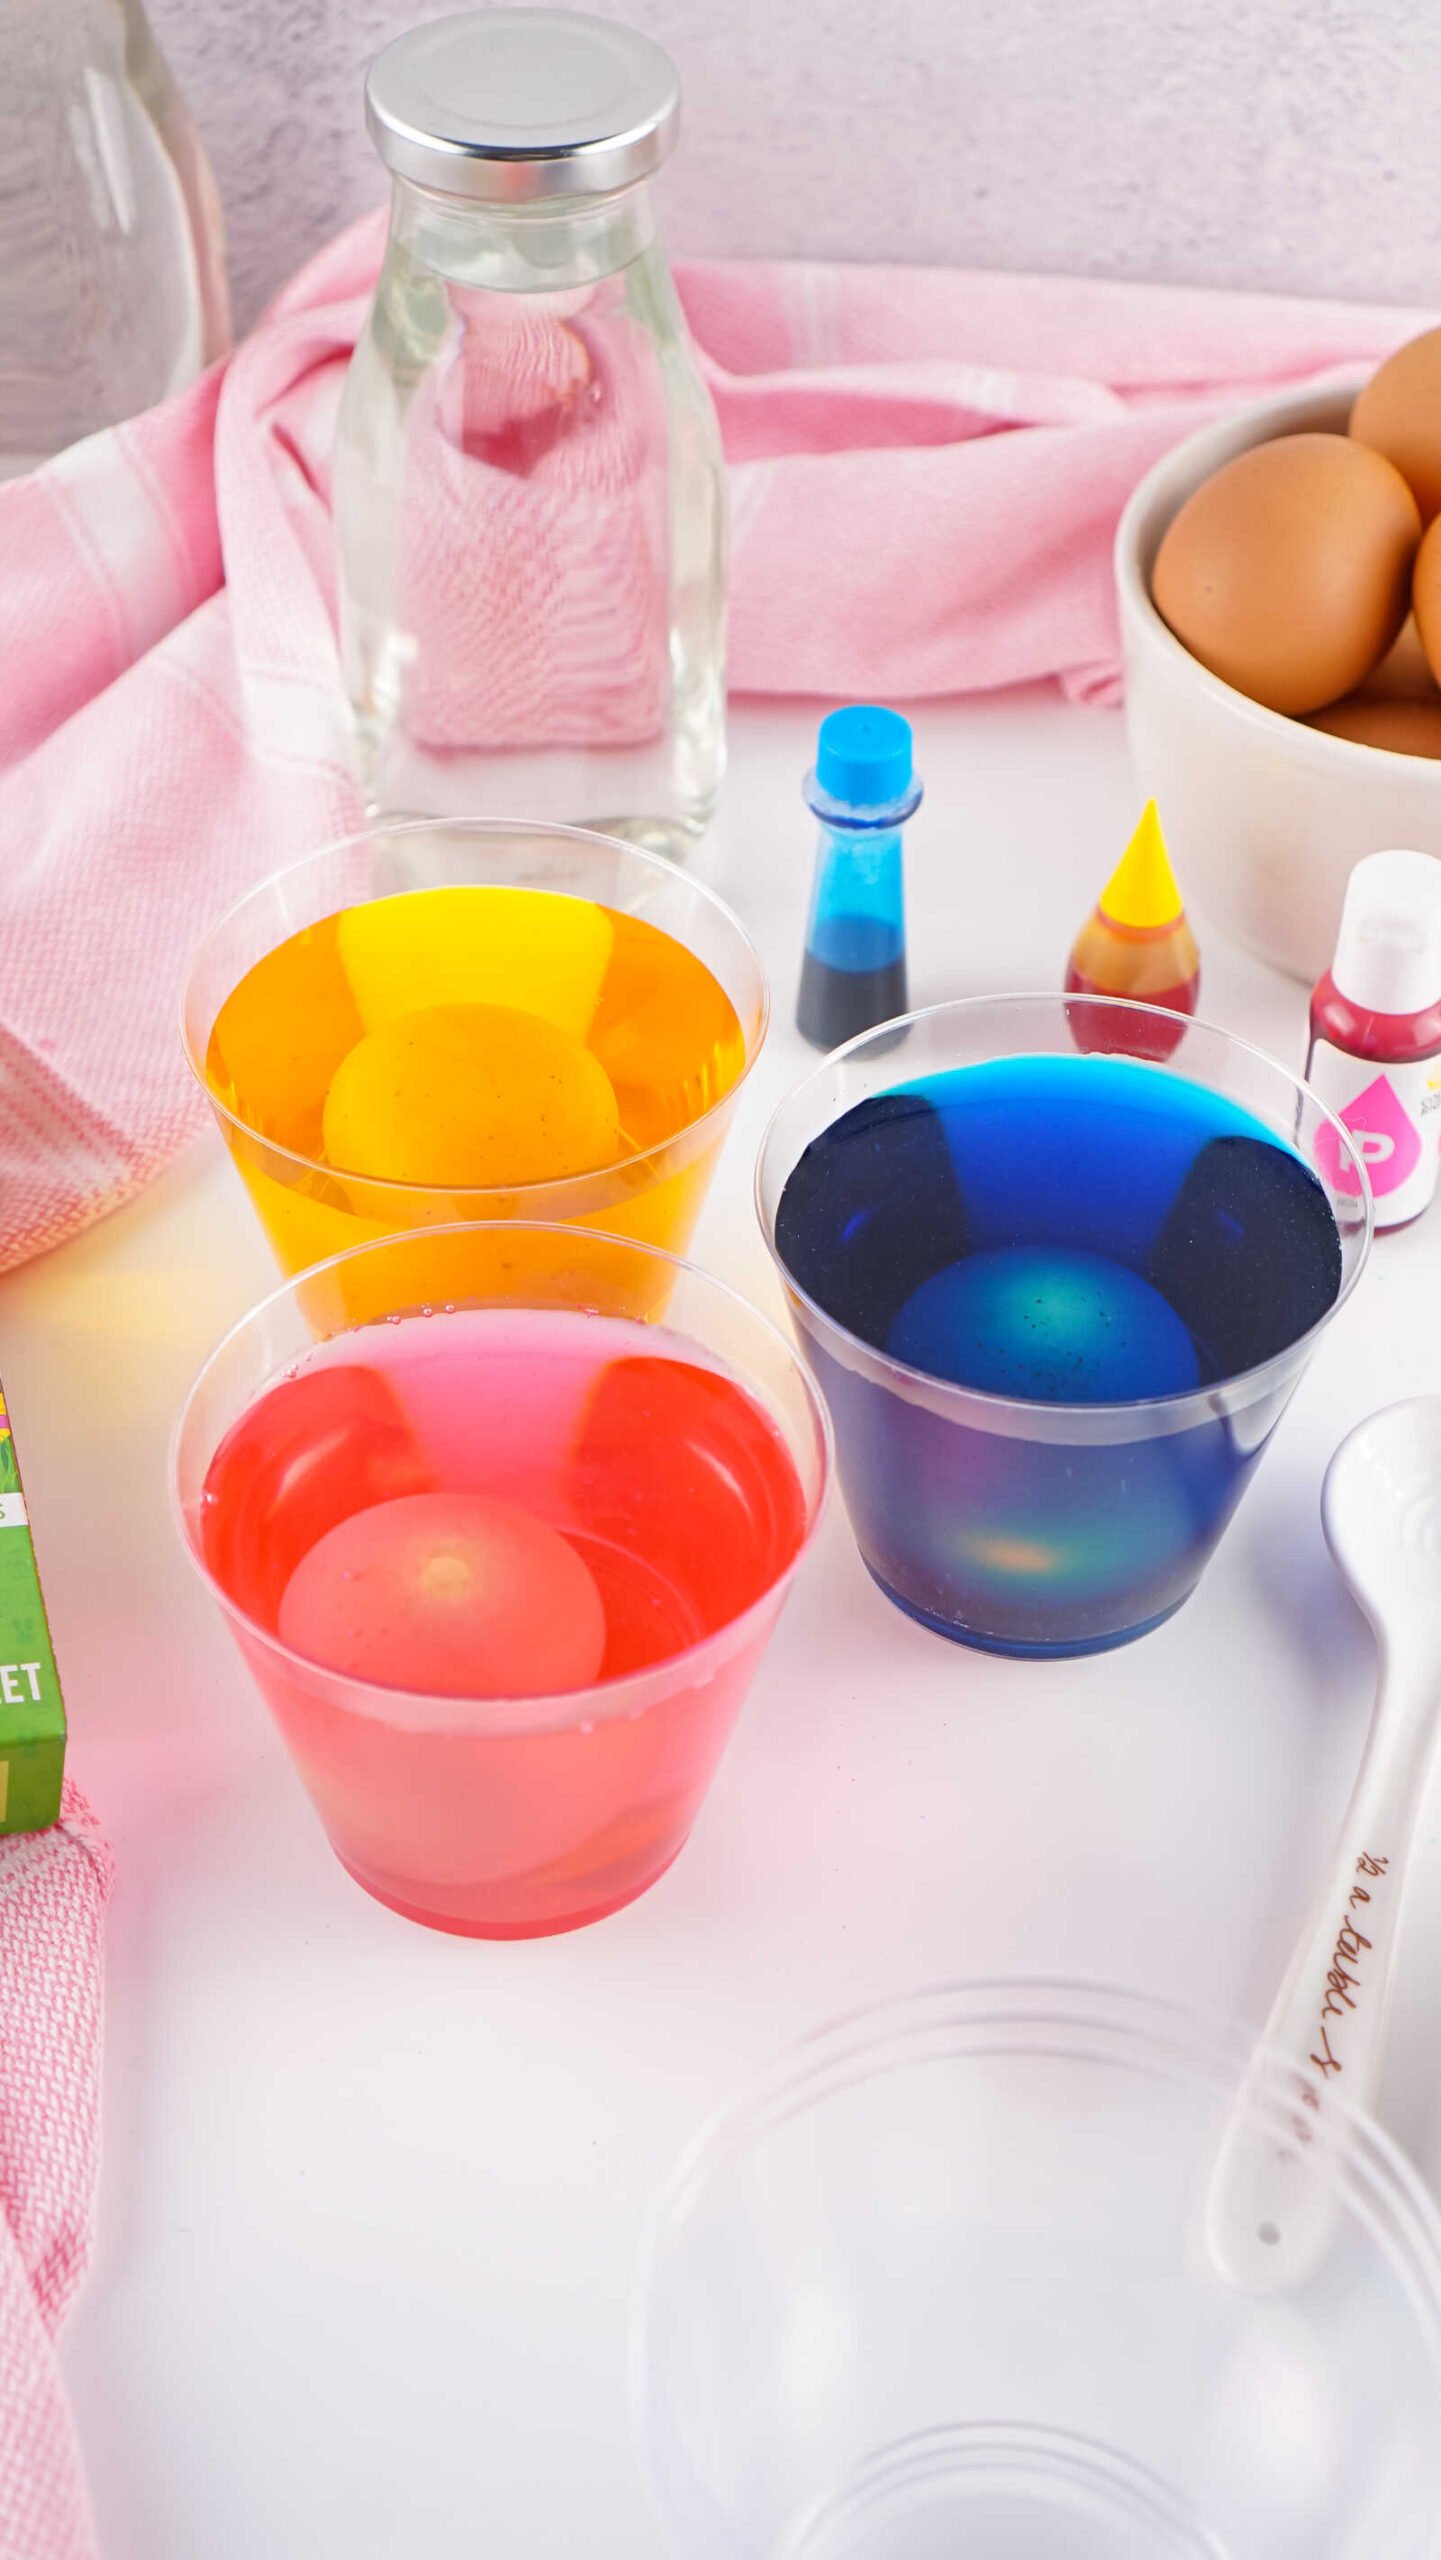
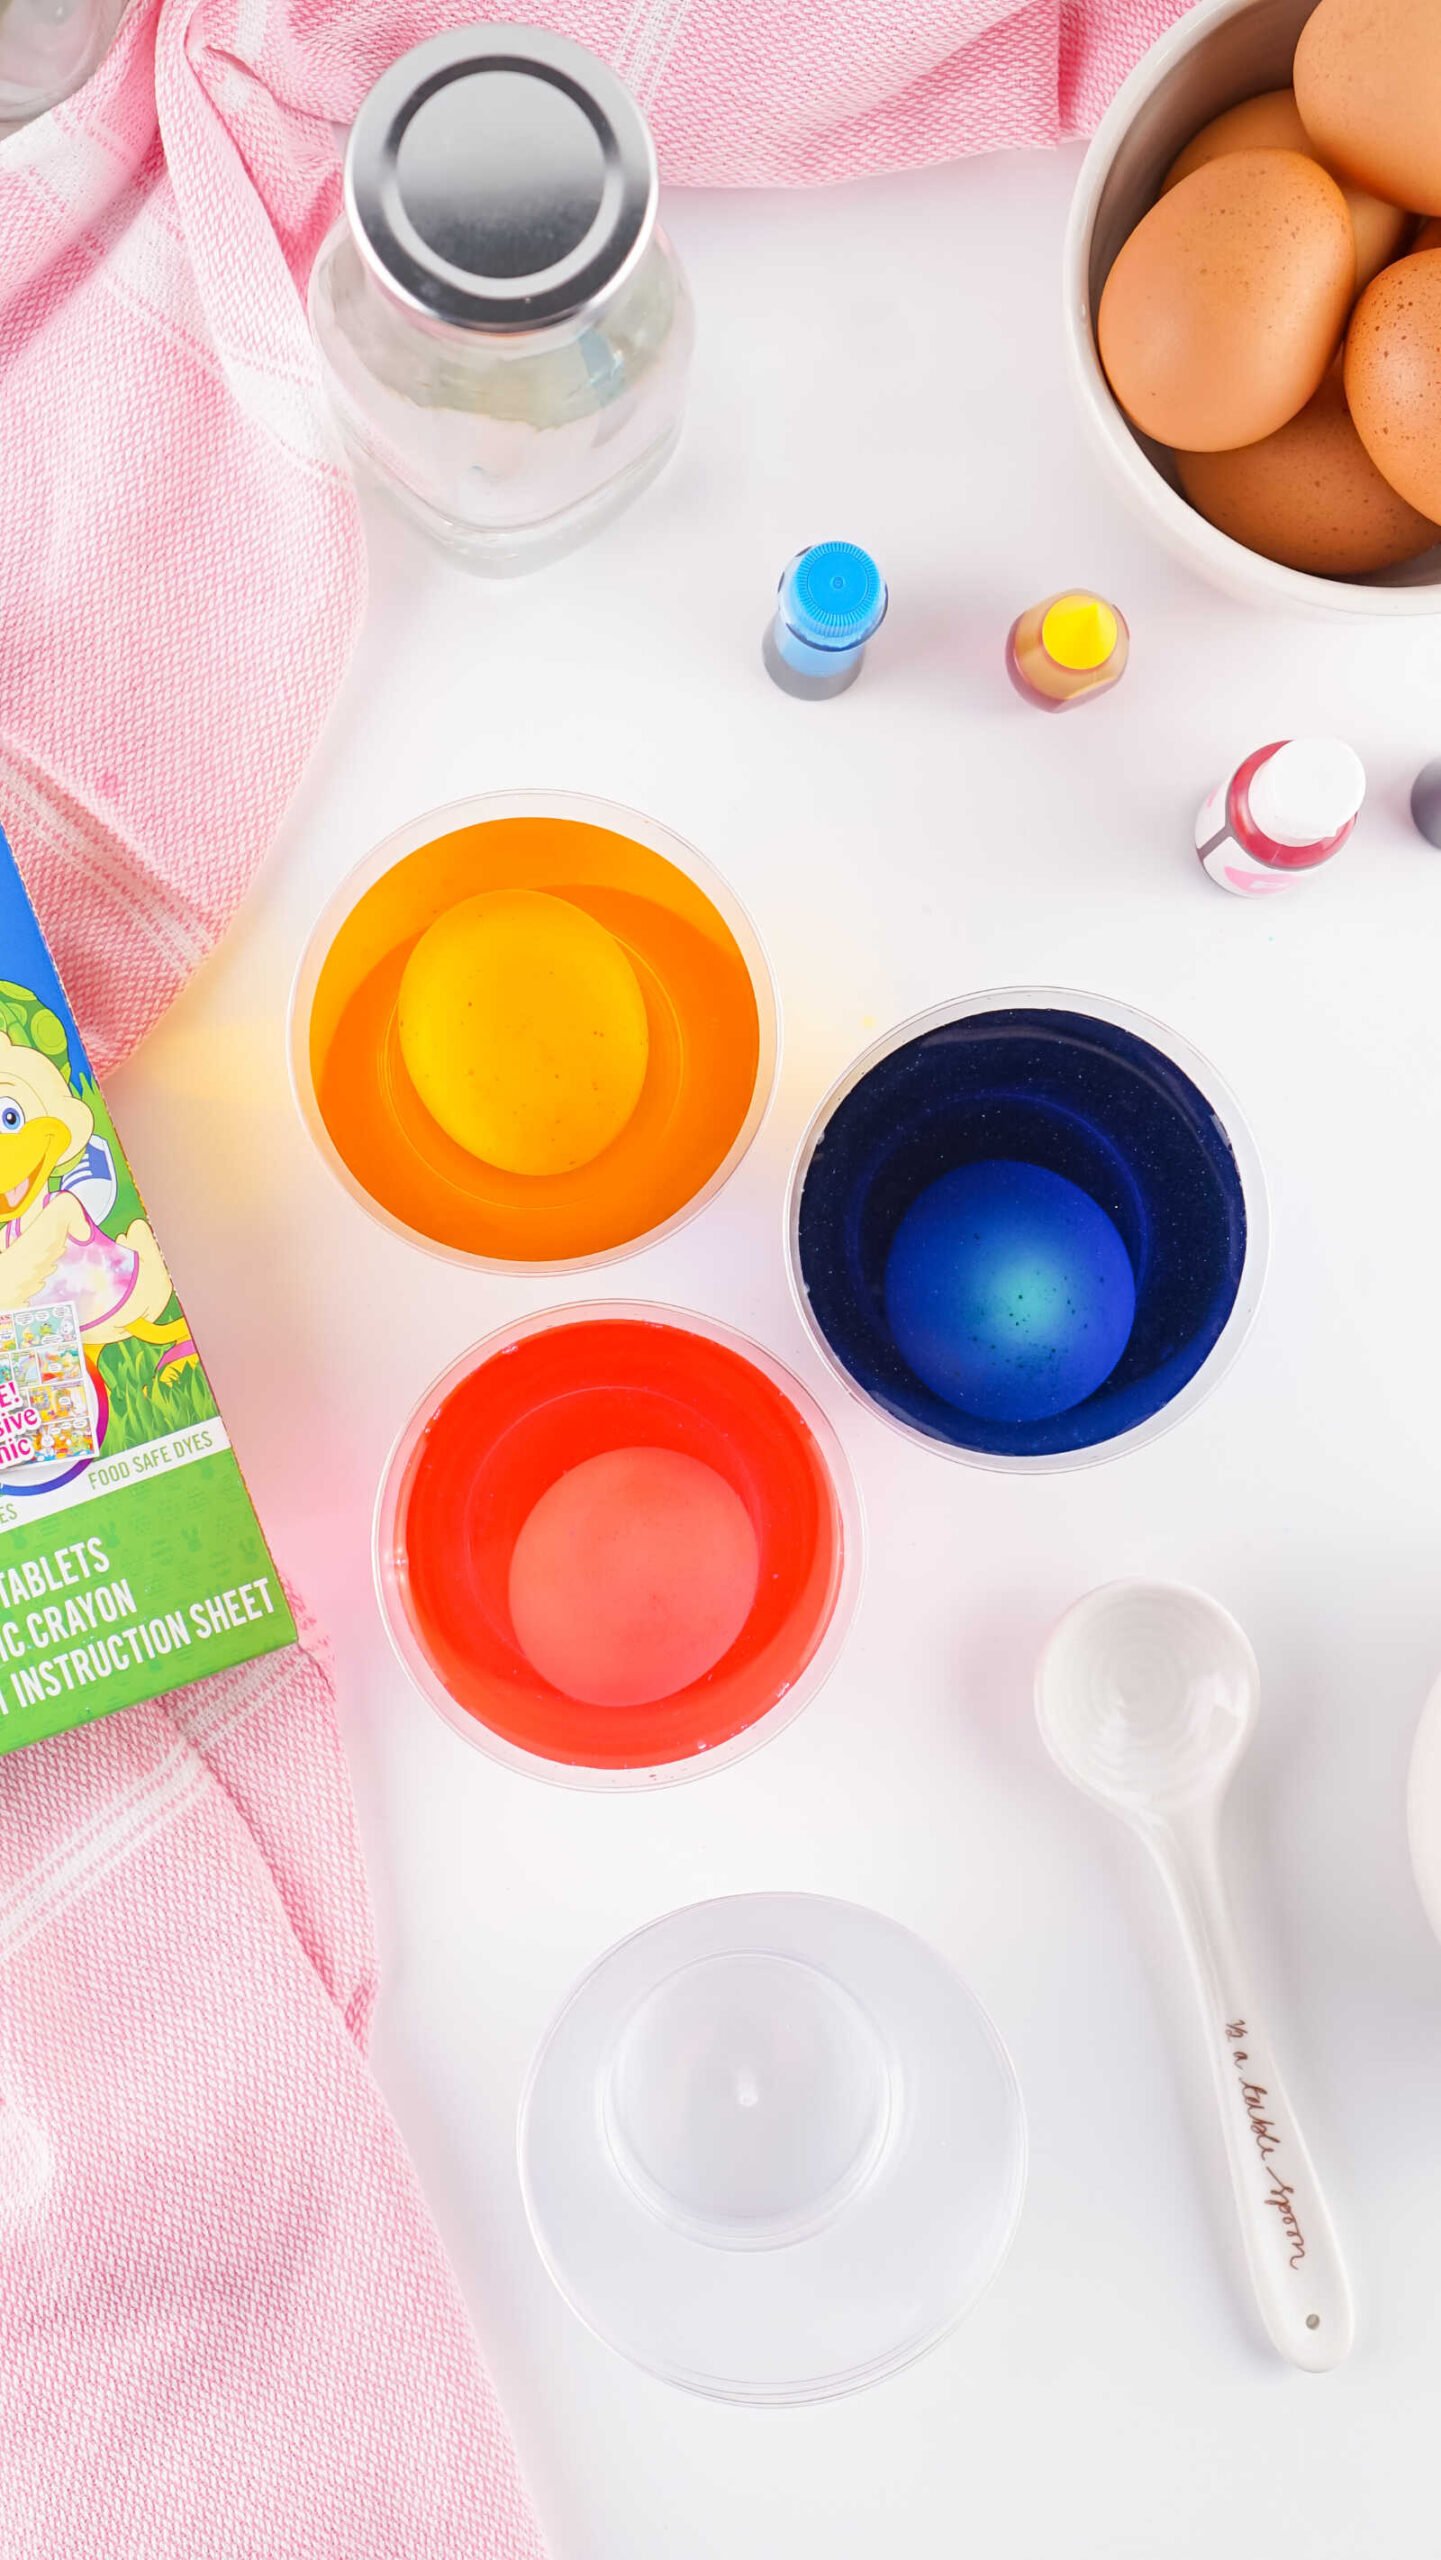
Preparing the Egg Dye
There are two common ways to prepare dye for decorating eggs.
Method 1: Using an Egg Decorating Kit
If you’re using a traditional egg decorating kit from the grocery store, follow these steps.
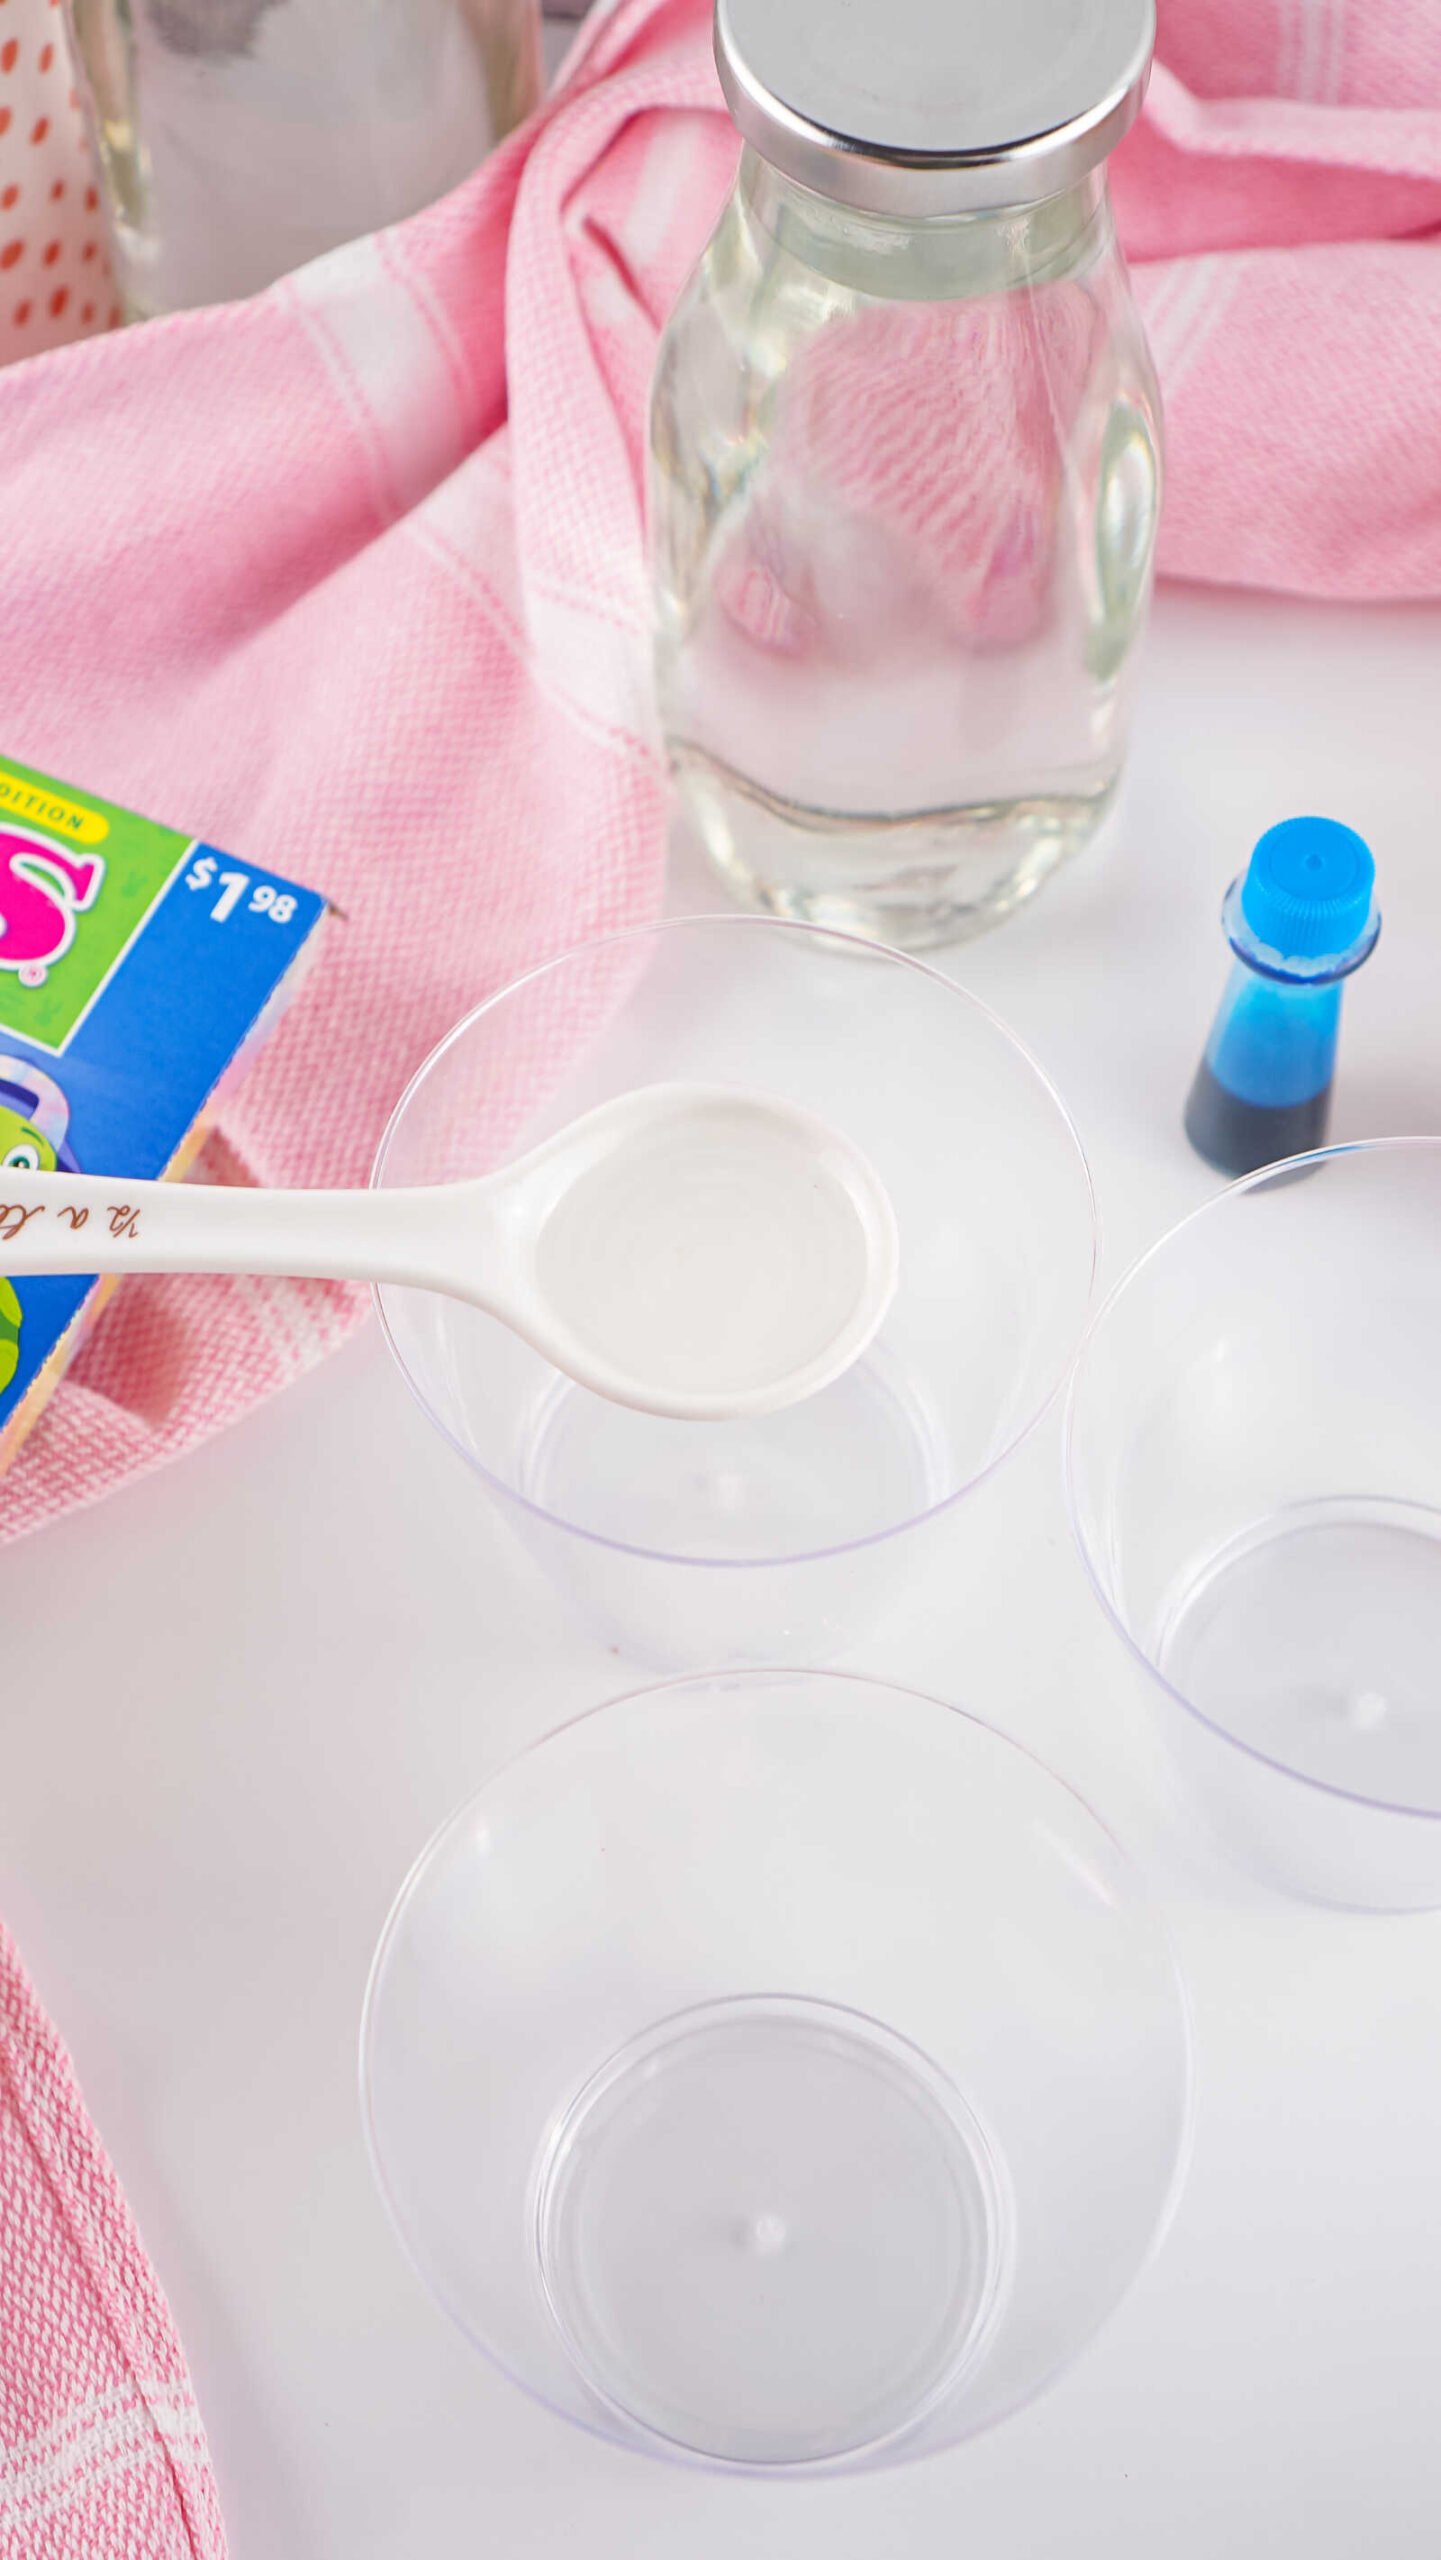
- Place one dye tablet into each cup.
- Add 1 tablespoon white vinegar to each cup.
- Allow the tablet to dissolve completely for about 5 minutes.
- Add ½ cup warm water to each cup.
- Stir lightly.
Once mixed, the dye is ready to use.
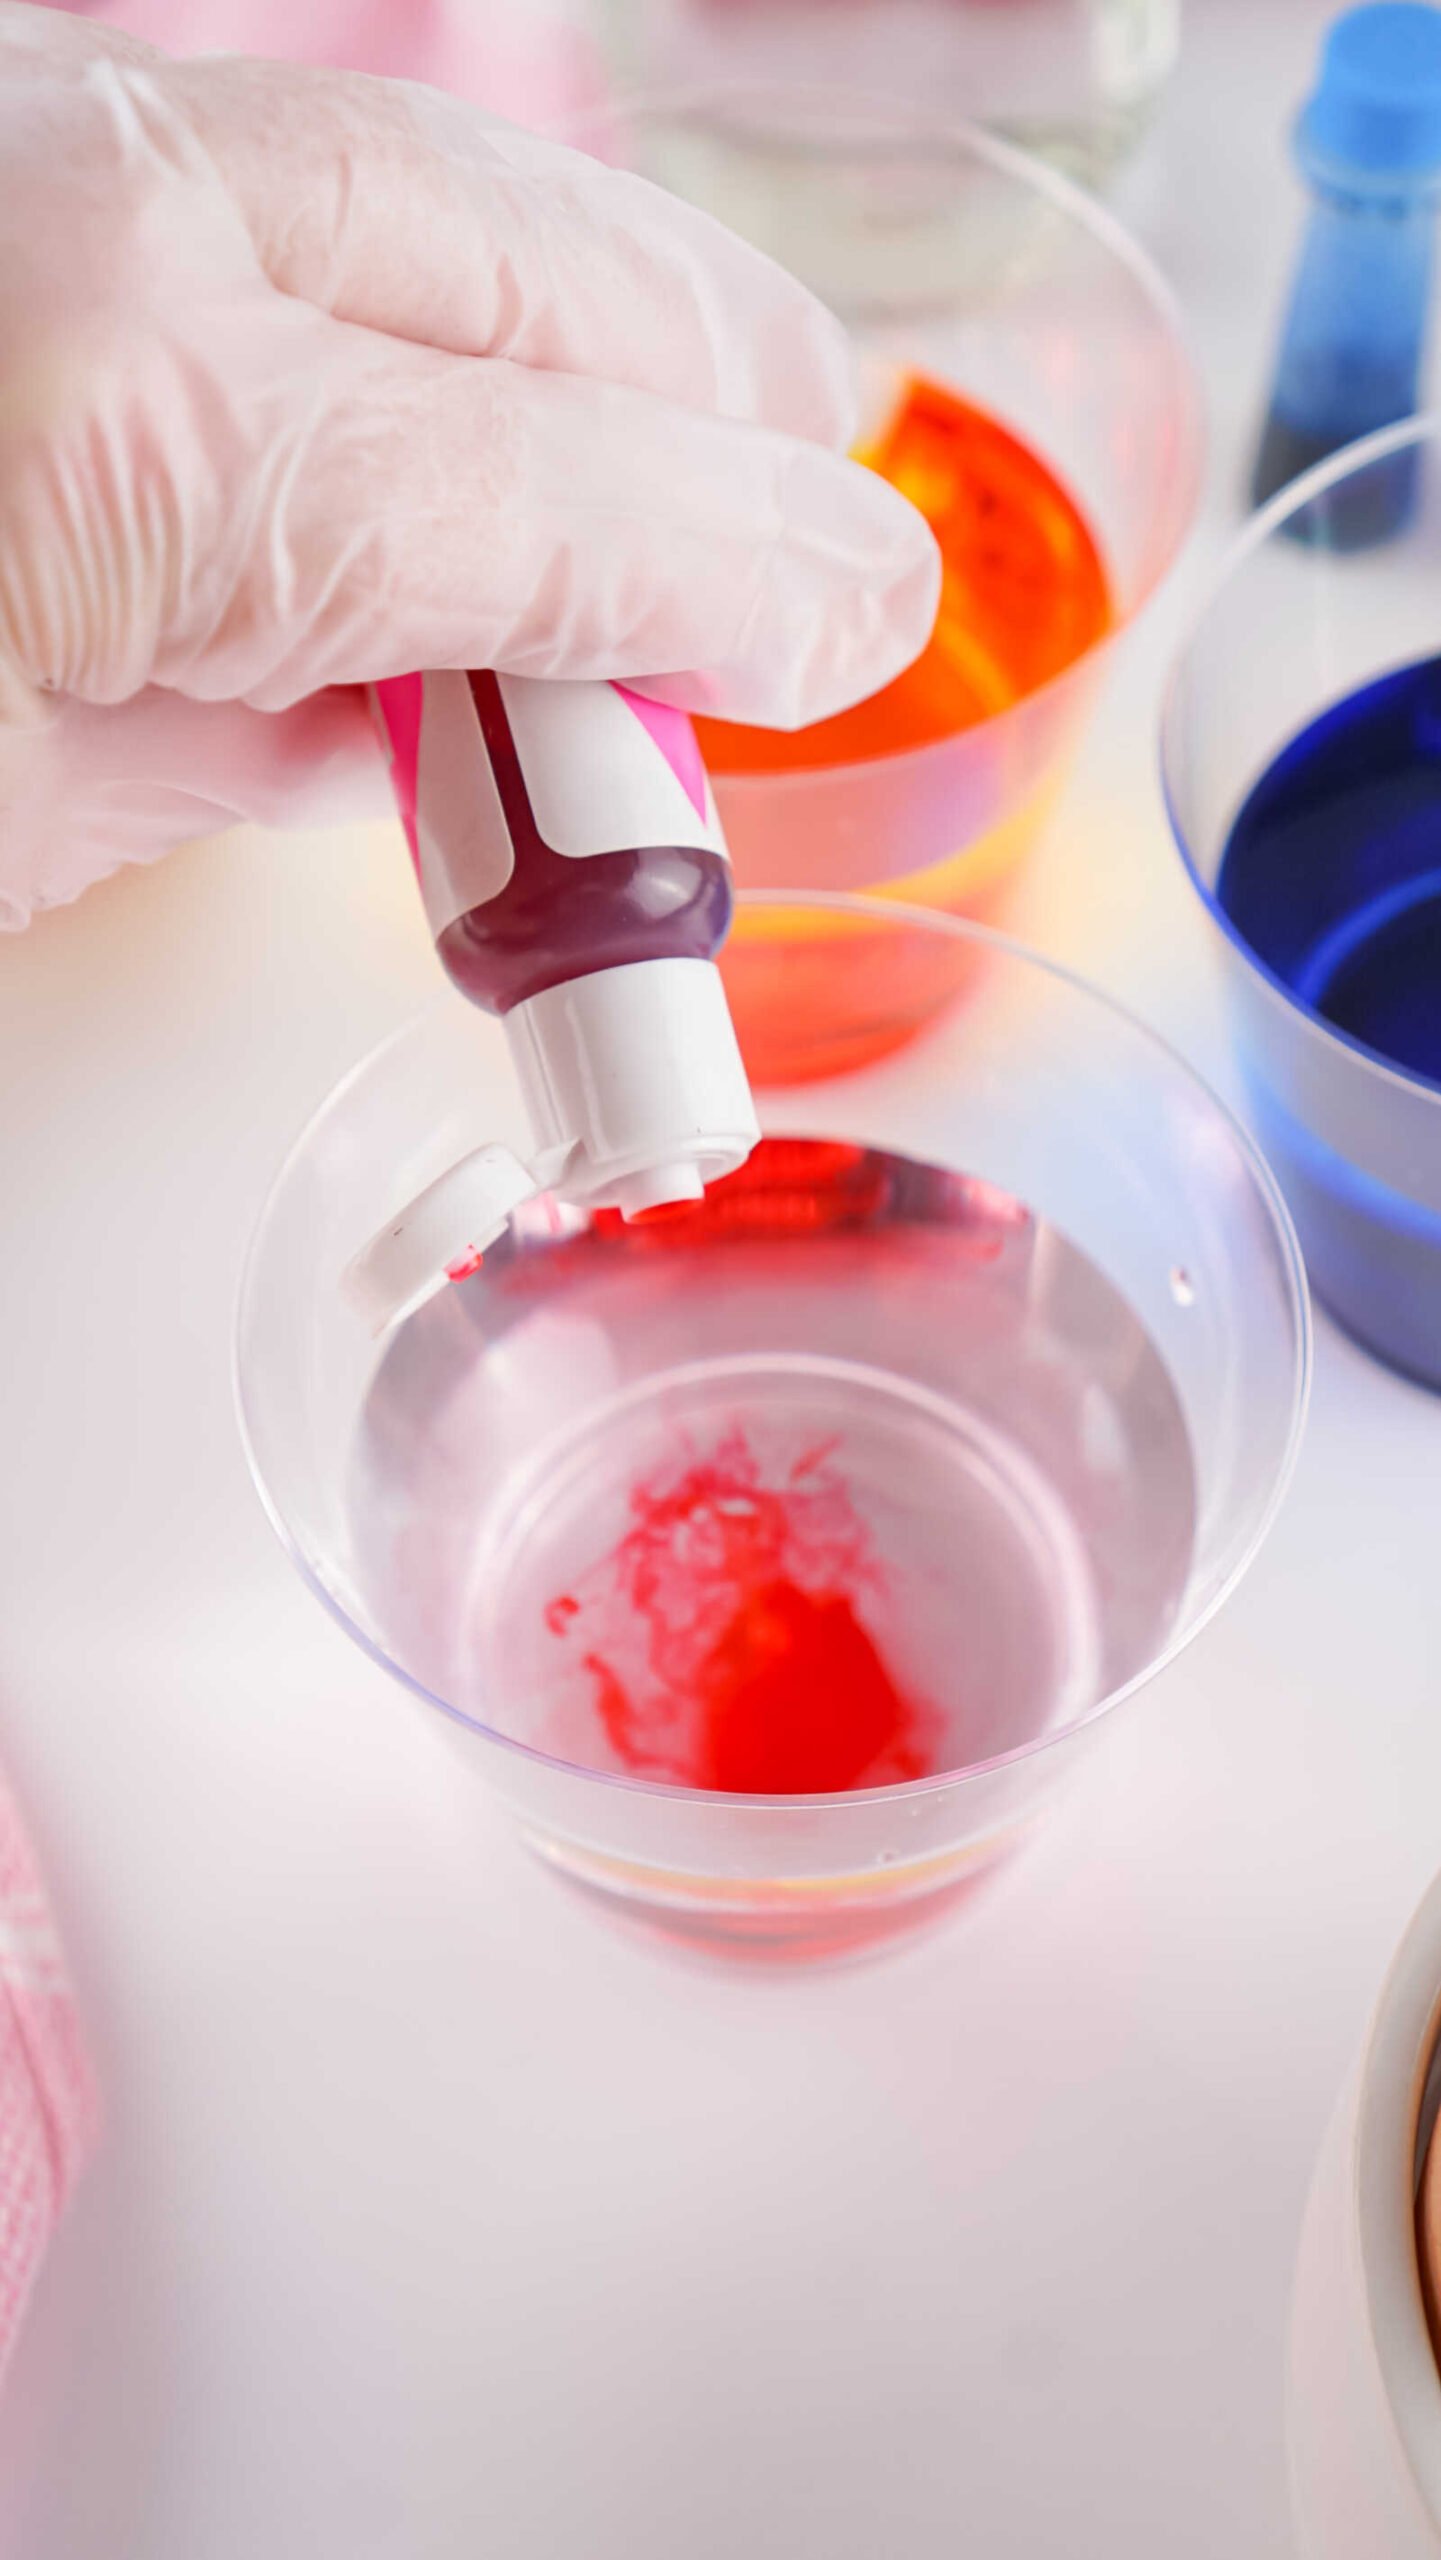
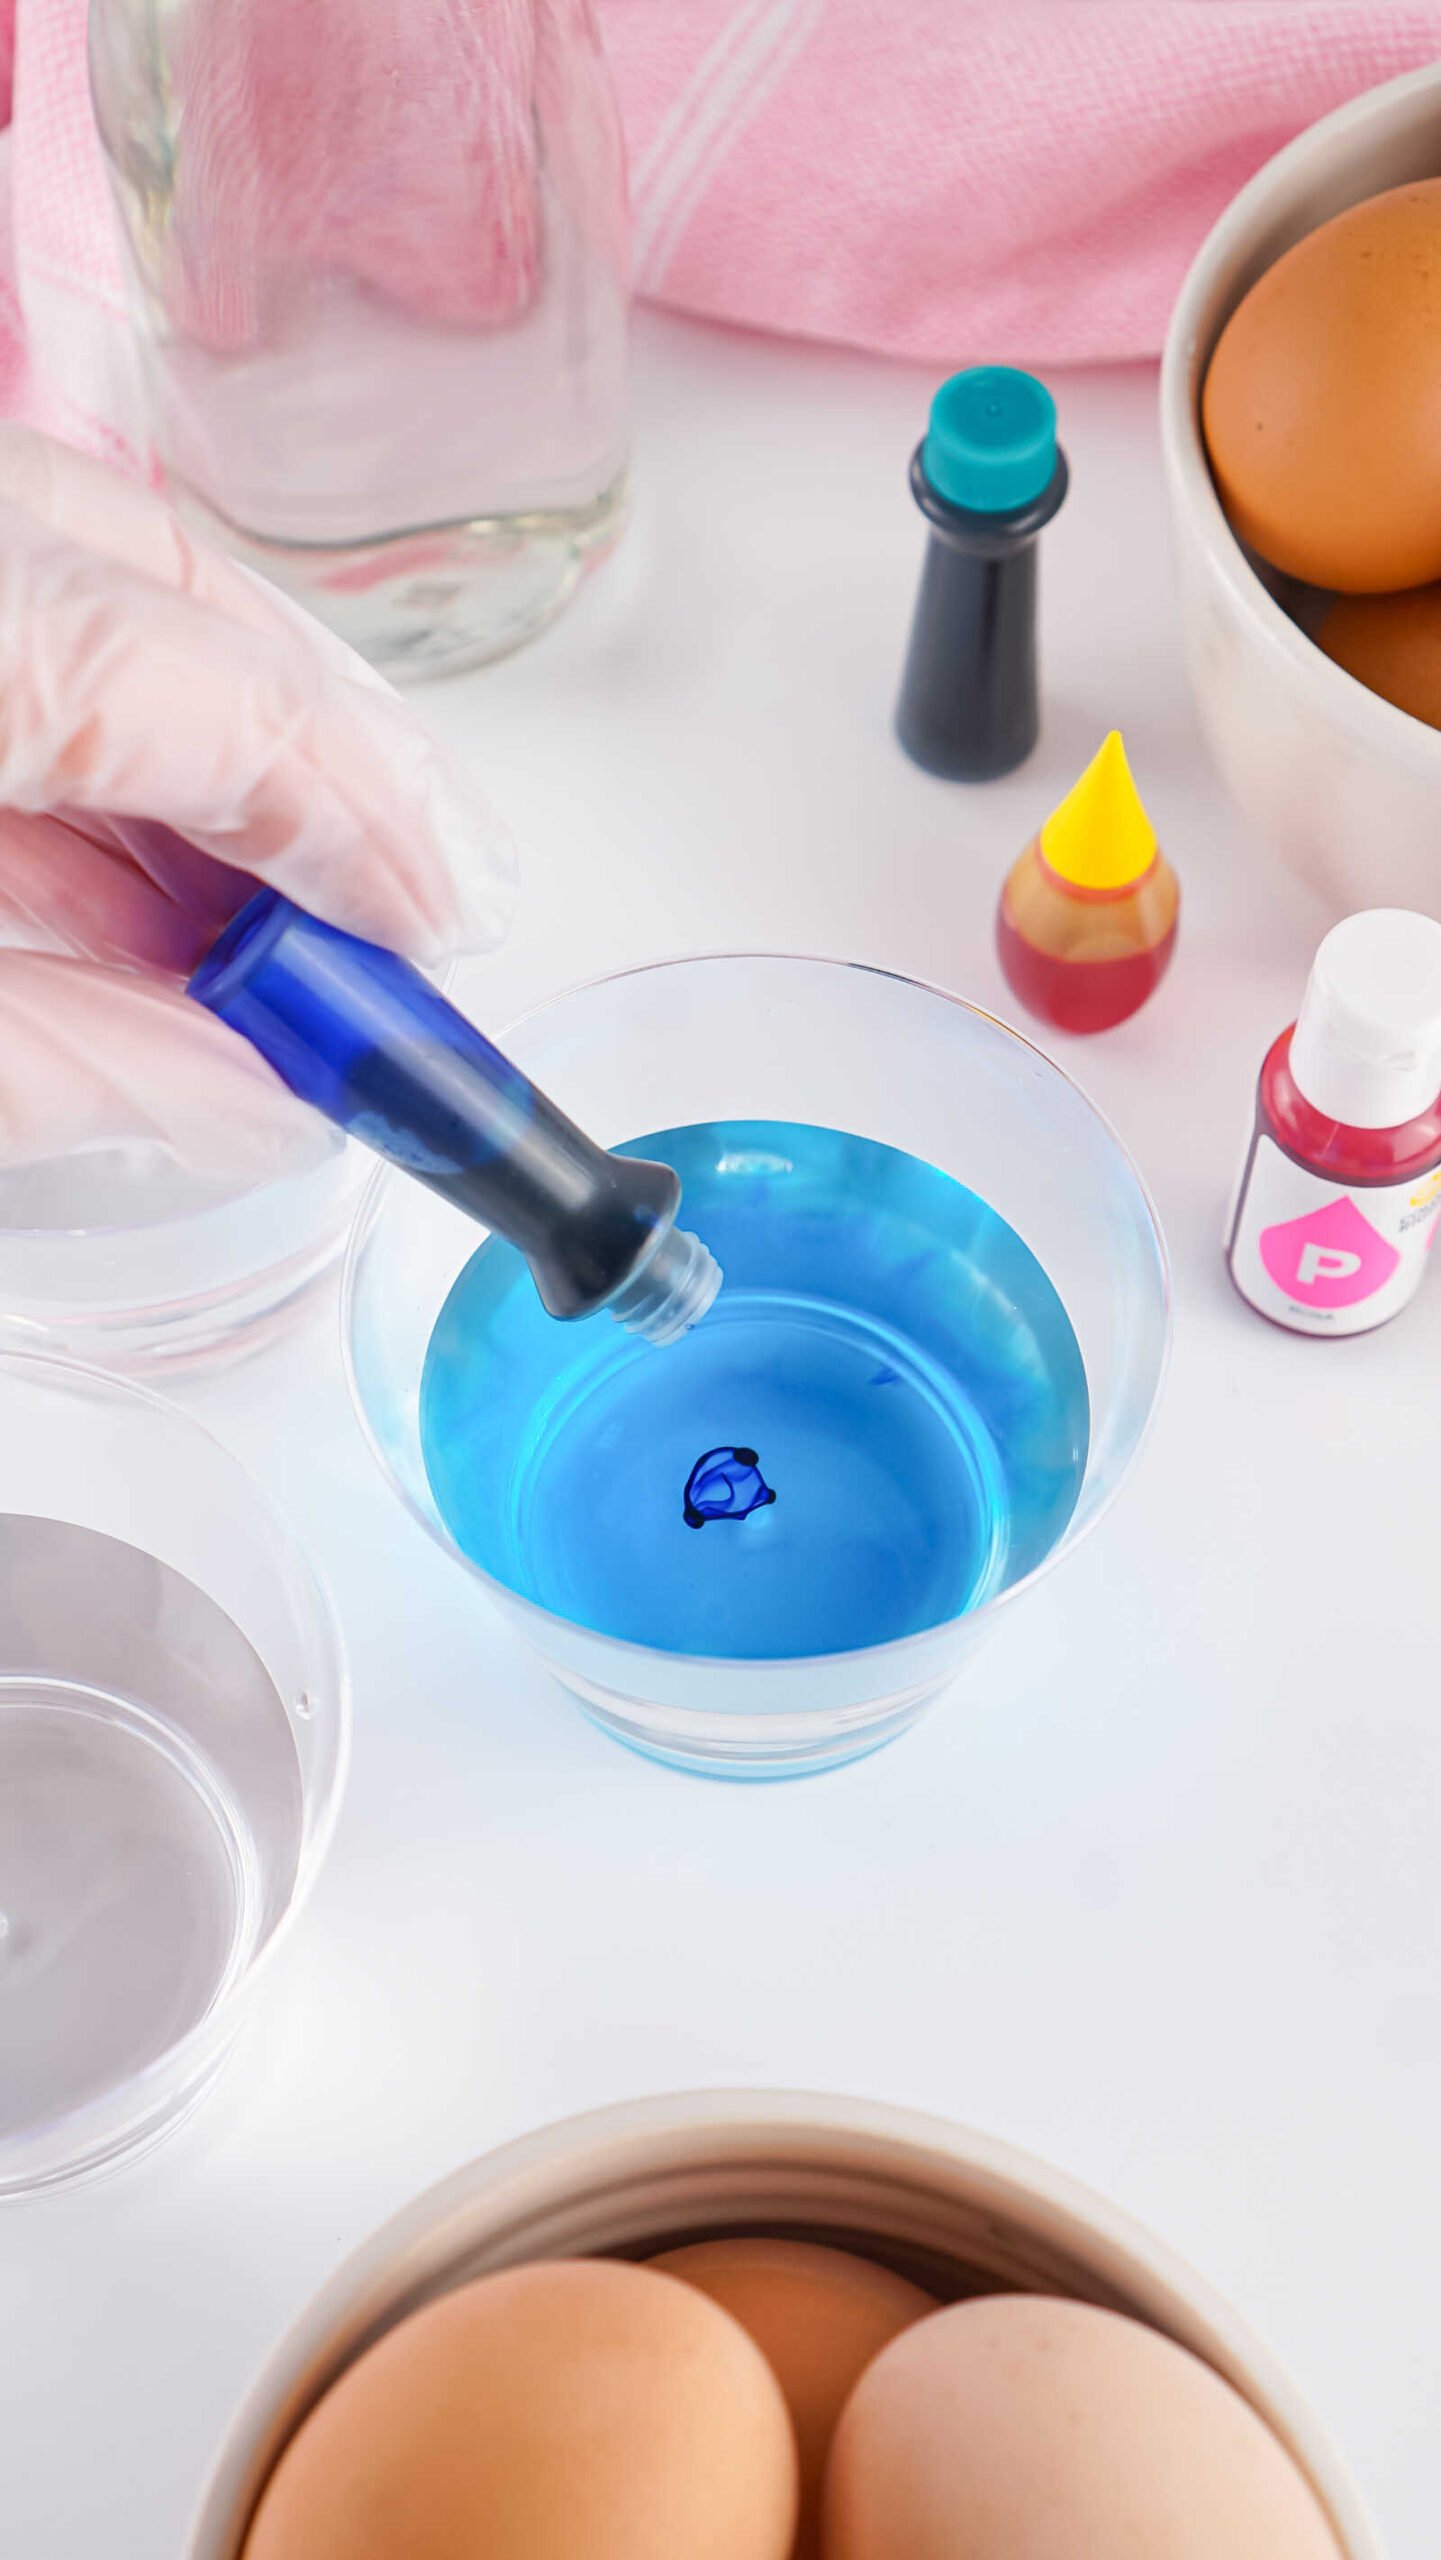
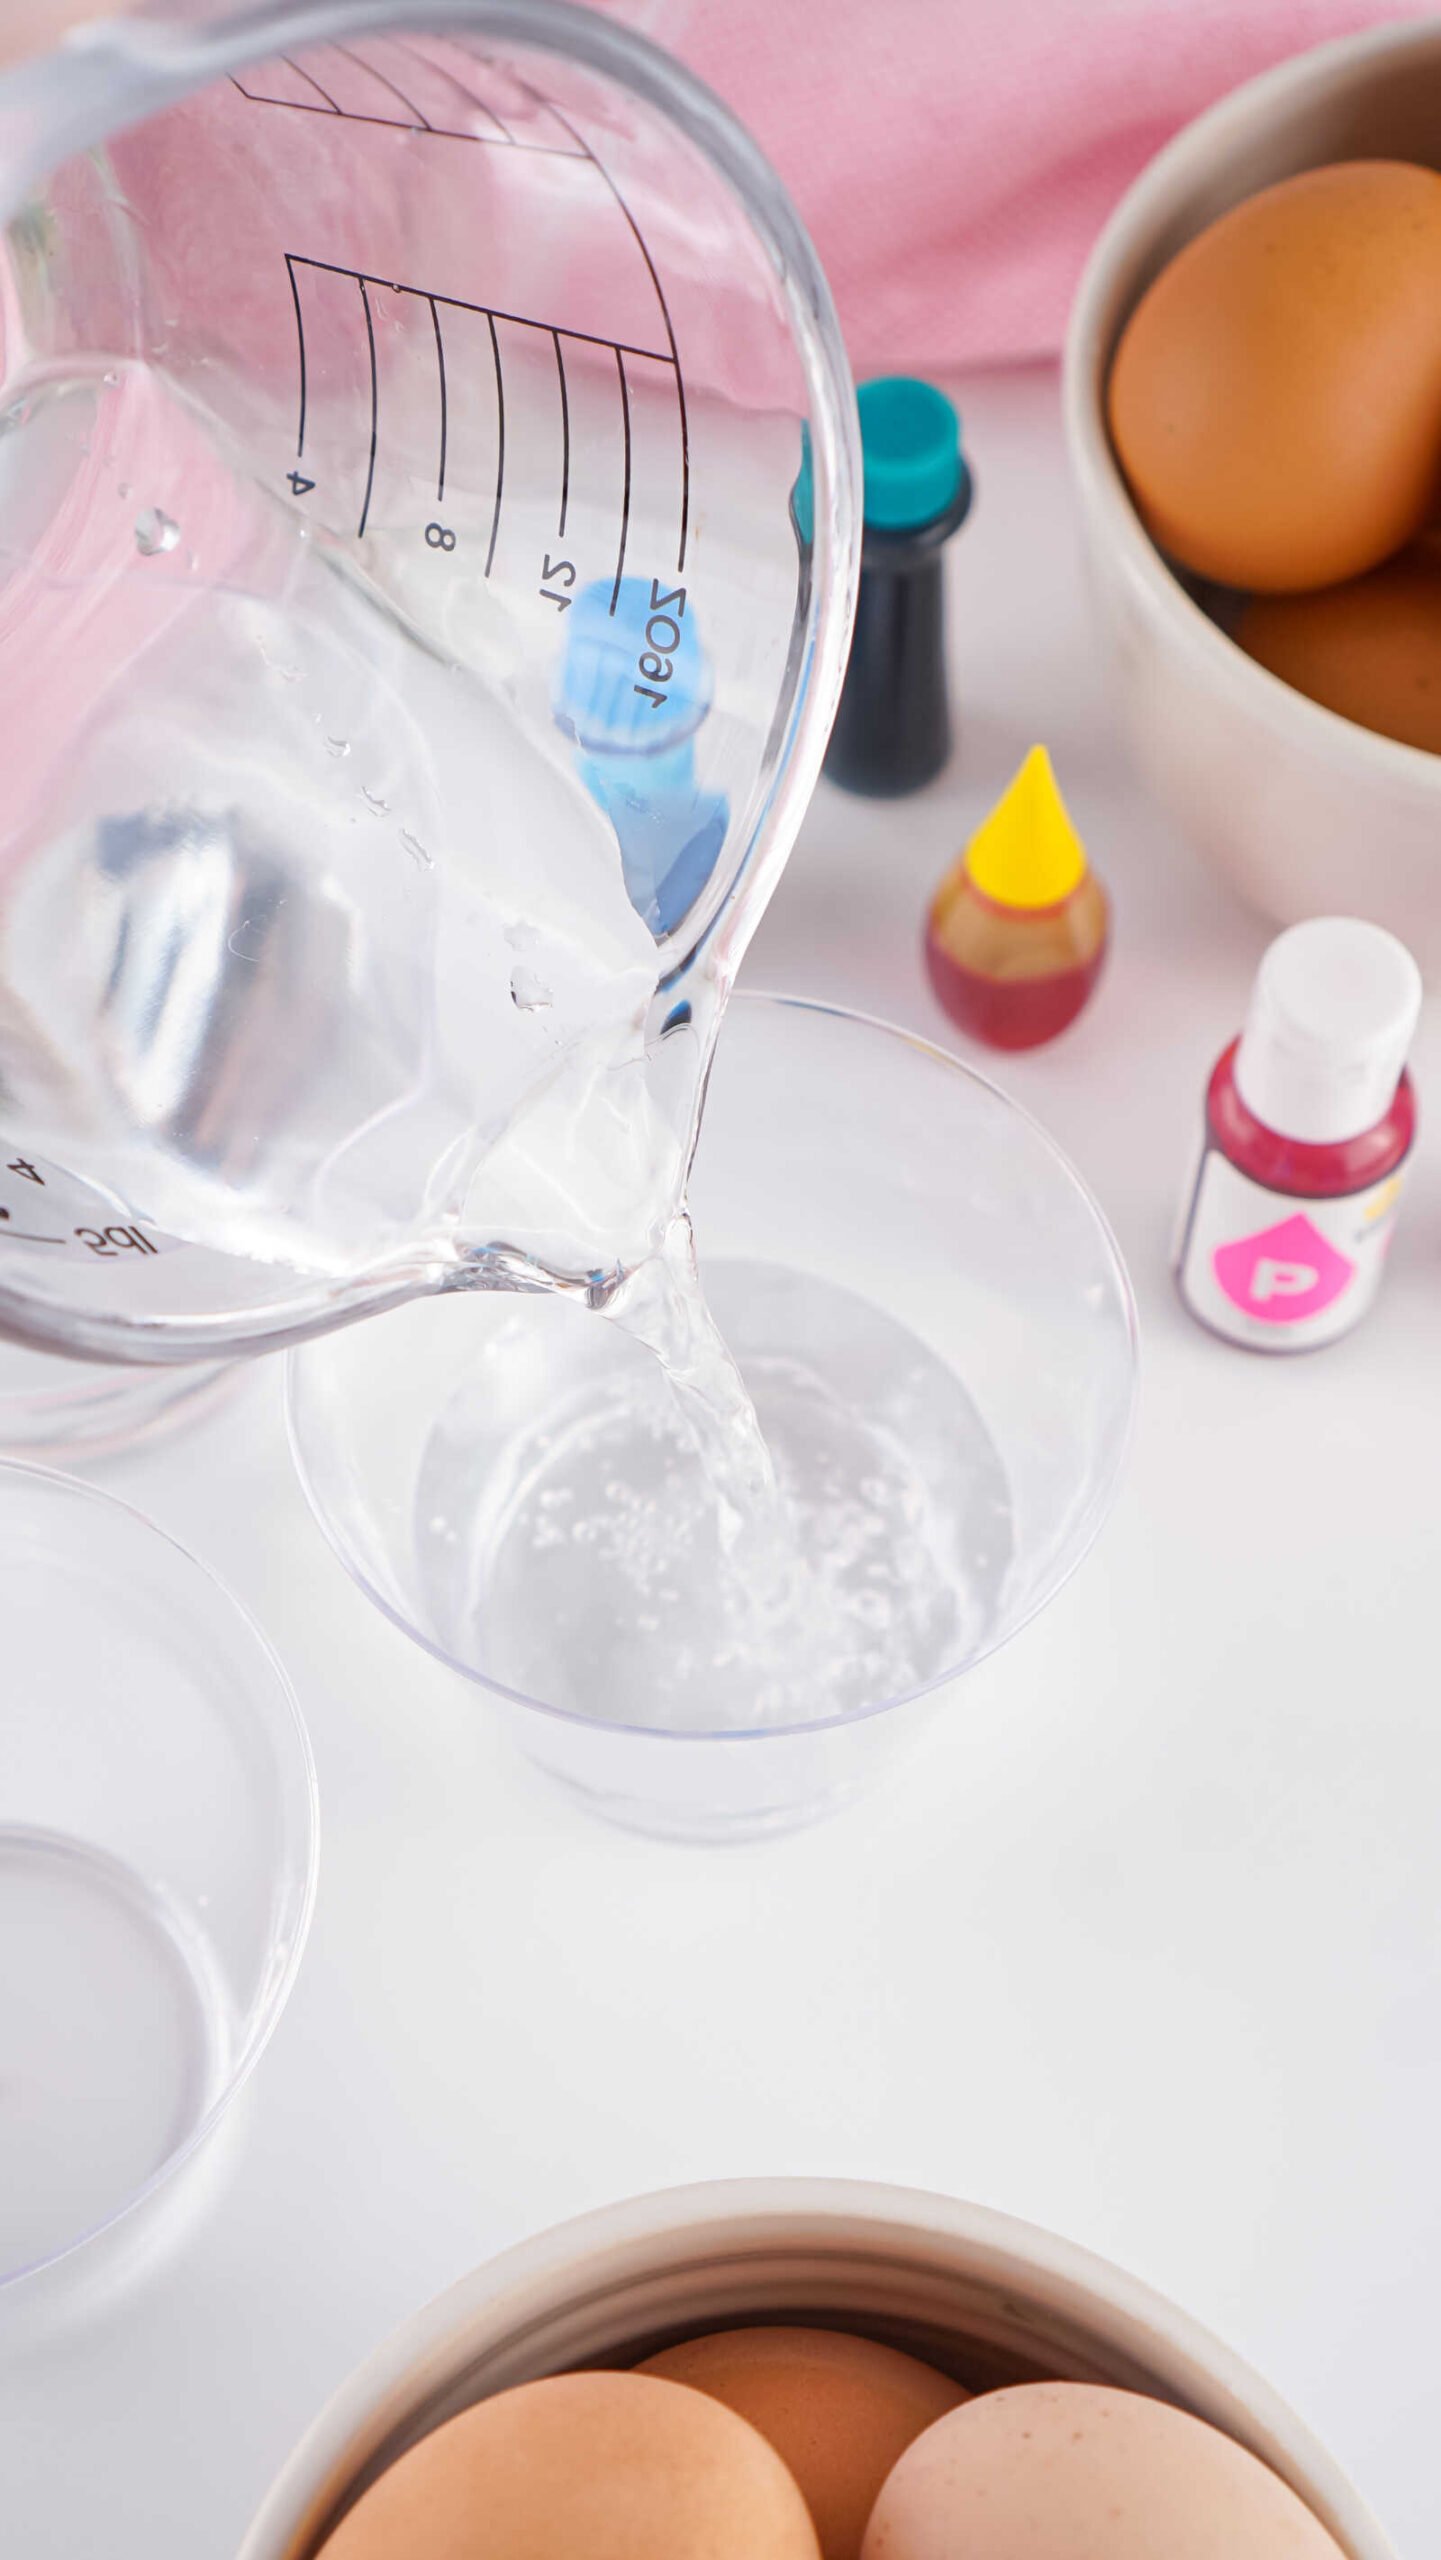
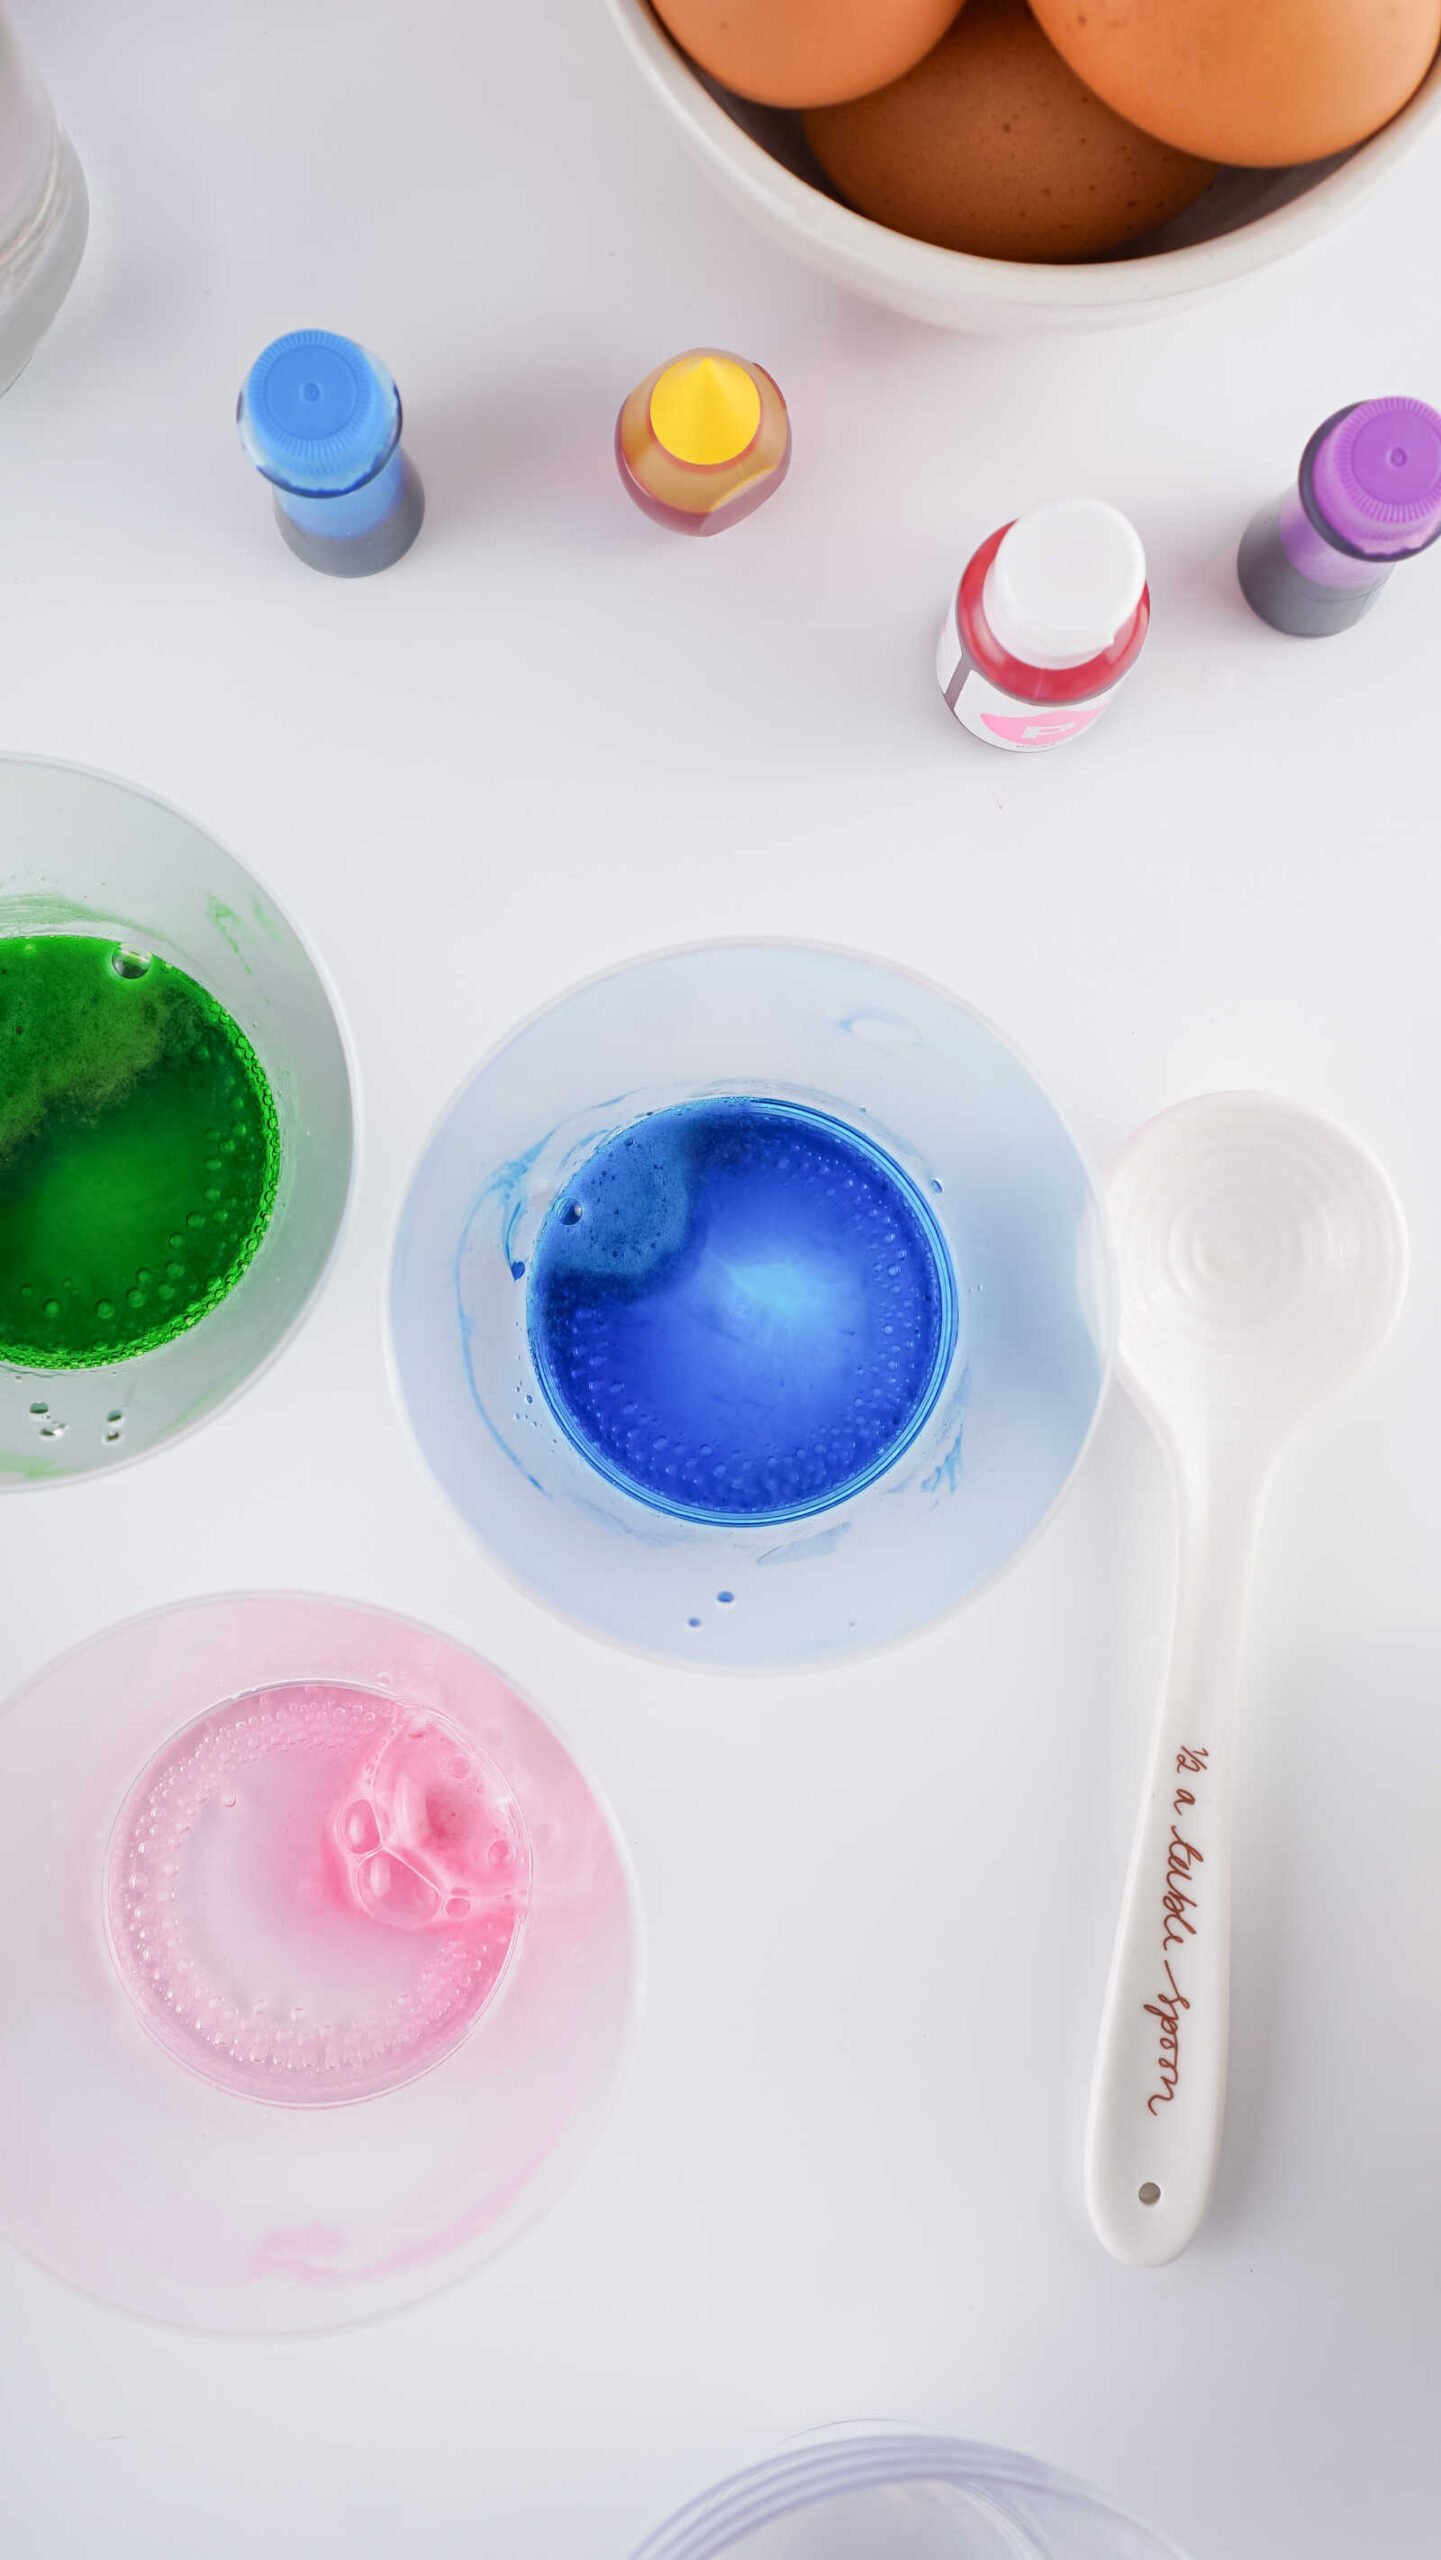
Method 2: Using Food Coloring
Food coloring works just as well as commercial egg dye tablets.
For each color:
- Add 1 tablespoon white vinegar to a cup.
- Add ½ cup warm water.
- Add 10 drops of liquid food coloring.
- Stir gently.
Now your homemade egg dye is ready.
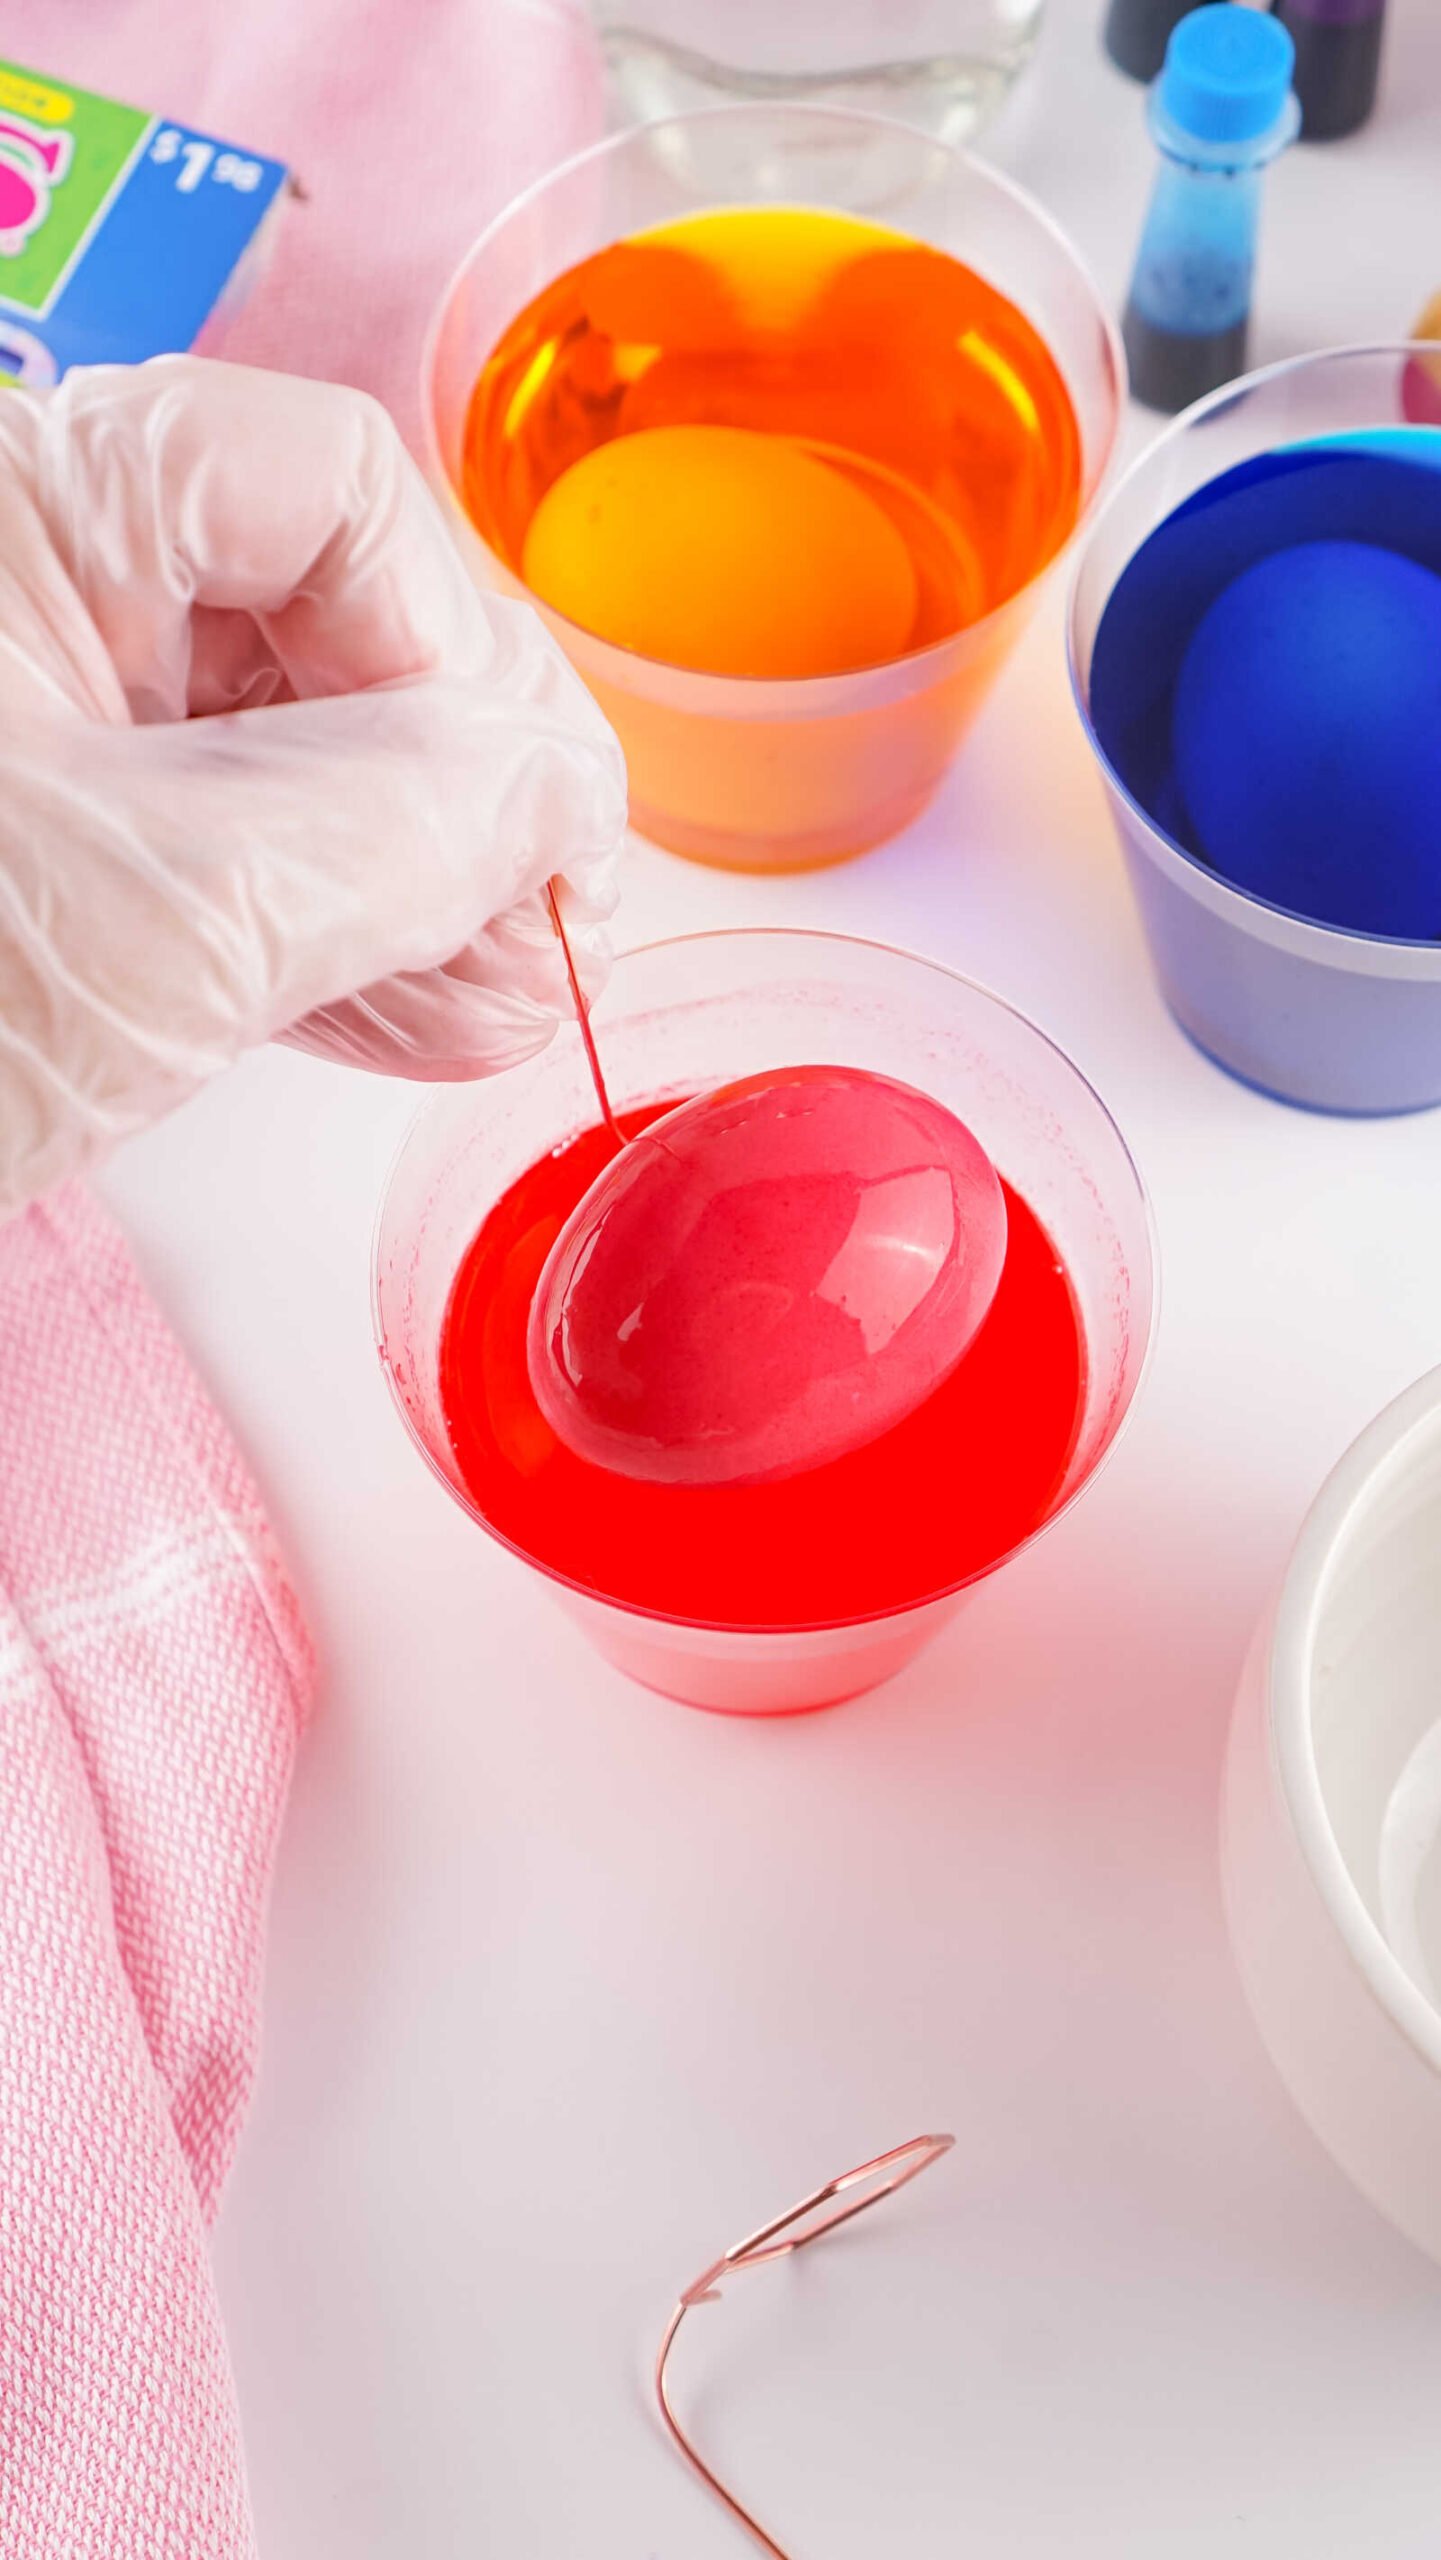
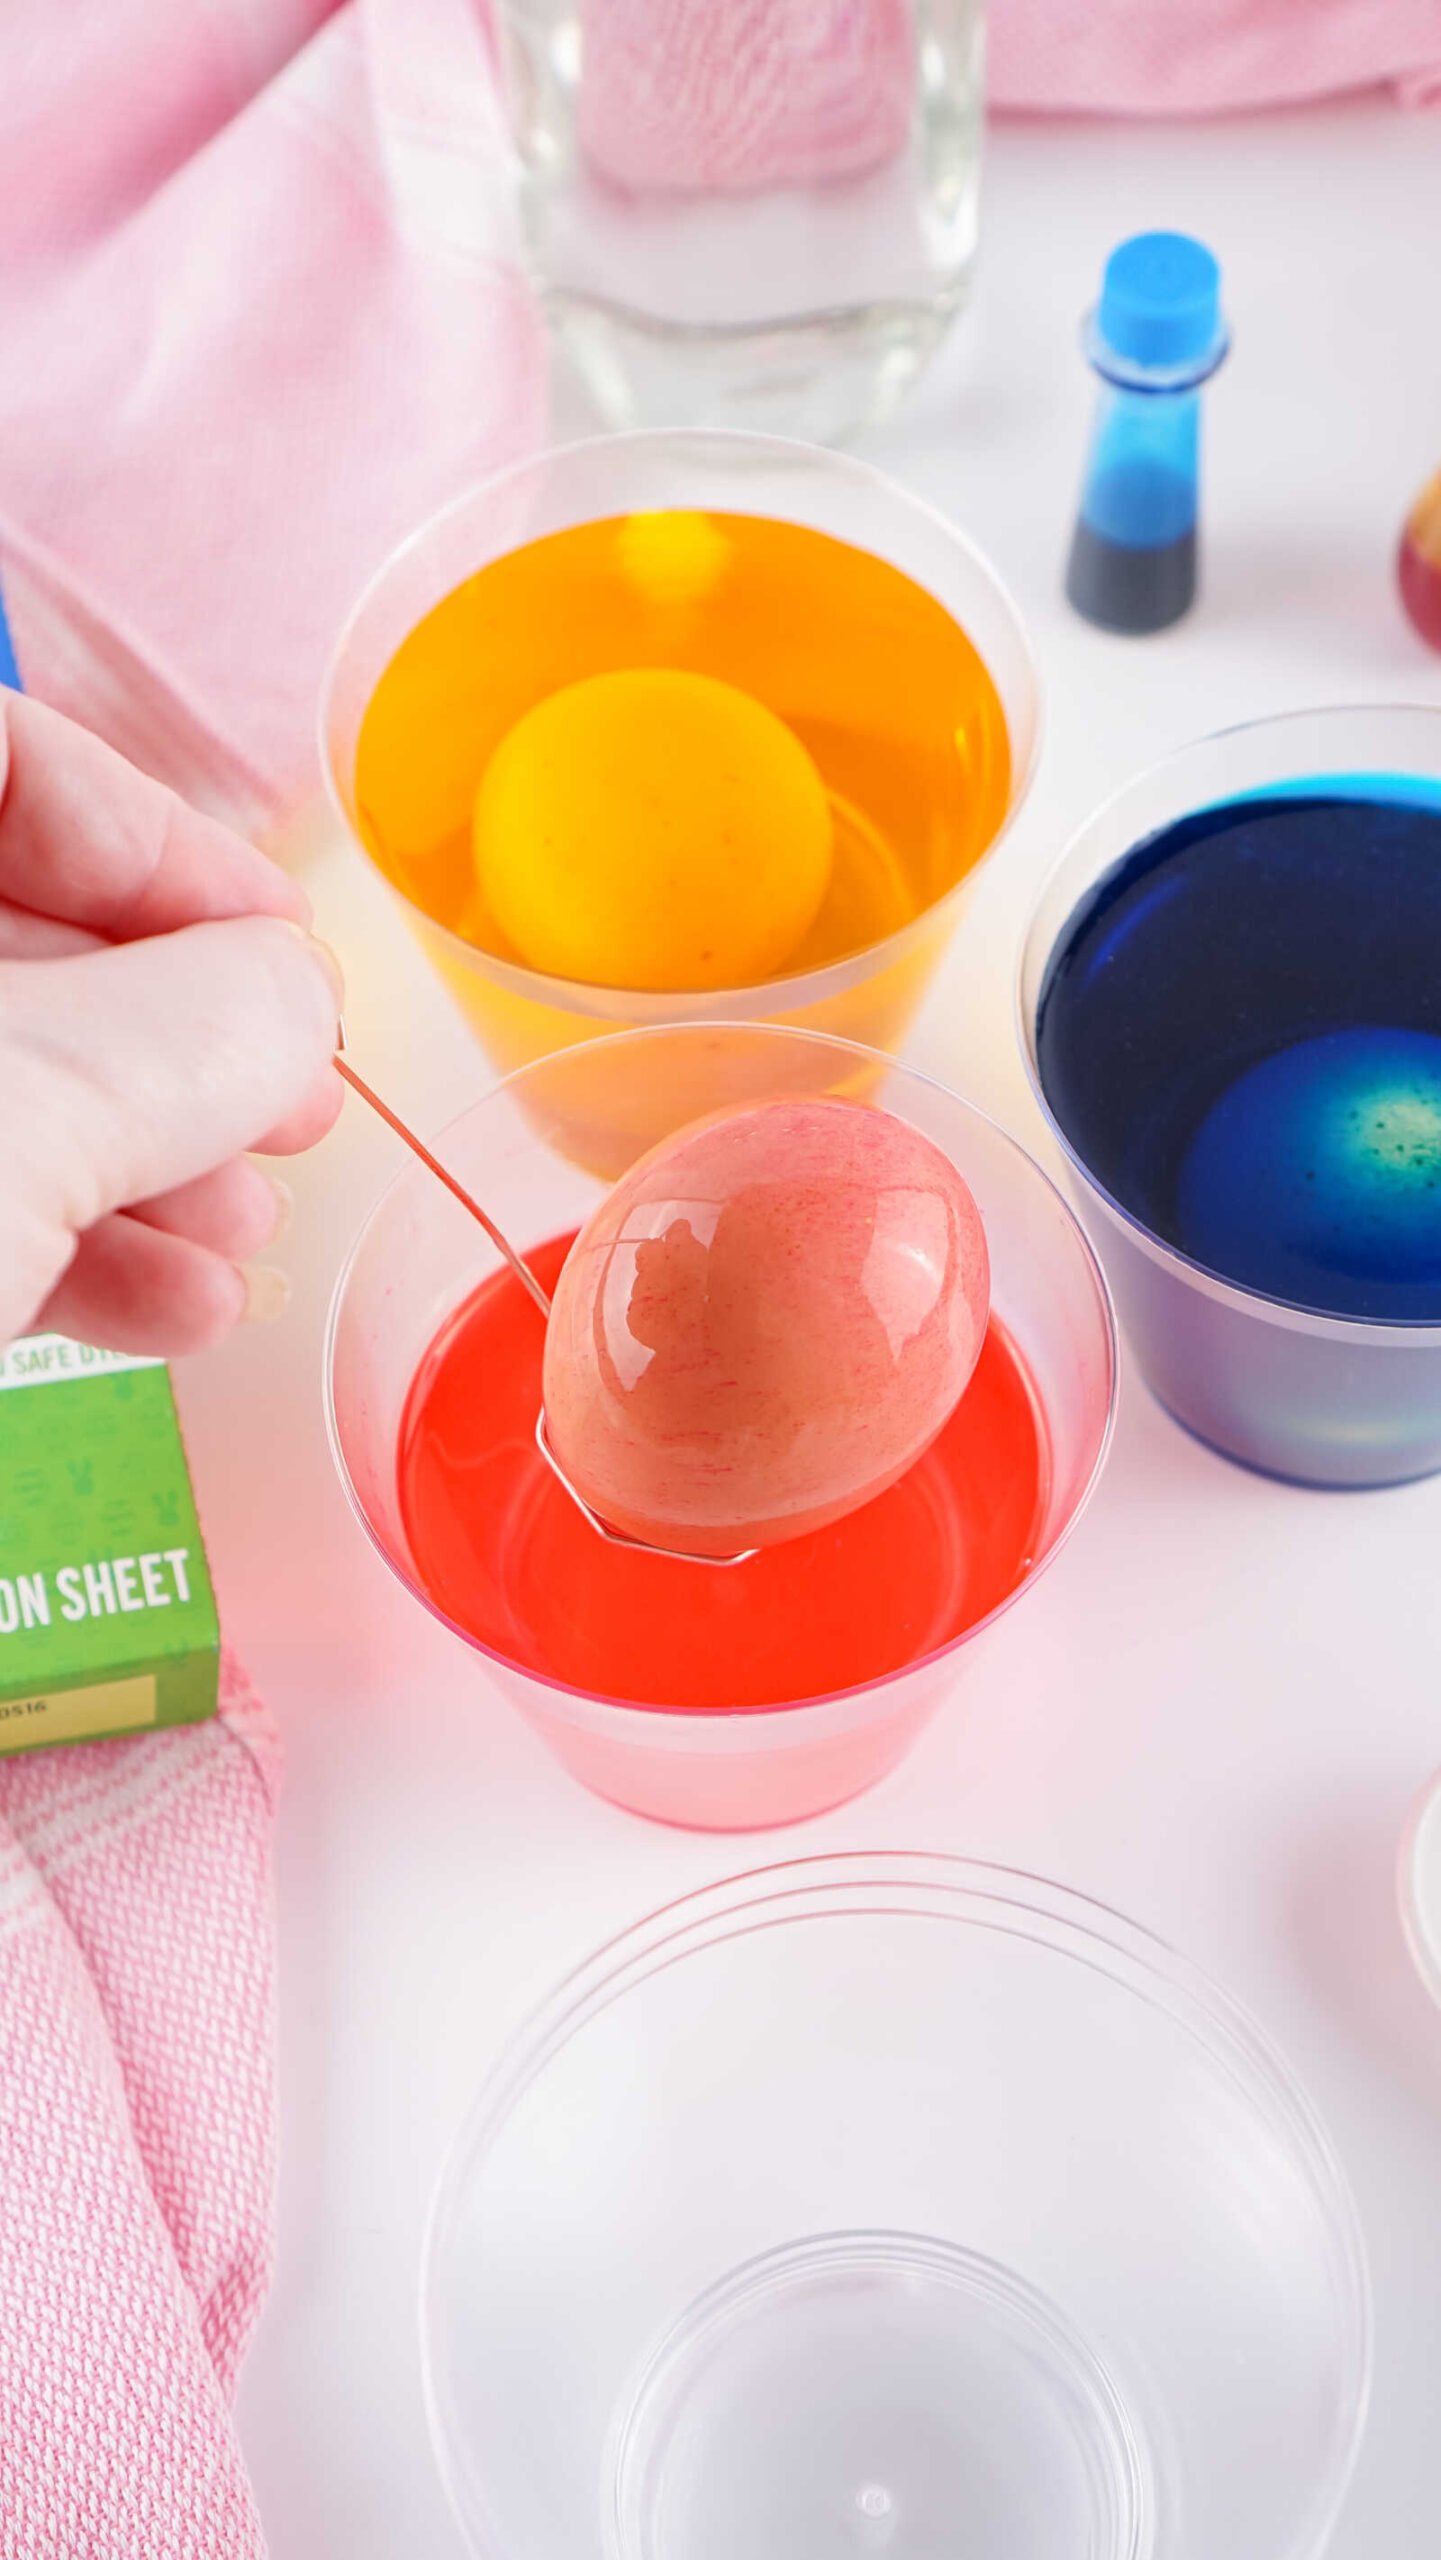
Dyeing the Brown Eggs
Once the dye is prepared, it’s time to color the eggs.
- Carefully place one egg at a time into the dye cup.
- Let the egg rest in the dye for 7 minutes.
You can remove them sooner if you prefer lighter colors, but brown eggs need a little extra time for the color to penetrate the shell.
Five minutes will work, but seven minutes produces much better results.
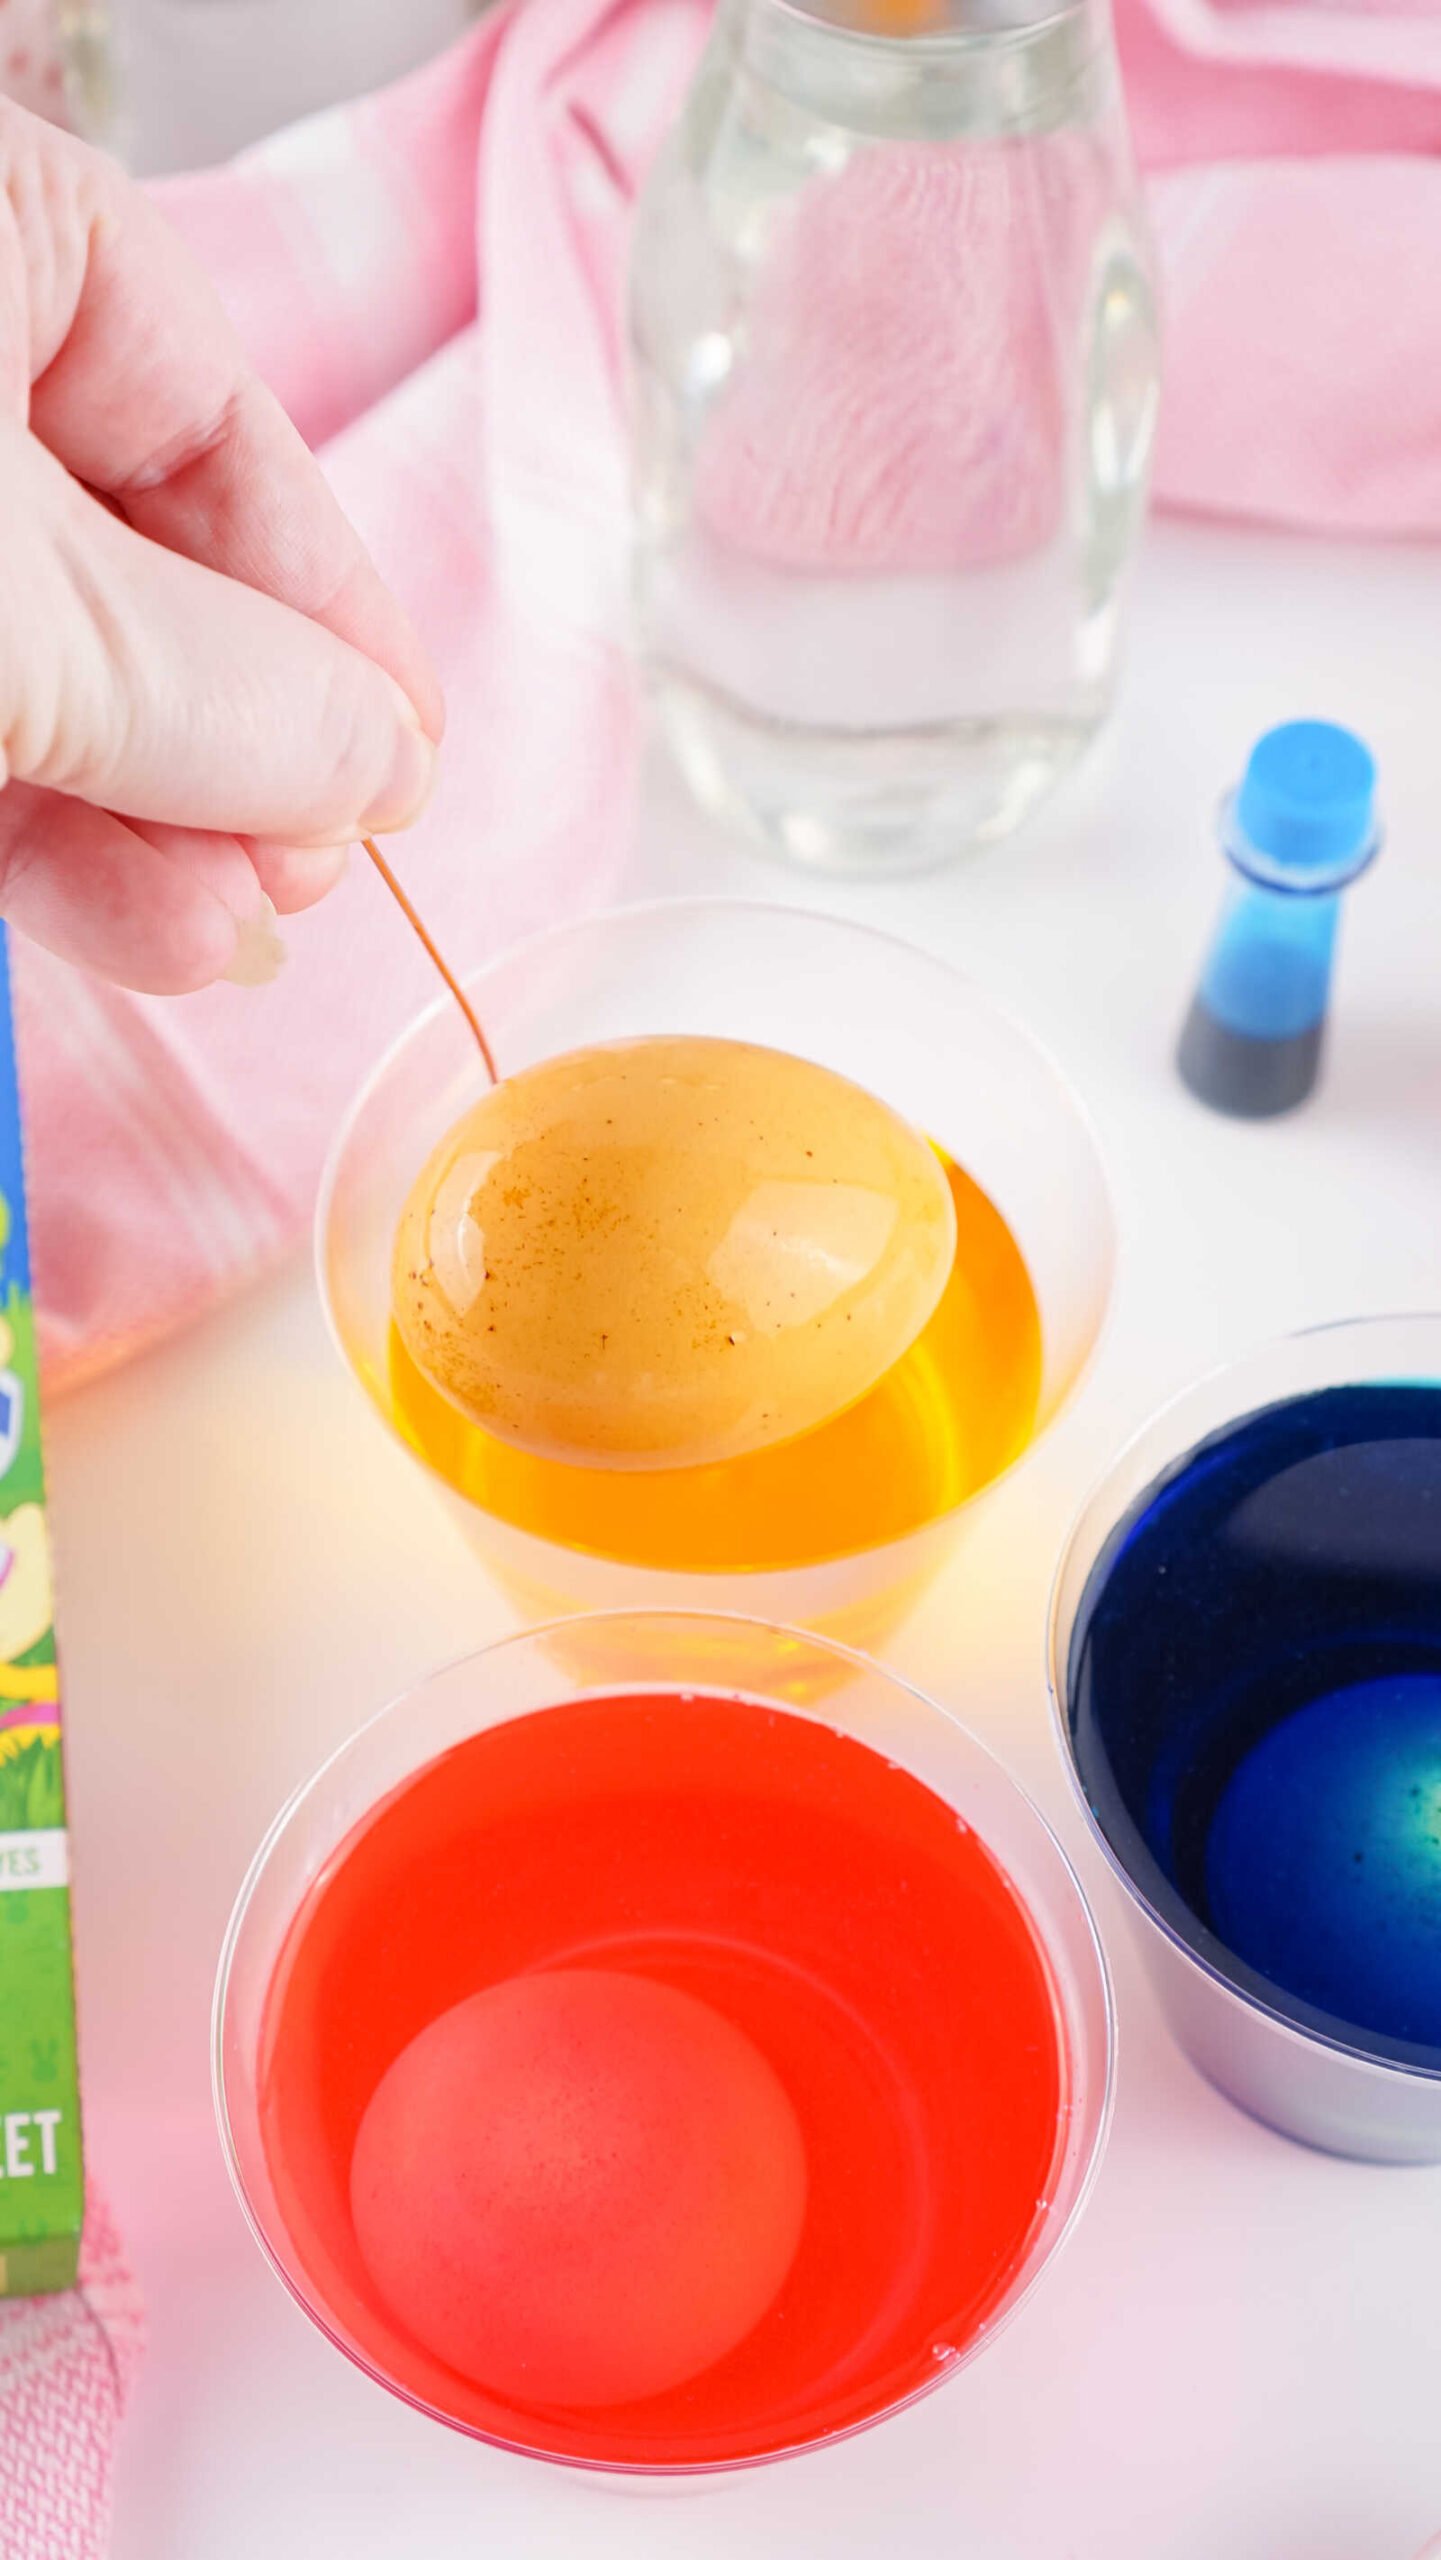
Removing and Drying the Eggs
When removing the eggs from the dye:
- Use a spoon or egg dipper to lift them out.
- Place them briefly on a paper towel.
- Gently pat them dry.
Avoid letting the eggs sit too long on the paper towel. If they remain there too long, the side touching the towel can become discolored.
Once dried, place the eggs back into their egg carton.
Storing Your Dyed Eggs
Once the eggs are dry, they can be used for decorating, Easter baskets, or meals.
Store them in the refrigerator inside their original egg carton.
Dyed eggs will stay safe to eat for up to 3 days.
Do not freeze dyed eggs.

Alternative Egg Dyeing Methods
While traditional food coloring works best, we experimented with several other popular dyeing methods as well.
Here’s what we discovered.
Kool-Aid Egg Dye
Kool-Aid is a fun alternative for dyeing eggs.
Simply replace the dye tablet or food coloring with:
1 packet of Kool-Aid per cup
The rest of the steps remain exactly the same.
Results vary depending on the flavor and color.
Best Kool-Aid Colors
- Red
- Blue
- Purple
These tend to produce the richest colors.
Weak Kool-Aid Colors
- Yellow
- Pink
These shades often appear too faint on brown eggs.
So while the Kool-Aid method works, it’s best for stronger colors.

Jello Egg Dye
We also tested dyeing eggs with Jello powder. Unfortunately, this method is not recommended.
The colors tend to be inconsistent and often don’t stick well to the eggshell. It can also become sticky and messy during the process.
For the best results, stick with food coloring, egg kits, or strong Kool-Aid colors.
Tips for Dyeing Brown Eggs
A few simple tips can help you get the most vibrant results.
Always Use Vinegar in the Dye Cups
Even if you skip the vinegar pre-soak, never skip the vinegar in the dye mixture. Vinegar is what allows the color to adhere to the eggshell. Without vinegar, the dye won’t bond properly and the color will appear faint.
Avoid Gel Food Dye
Gel food coloring doesn’t work as well for egg dye. It tends to produce uneven color and can be messy to mix. If gel dye is all you have, make sure to stir thoroughly to dissolve it as much as possible. However, liquid food coloring produces the best results.
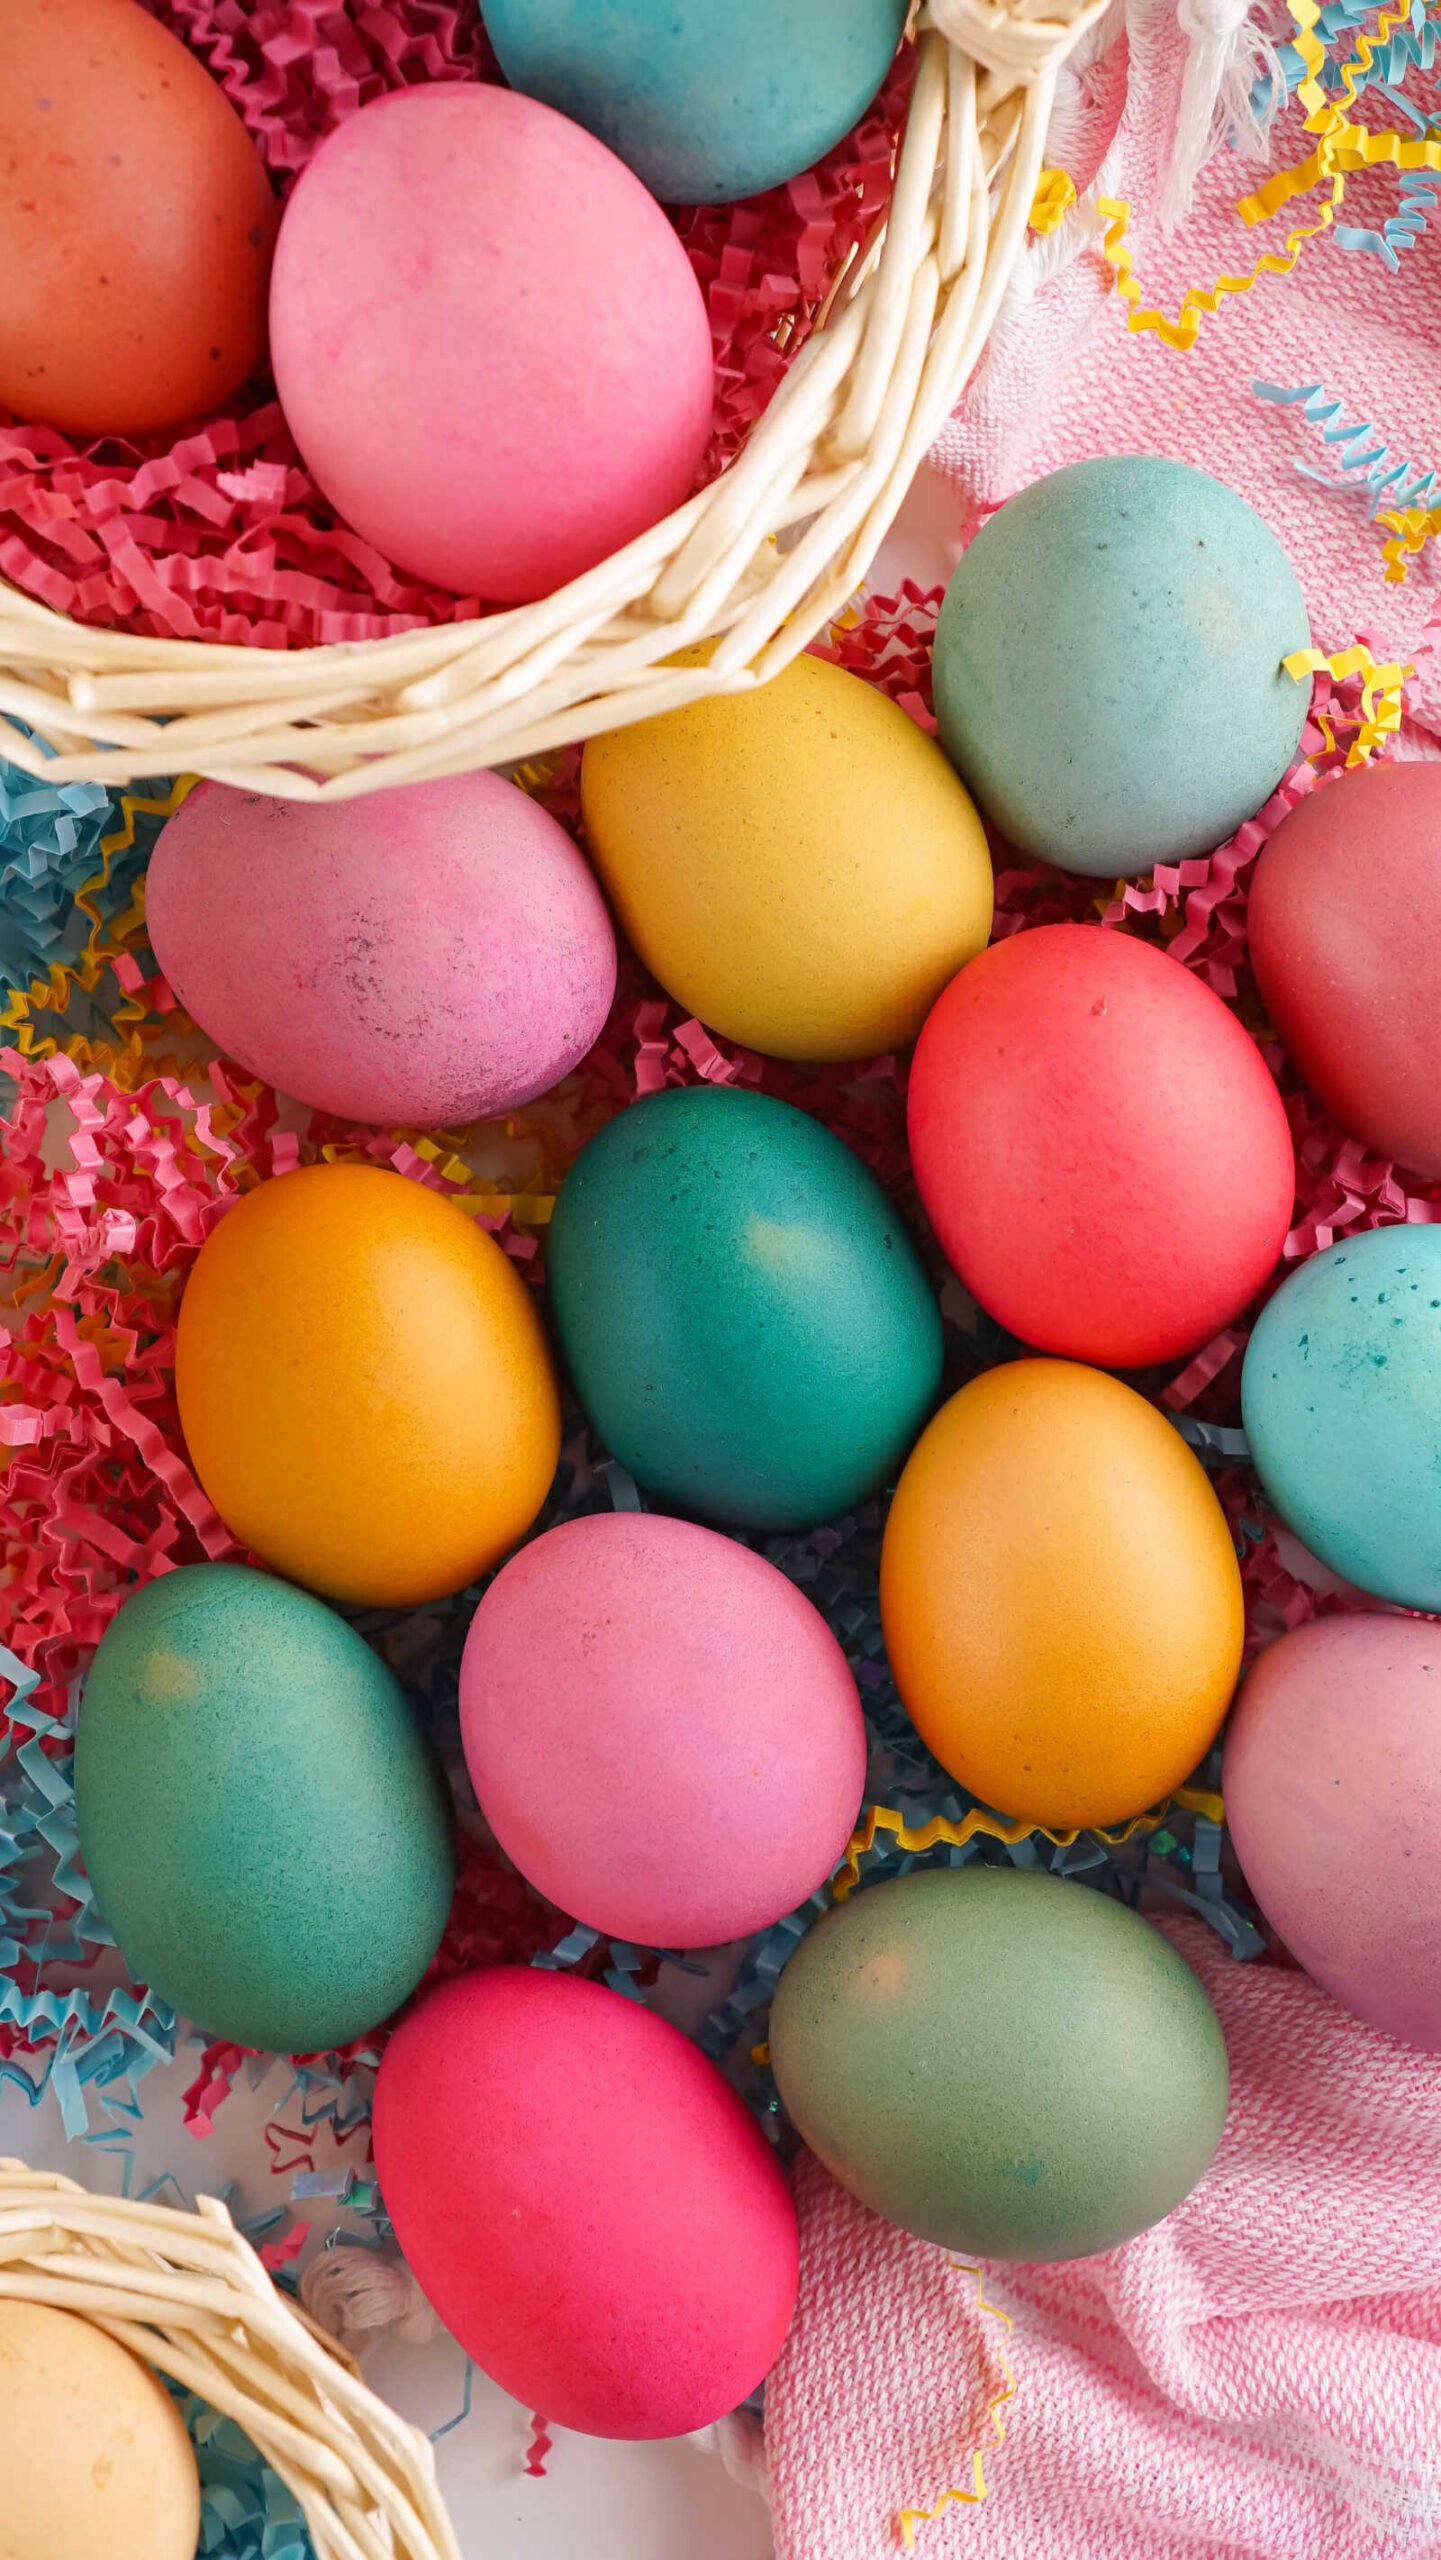
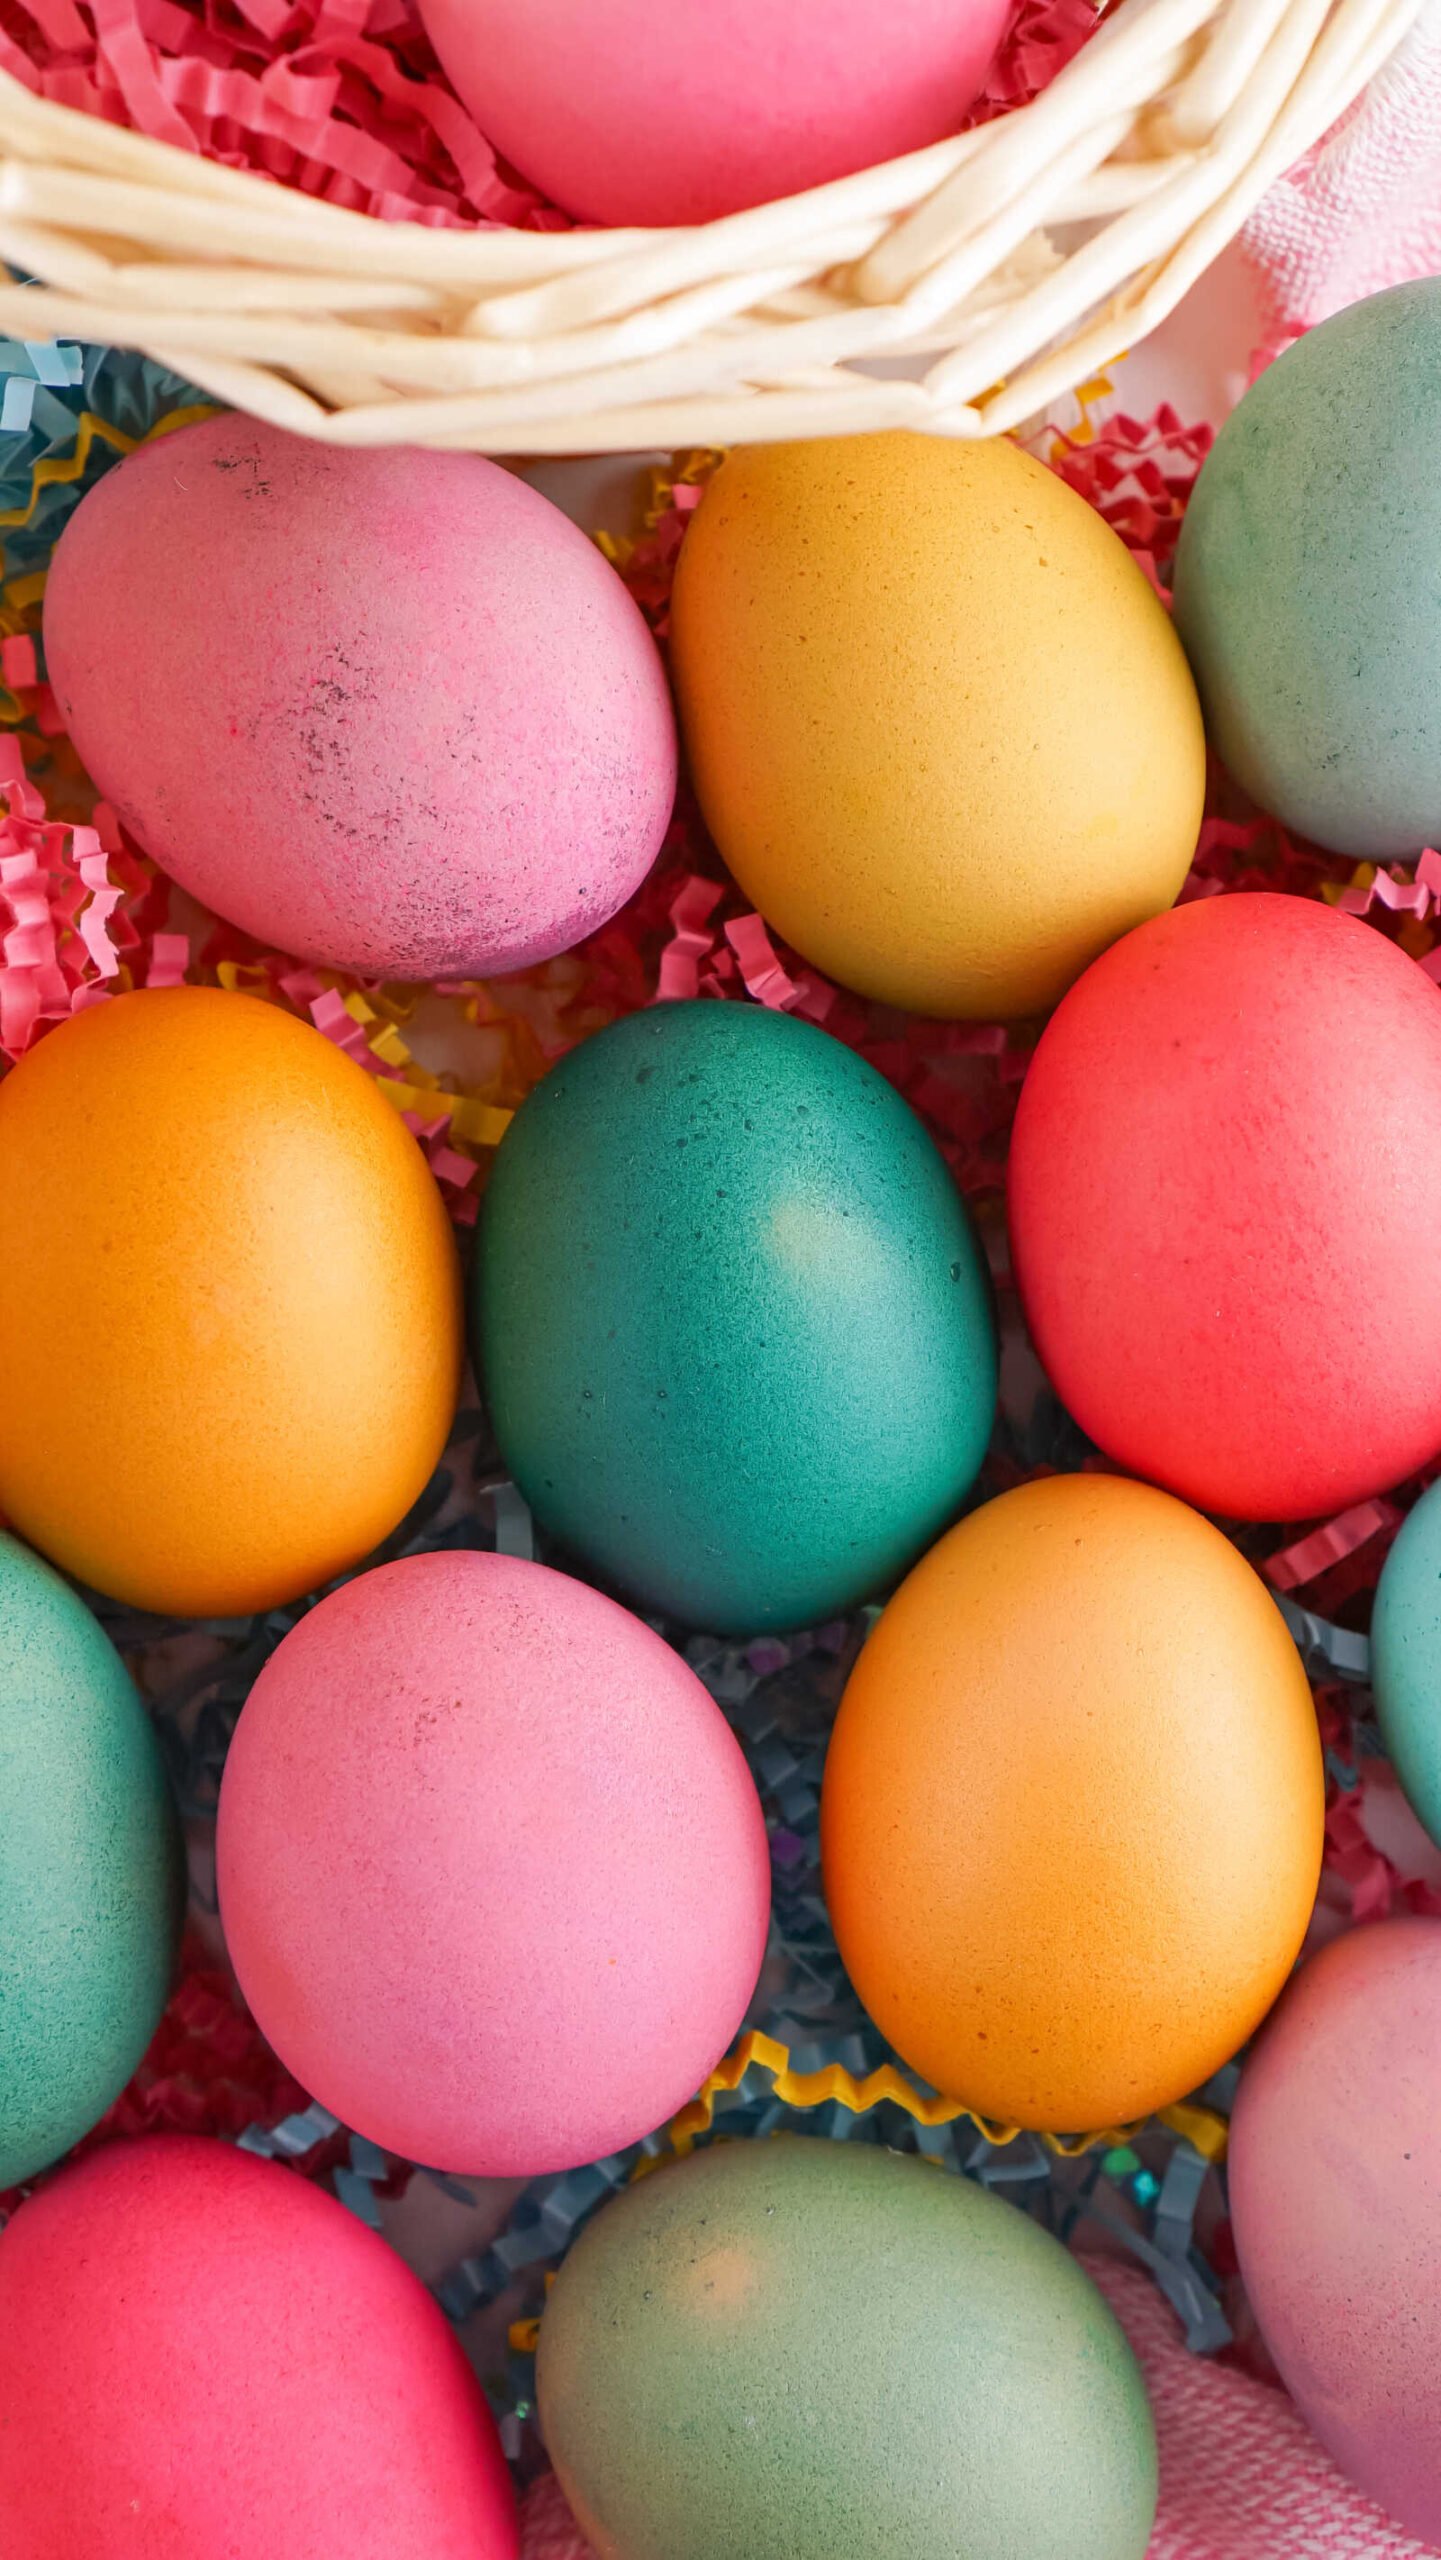
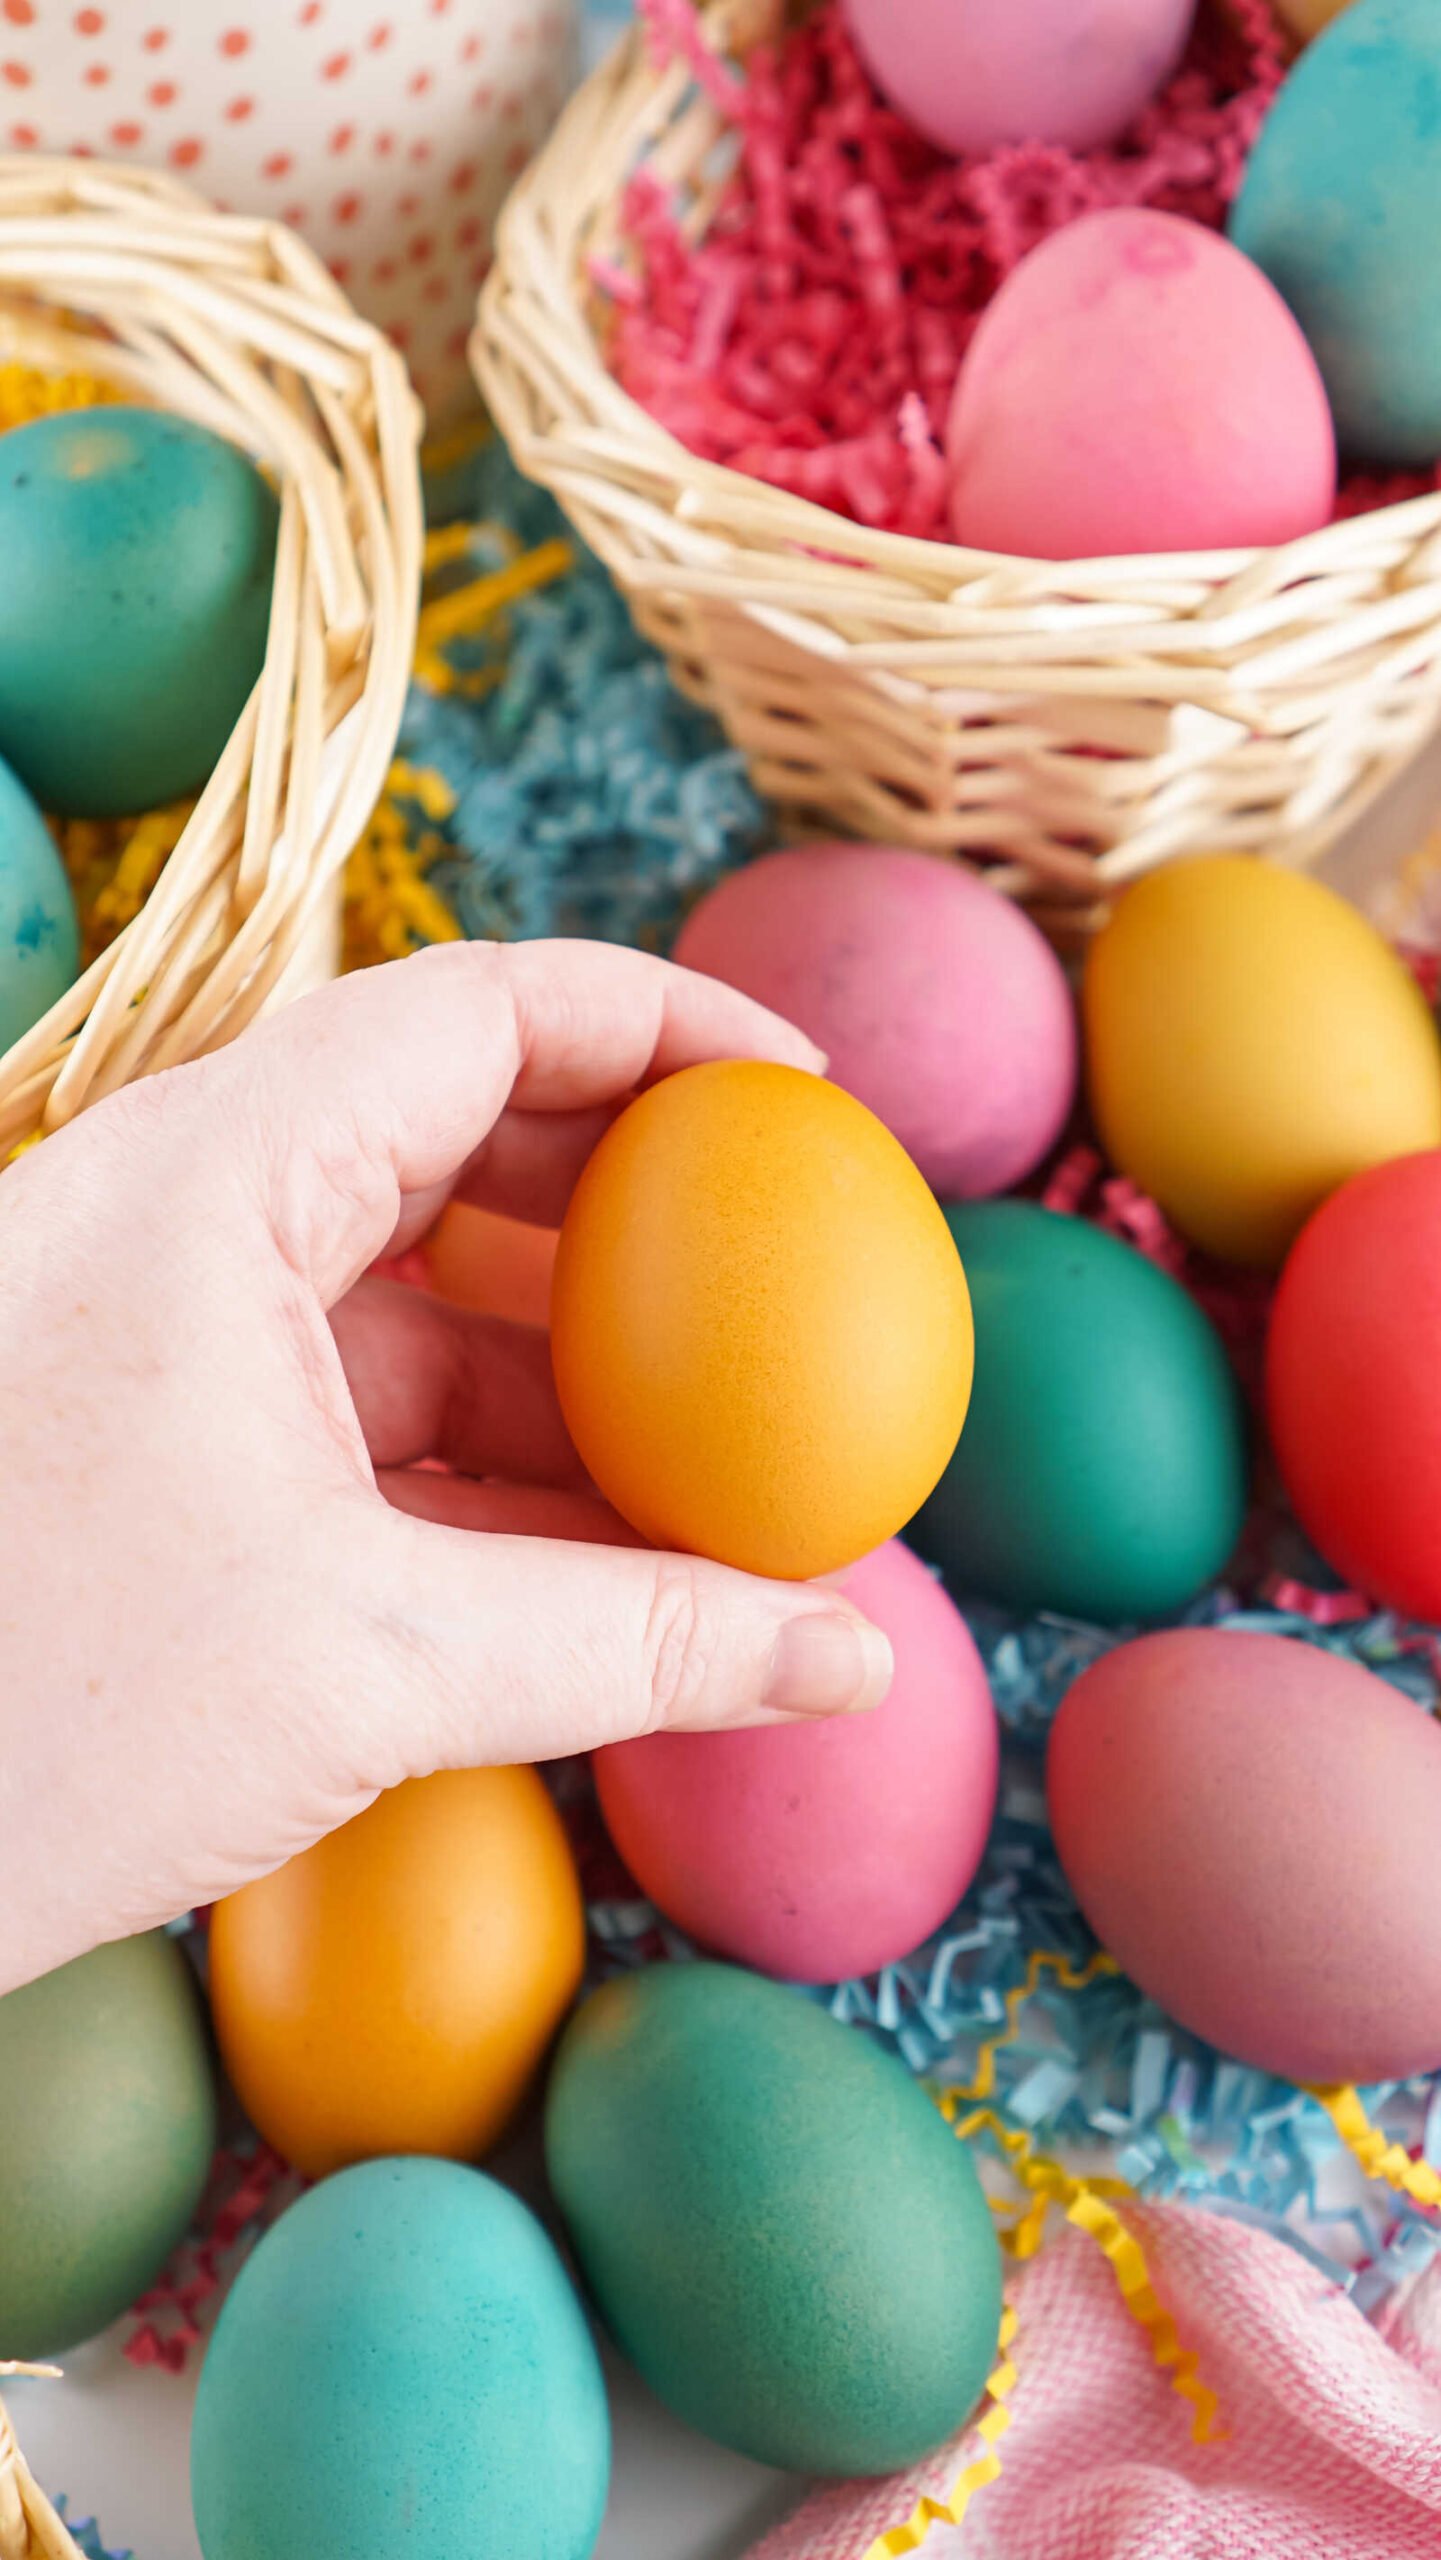
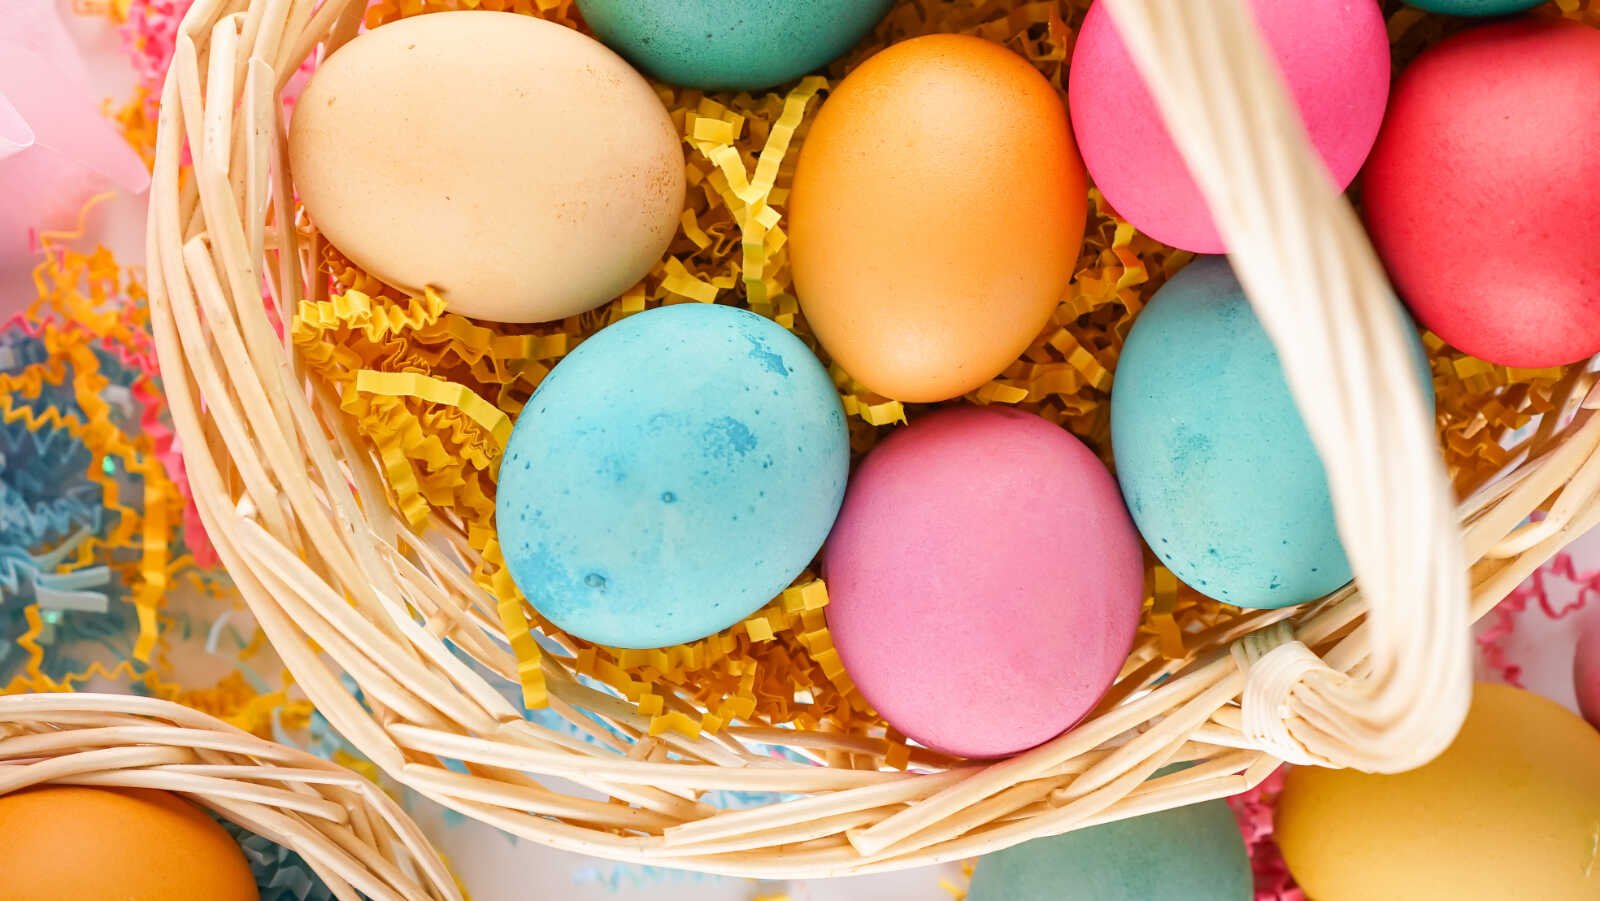
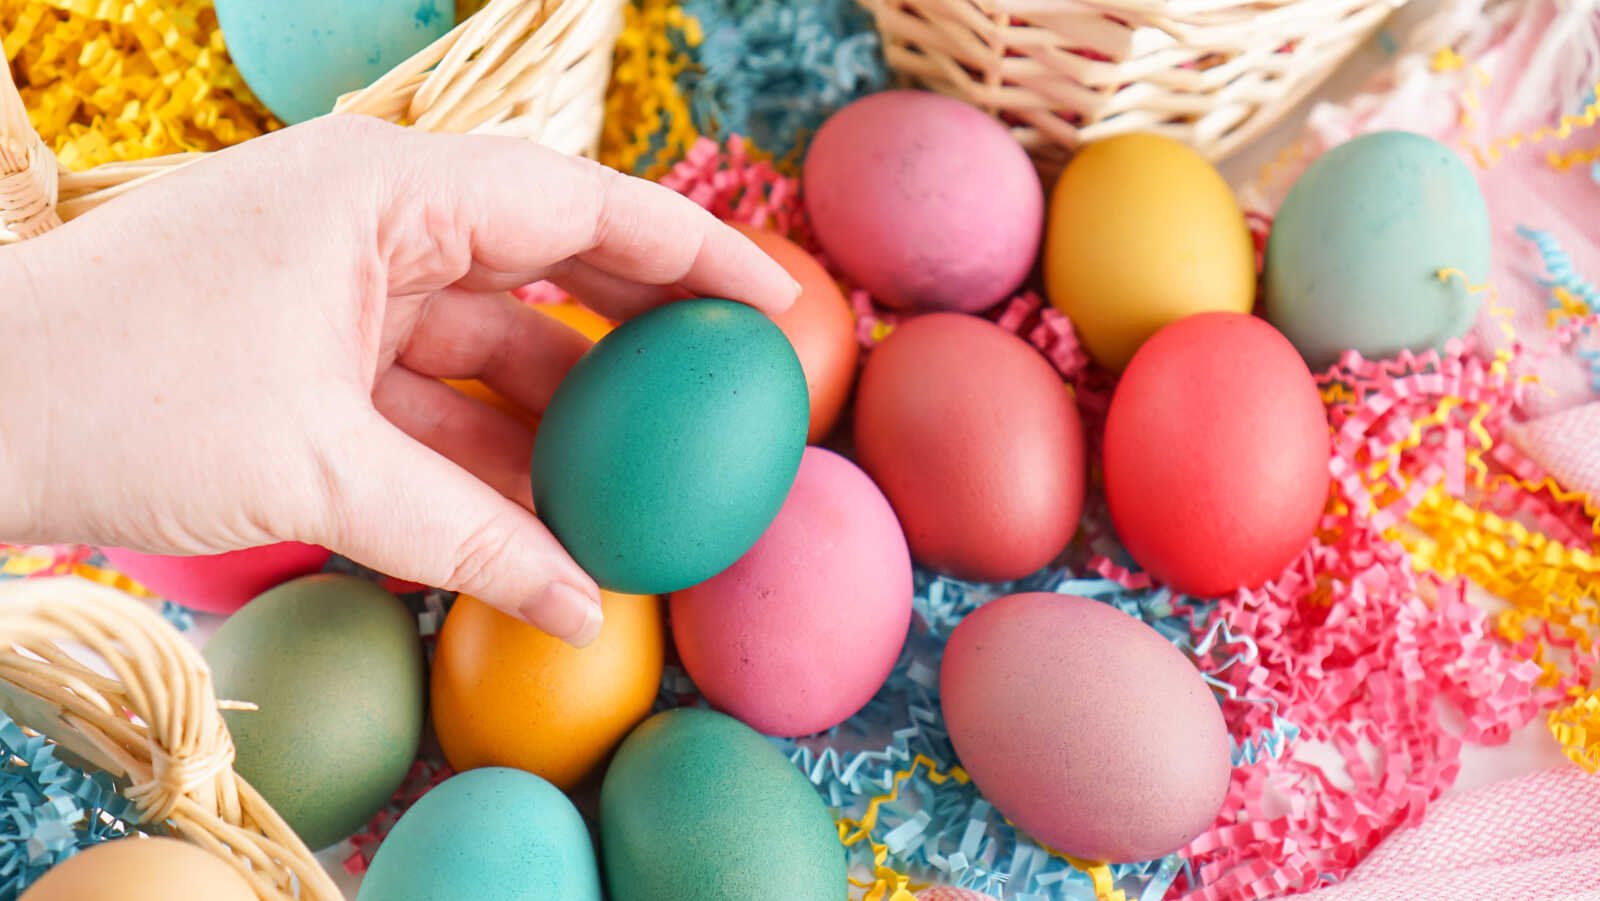
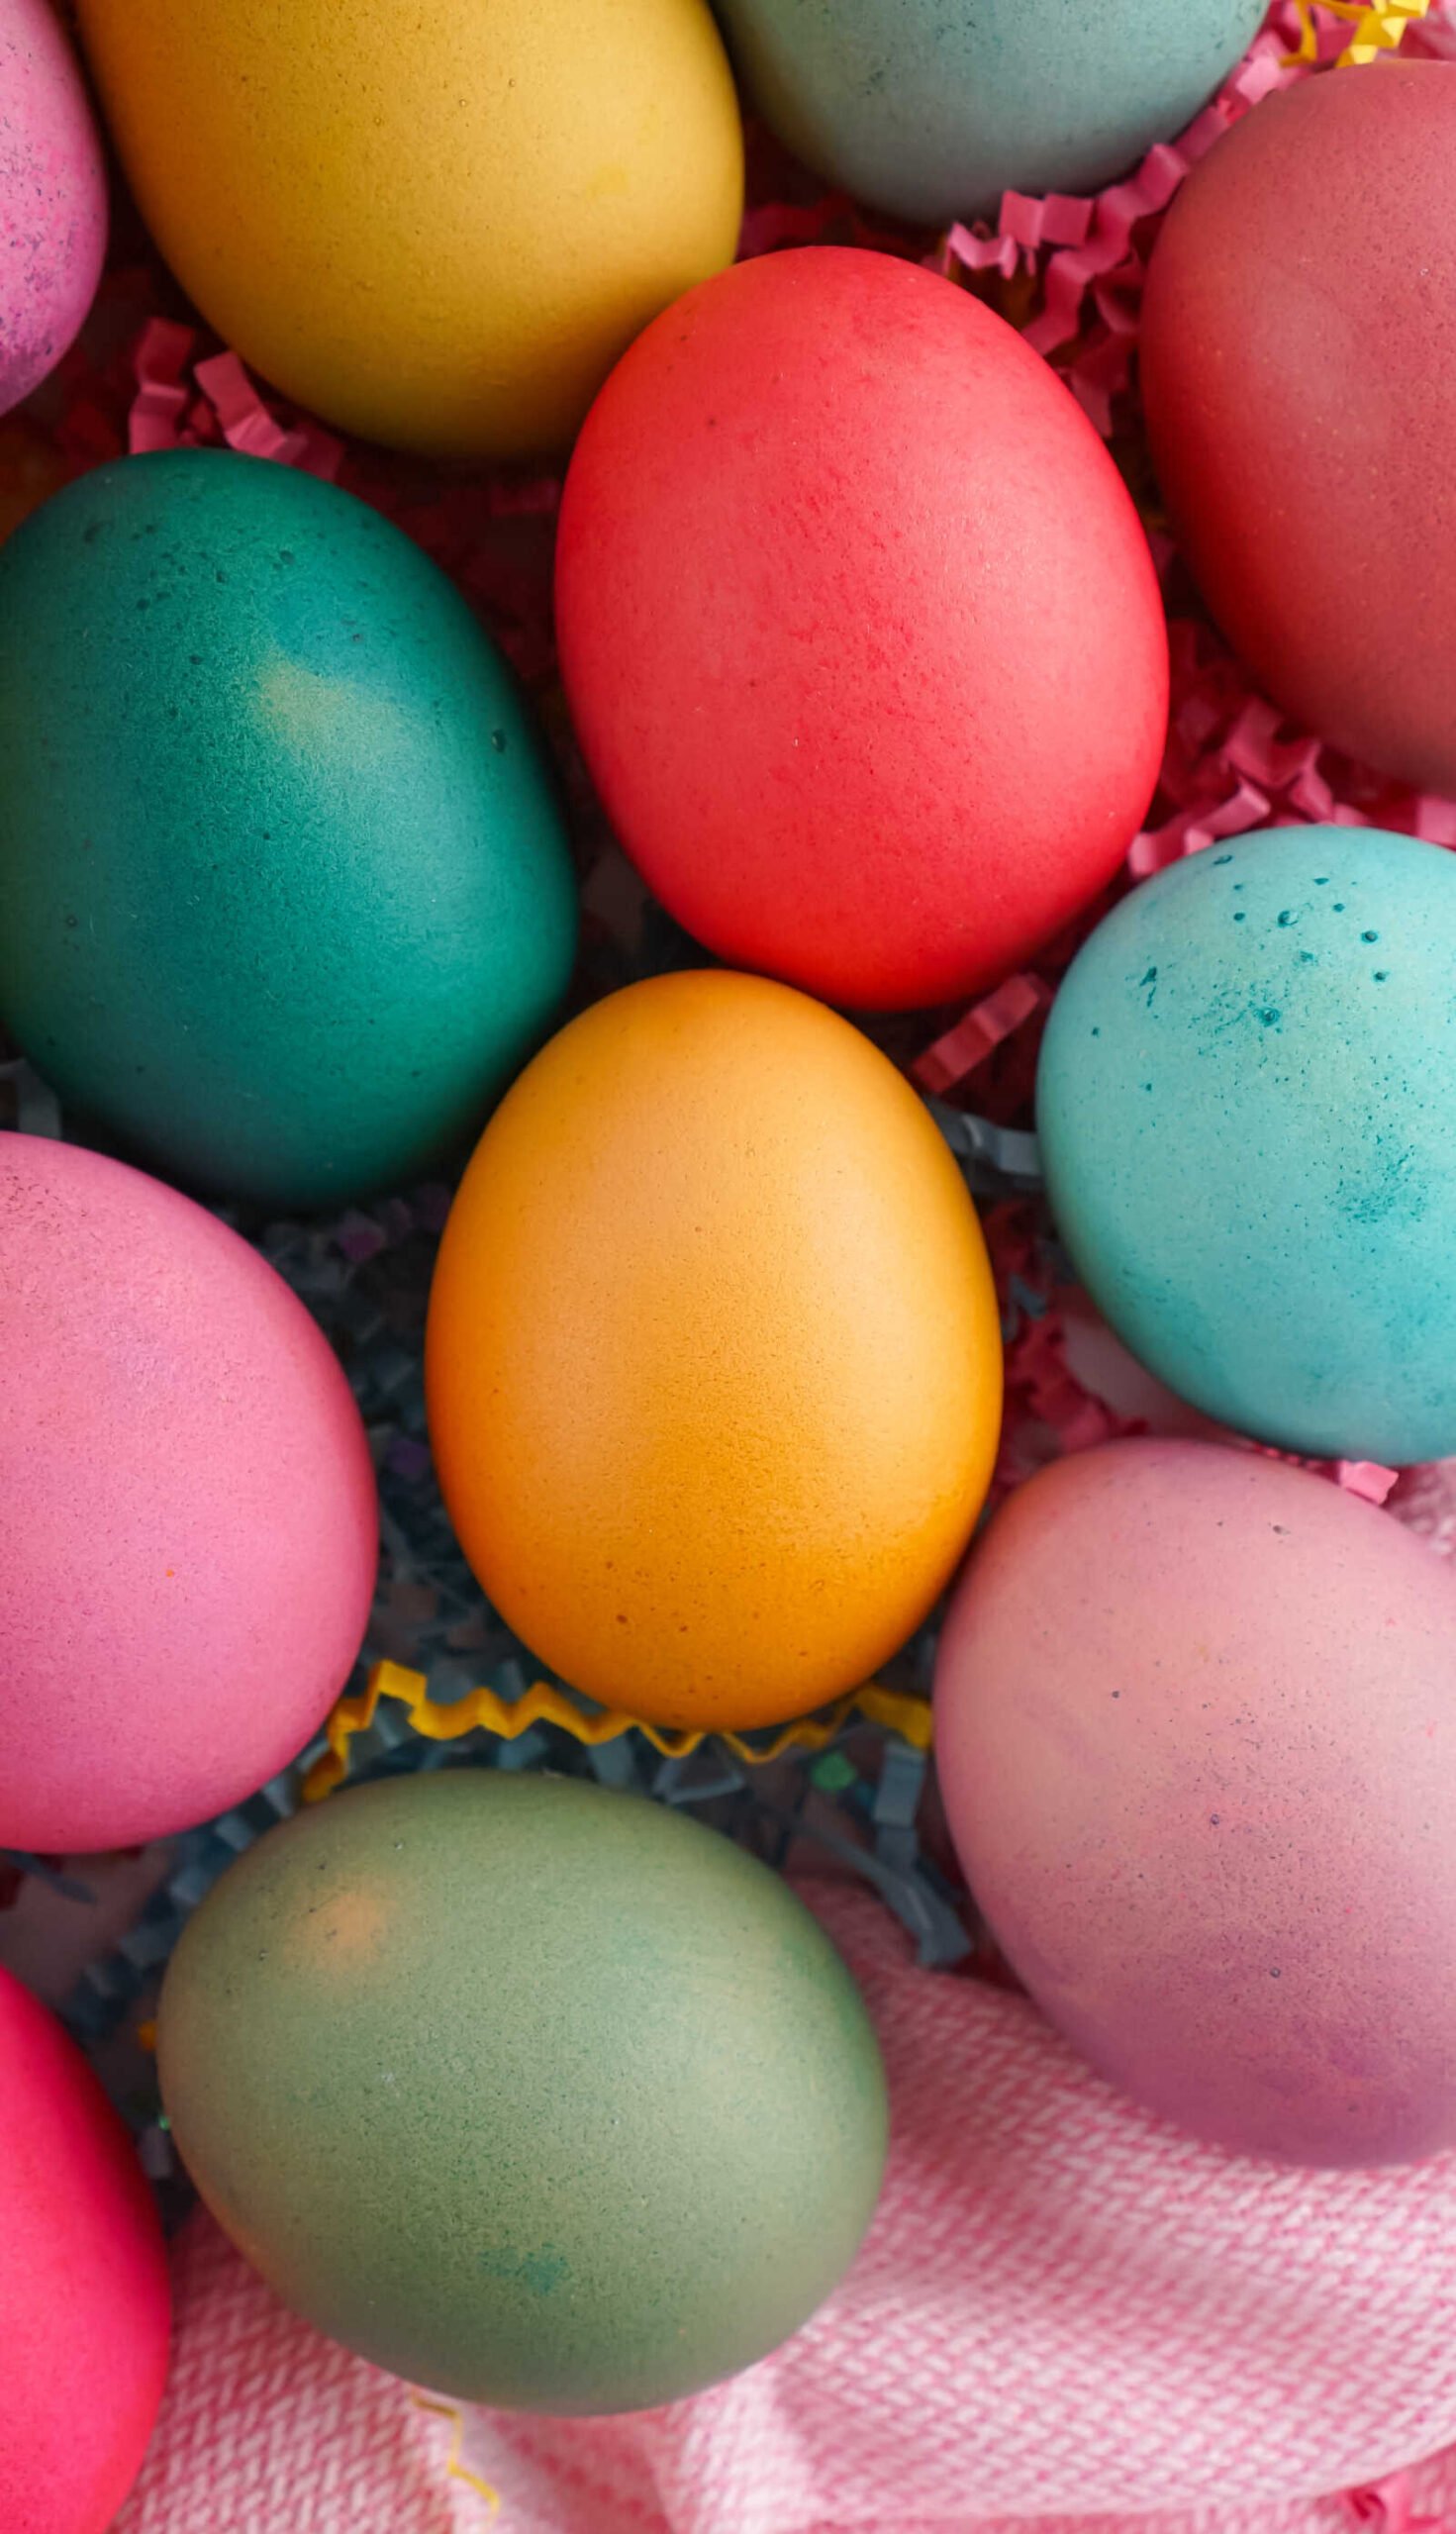
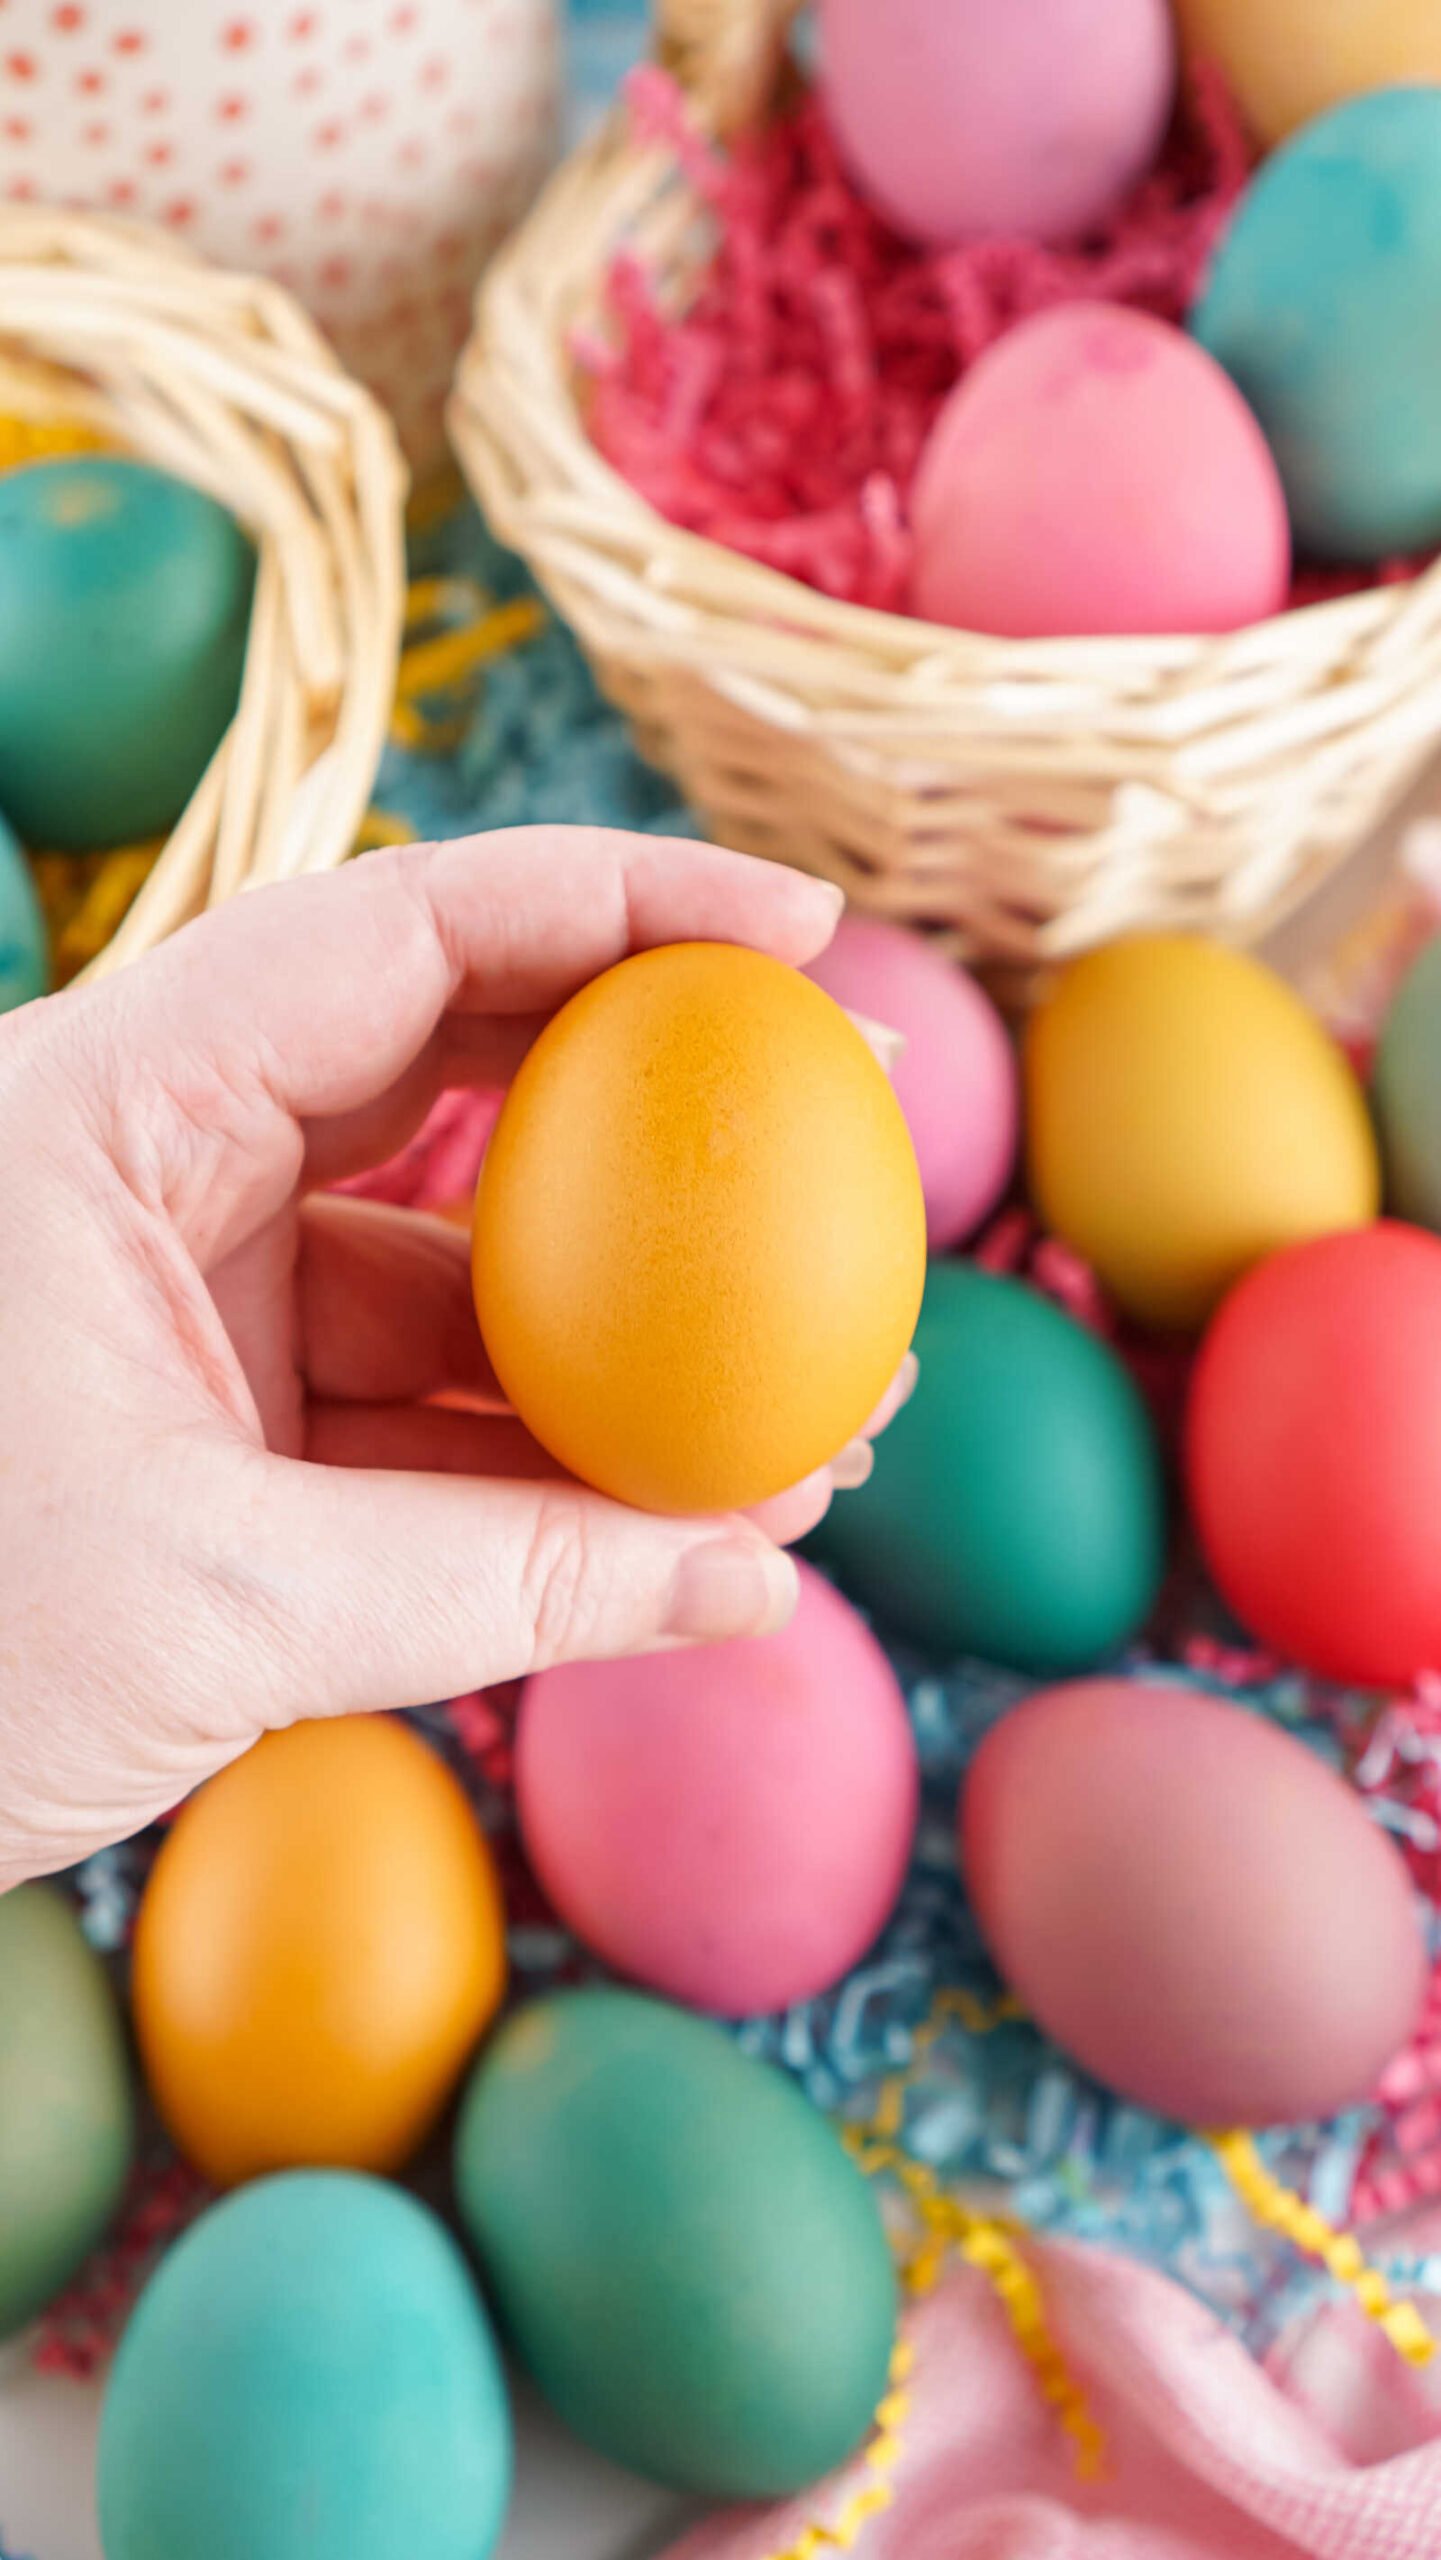
Brown Eggs Create Unique Colors
Because the shell is naturally darker, the dye colors often appear deeper and richer than on white eggs.
For example:
- Yellow becomes golden
- Blue becomes teal
- Pink becomes coral
- Purple becomes plum
This natural effect makes brown eggs especially beautiful.
Don’t Leave Eggs on Paper Towels Too Long
Leaving eggs sitting on paper towels can cause uneven spots where moisture collects.
Always pat them dry and transfer them to the carton quickly.

How Many Eggs Can You Dye?
It’s difficult to give an exact number of eggs each dye batch will cover. These dye mixtures typically color several dozen eggs before the color begins to fade. If you notice the dye becoming weak, simply mix a fresh batch.
Fun Ways to Decorate Dyed Eggs
Once the eggs are colored, you can add extra decoration.
Try:
- Wax crayon designs before dyeing
- Stickers
- Gold leaf accents
- Speckled paint splatter
- Rubber stamp patterns
- Washi tape
These small details can transform simple dyed eggs into beautiful holiday decorations.
Making Egg Dyeing a Family Tradition
Learning how to dye brown eggs can turn into a fun family activity each spring. Kids love watching the eggs change color, and it’s a great hands-on craft for Easter celebrations or spring break afternoons.
Set up a decorating station with several colors and let everyone experiment with their own designs. It’s messy, colorful, creative—and always memorable.
Final Thoughts
Dyeing brown eggs is easy, creative, and surprisingly beautiful.
Whether you choose the vinegar pre-soak method for lighter colors or the no pre-soak method for deeper shades, brown eggs can produce stunning results.
Using simple ingredients like food coloring, egg dye tablets, or even Kool-Aid, you can create vibrant Easter eggs that look amazing in baskets, centerpieces, or holiday displays.
With a little patience and the right techniques, brown eggs can be just as colorful—and sometimes even more unique—than traditional white eggs.
So gather your supplies, mix up your dyes, and enjoy the fun of creating colorful eggs this spring!