Easy DIY Easter Bunny Banner Craft for Kids
This easy DIY Easter bunny banner craft is a colorful spring project kids can make with paper, glue, scissors, and string. With bright triangle pennants, patterned bunny cutouts, and sweet paper carrot decorations, this handmade Easter garland is perfect for decorating a mantel, classroom, playroom, Easter brunch table, or kids’ craft wall.
This project is simple enough for young kids with adult help and still fun for older children who want to choose their own paper colors, patterns, and decorations. The finished banner has a cheerful handmade look that feels perfect for Easter, spring parties, Sunday school crafts, or a cozy afternoon art activity at home.
Supplies Needed
To make this Easter bunny banner craft, gather:
Colored cardstock or construction paper
Patterned scrapbook paper
Scissors
Glue stick
Hole punch
Pink and white baker’s twine or string
Paper strips in orange, brown, tan, and green
Pencil
Bunny template or hand-drawn bunny shape
Optional flower cutouts
Optional ruler
Step-by-Step Instructions
Step 1: Cut Out Triangle Banner Pieces
Start by choosing bright spring colors for the banner flags. Yellow, green, pink, orange, and pastels all work beautifully for an Easter craft because they feel festive, cheerful, and seasonal.
Cut the paper into large triangle pennants. You can make them all the same size for a neat banner, or let kids cut slightly different sizes for a more playful handmade look.
A simple way to make the triangles is to cut a rectangle first, then trim from the bottom center point up to each top corner. Repeat until you have enough triangles for your banner. Three to five triangles make a short decoration, while seven or more create a longer garland.
Step 2: Create Paper Bunny Shapes
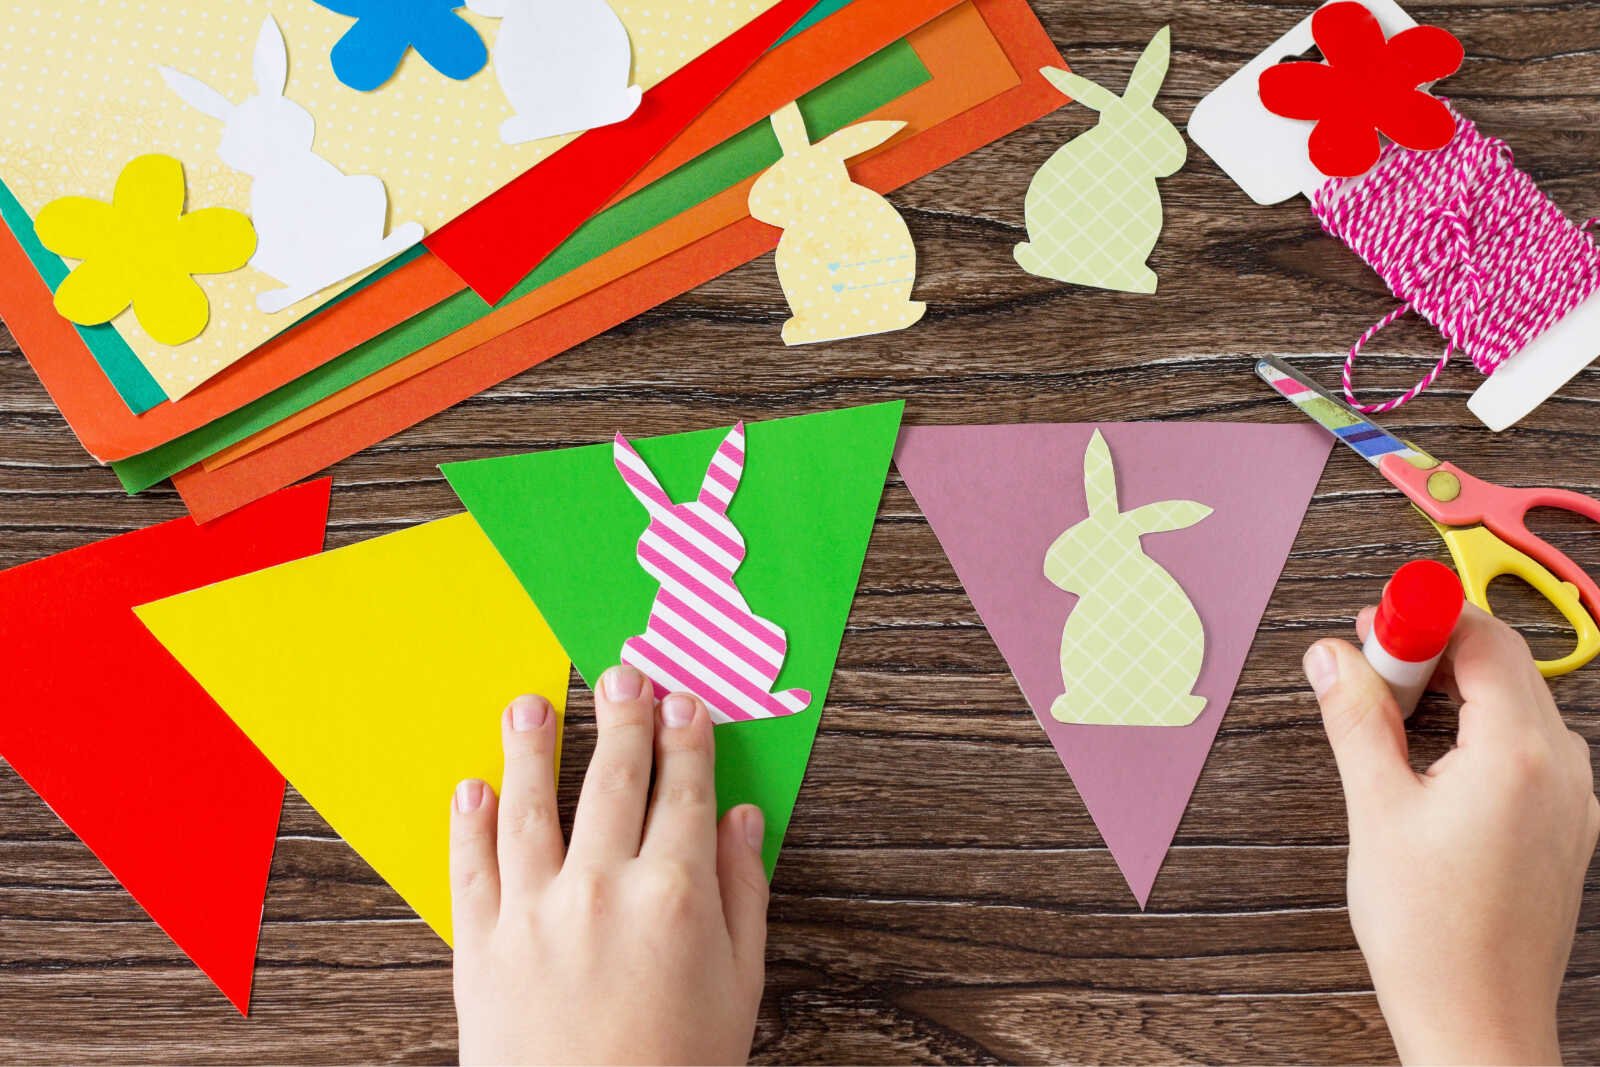
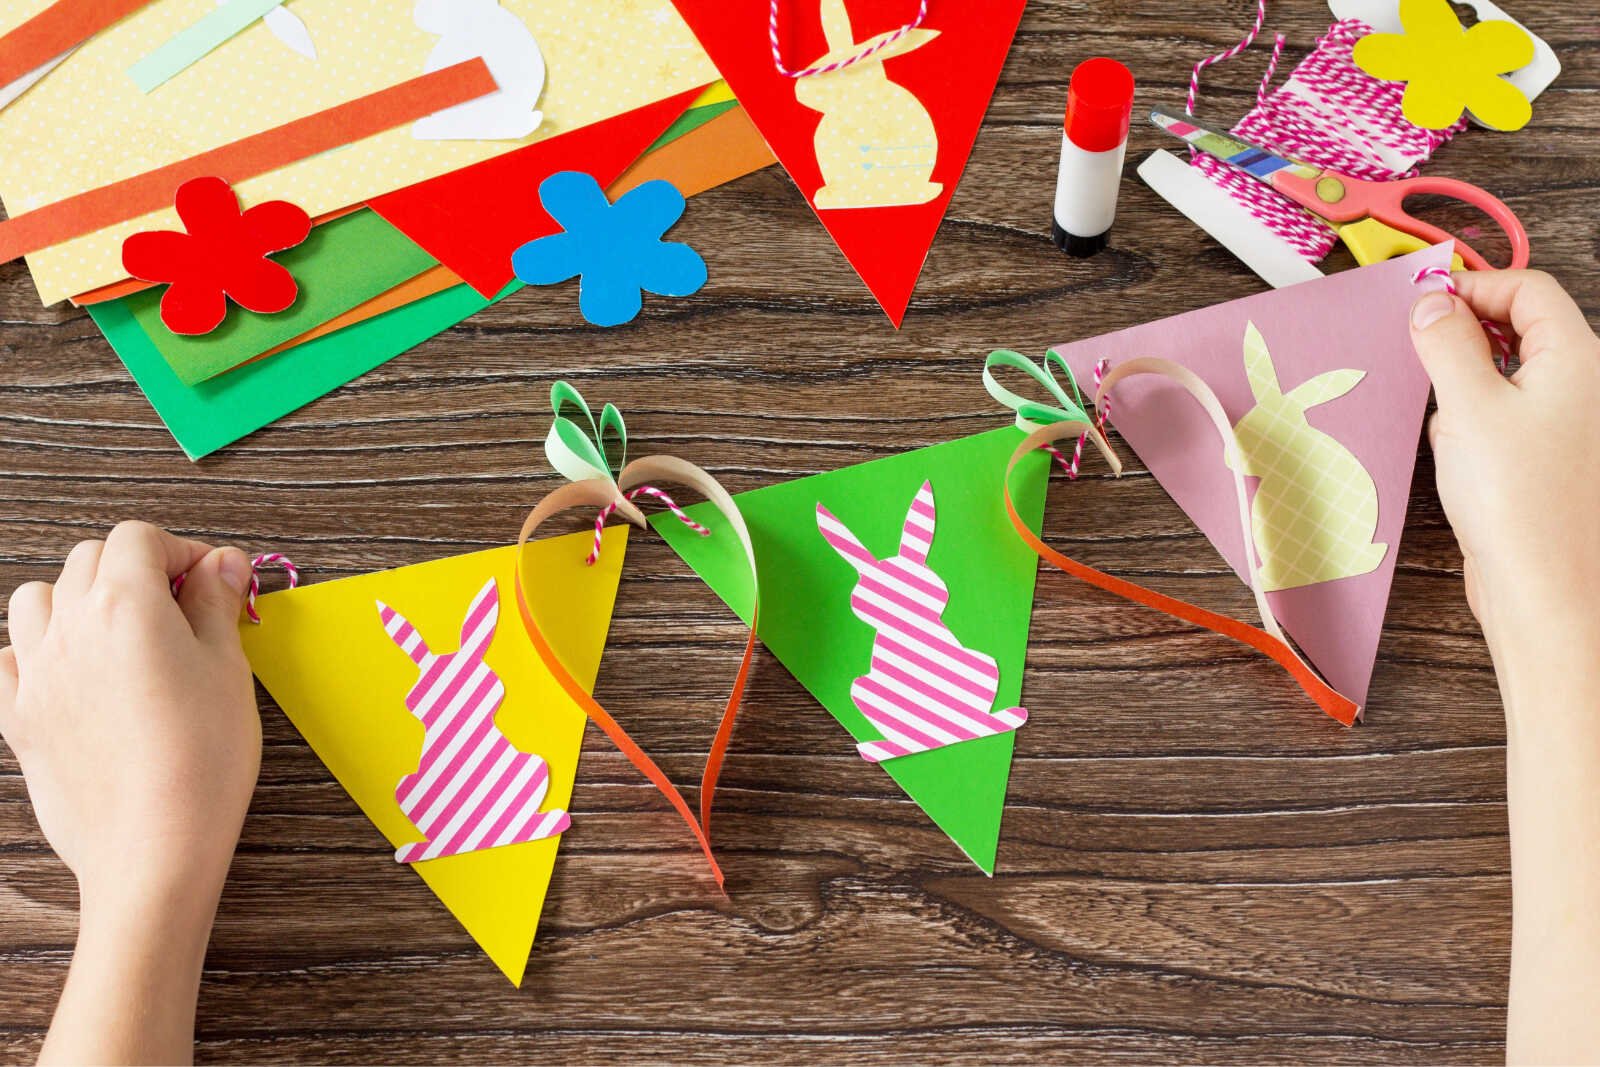
Next, cut bunny silhouettes from patterned scrapbook paper. The photos show cute sitting bunny shapes made from pastel paper, pink stripes, yellow polka dots, and soft green patterns.
You can draw a simple bunny shape by sketching a rounded body, small head, two long ears, and a tiny tail or foot. If you are crafting with younger kids, it helps to make one bunny template first and let them trace it onto different paper designs.
Cut out enough bunnies for each triangle flag. You can use one bunny per pennant, or alternate bunny flags with plain flags, carrots, flowers, or other Easter designs.
Step 3: Glue the Bunnies onto the Triangle Flags
Place one paper bunny in the center of each triangle pennant. Let kids decide whether the bunny should sit straight, face sideways, or lean slightly for a whimsical look.
Use a glue stick to attach each bunny to the banner flag. Press gently along the edges so the bunny stays flat. Patterned bunnies look especially cute against solid-color triangles because the contrast makes the shapes stand out.
This is also a great step for kids to practice color matching. A pink striped bunny pops against yellow or green paper, while a pale patterned bunny looks sweet on a pink or red background.
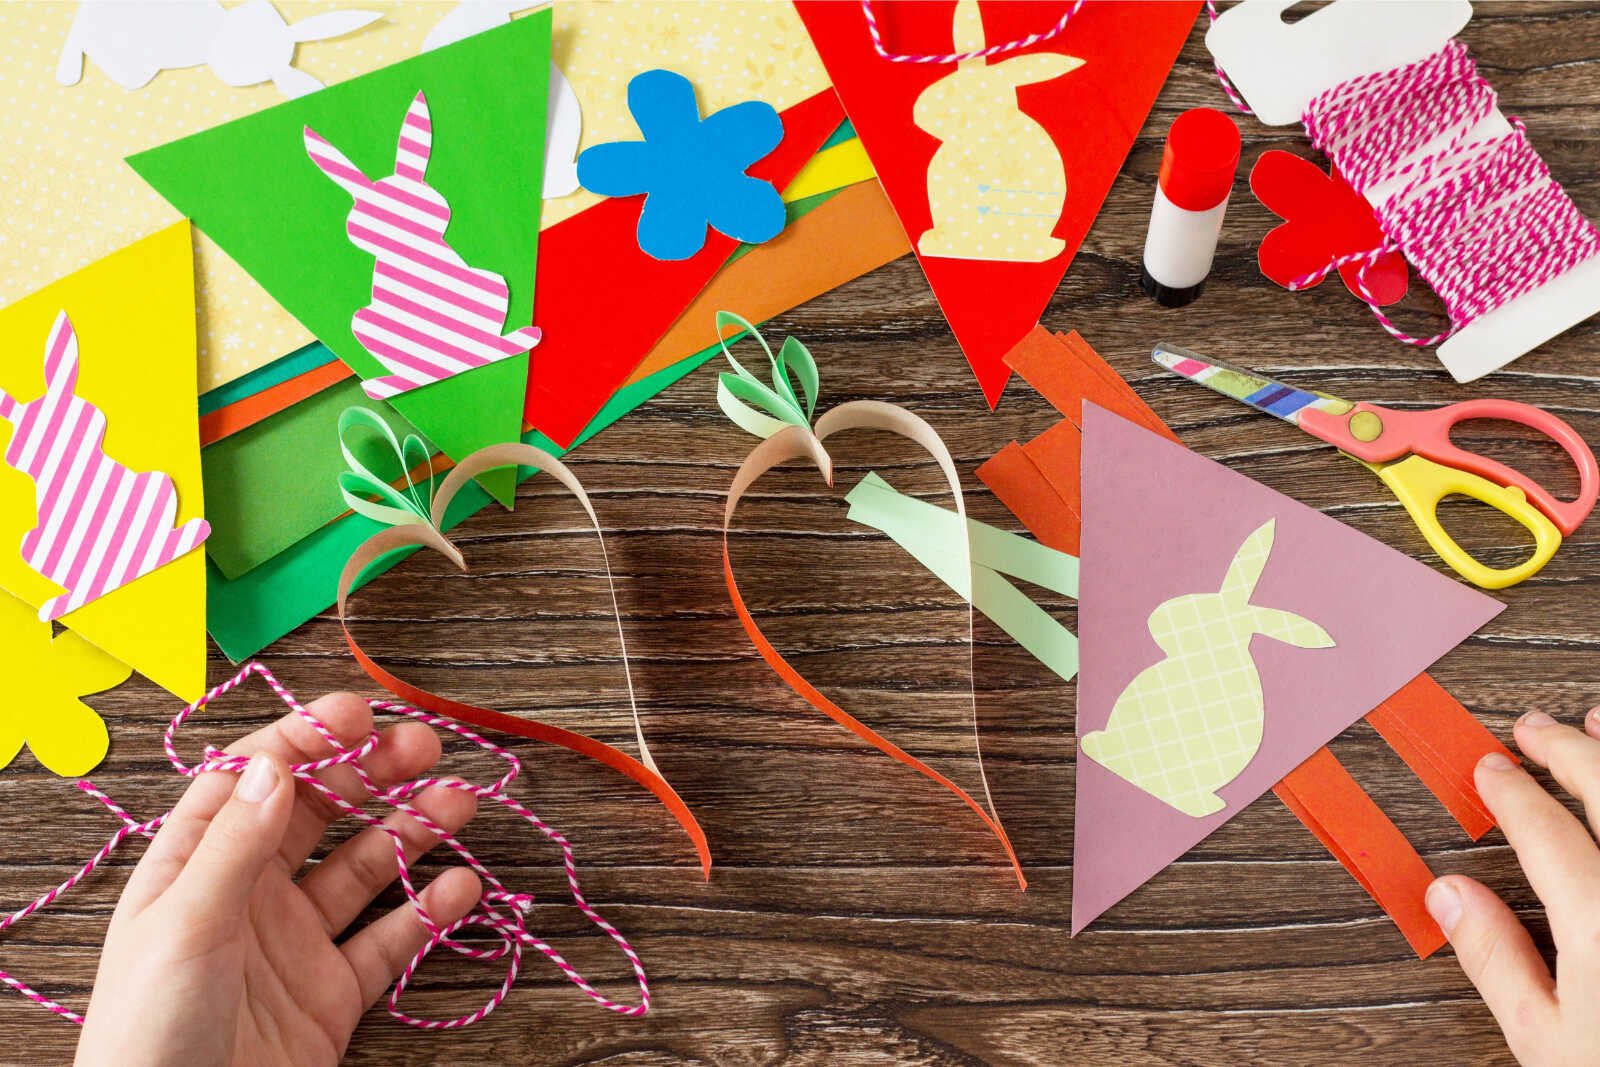
Step 4: Cut Paper Strips for Carrot Decorations
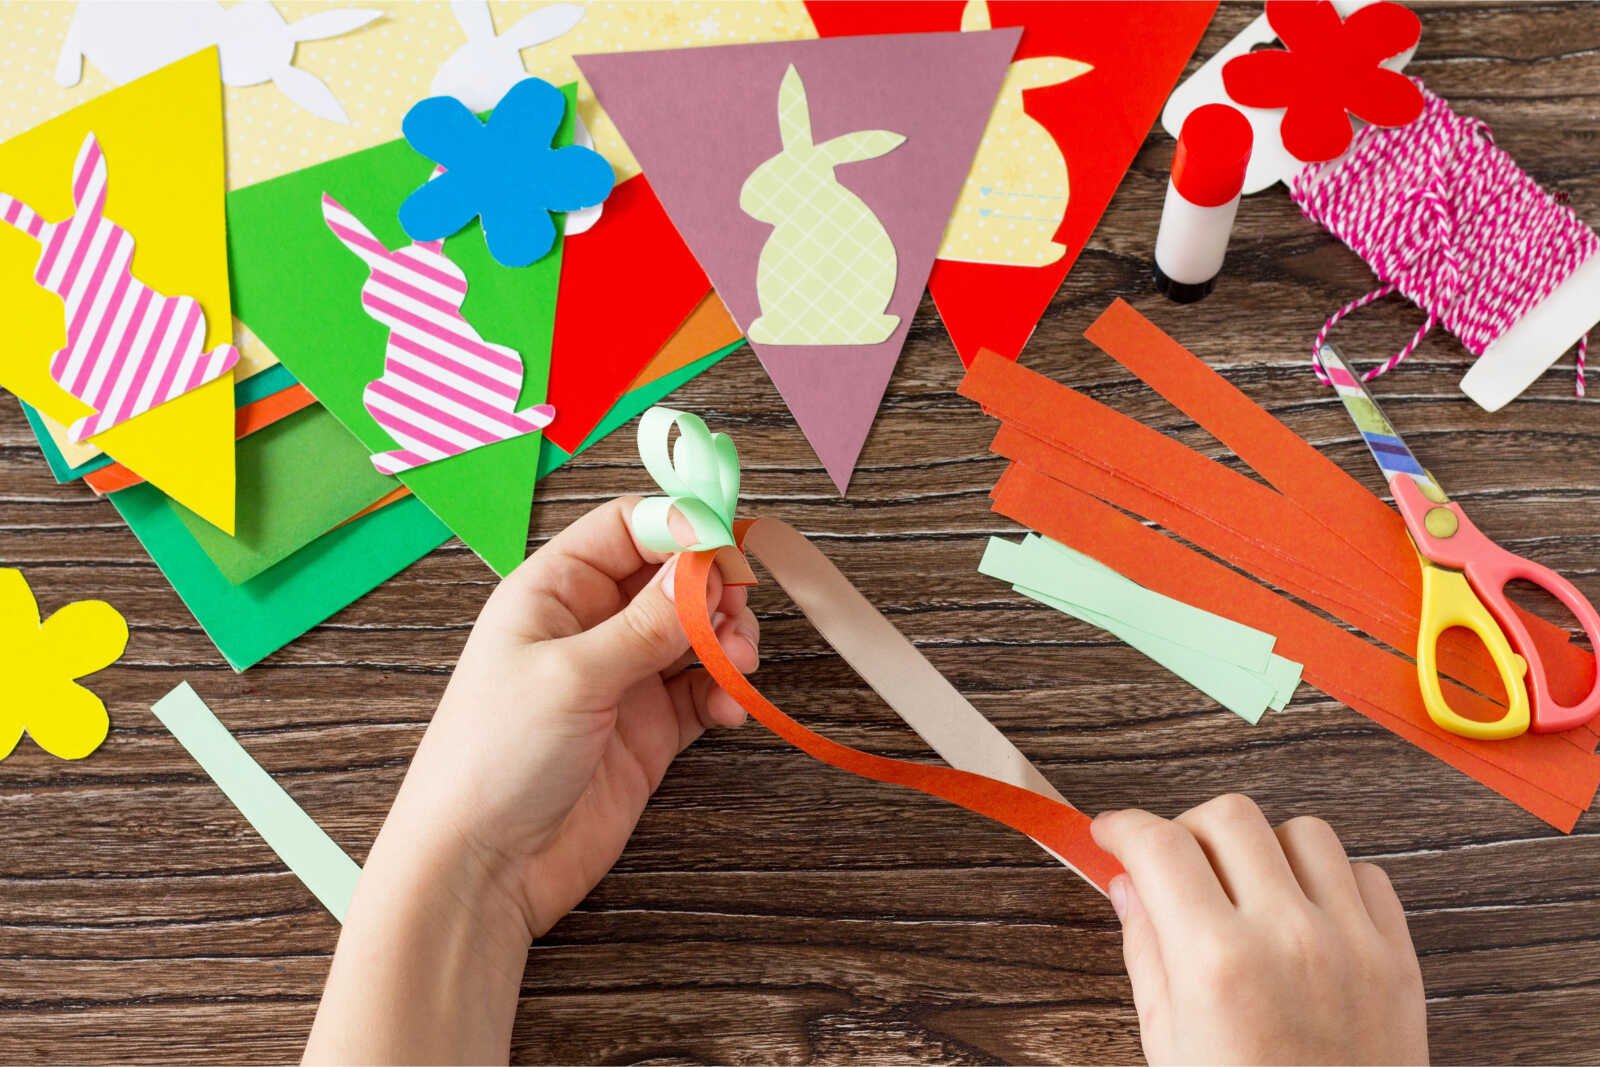
For the carrot details between the banner flags, cut long, thin paper strips. Use orange, tan, light brown, and green paper.
The orange and brown strips will become the carrot body, while the green strips will become the leafy carrot tops. These paper carrots add a fun 3D element to the Easter banner and make it feel extra festive.
The strips do not need to be perfect. Slightly uneven paper strips actually add more charm to this handmade kids’ craft.
Step 5: Make the Paper Carrot Shapes
To make each carrot decoration, gather a few long strips of orange, tan, or brown paper. Bring the ends together at the top so the strips form a teardrop or carrot shape.
Add a few shorter green paper strips at the top. Loop the green strips upward to look like carrot leaves. Glue the ends together or hold them in place until you are ready to string them onto the banner.
These paper carrots can be made flat or slightly dimensional. For a 3D look, gently curve the paper strips before gluing or threading them.
Step 6: Punch Holes in the Banner Flags
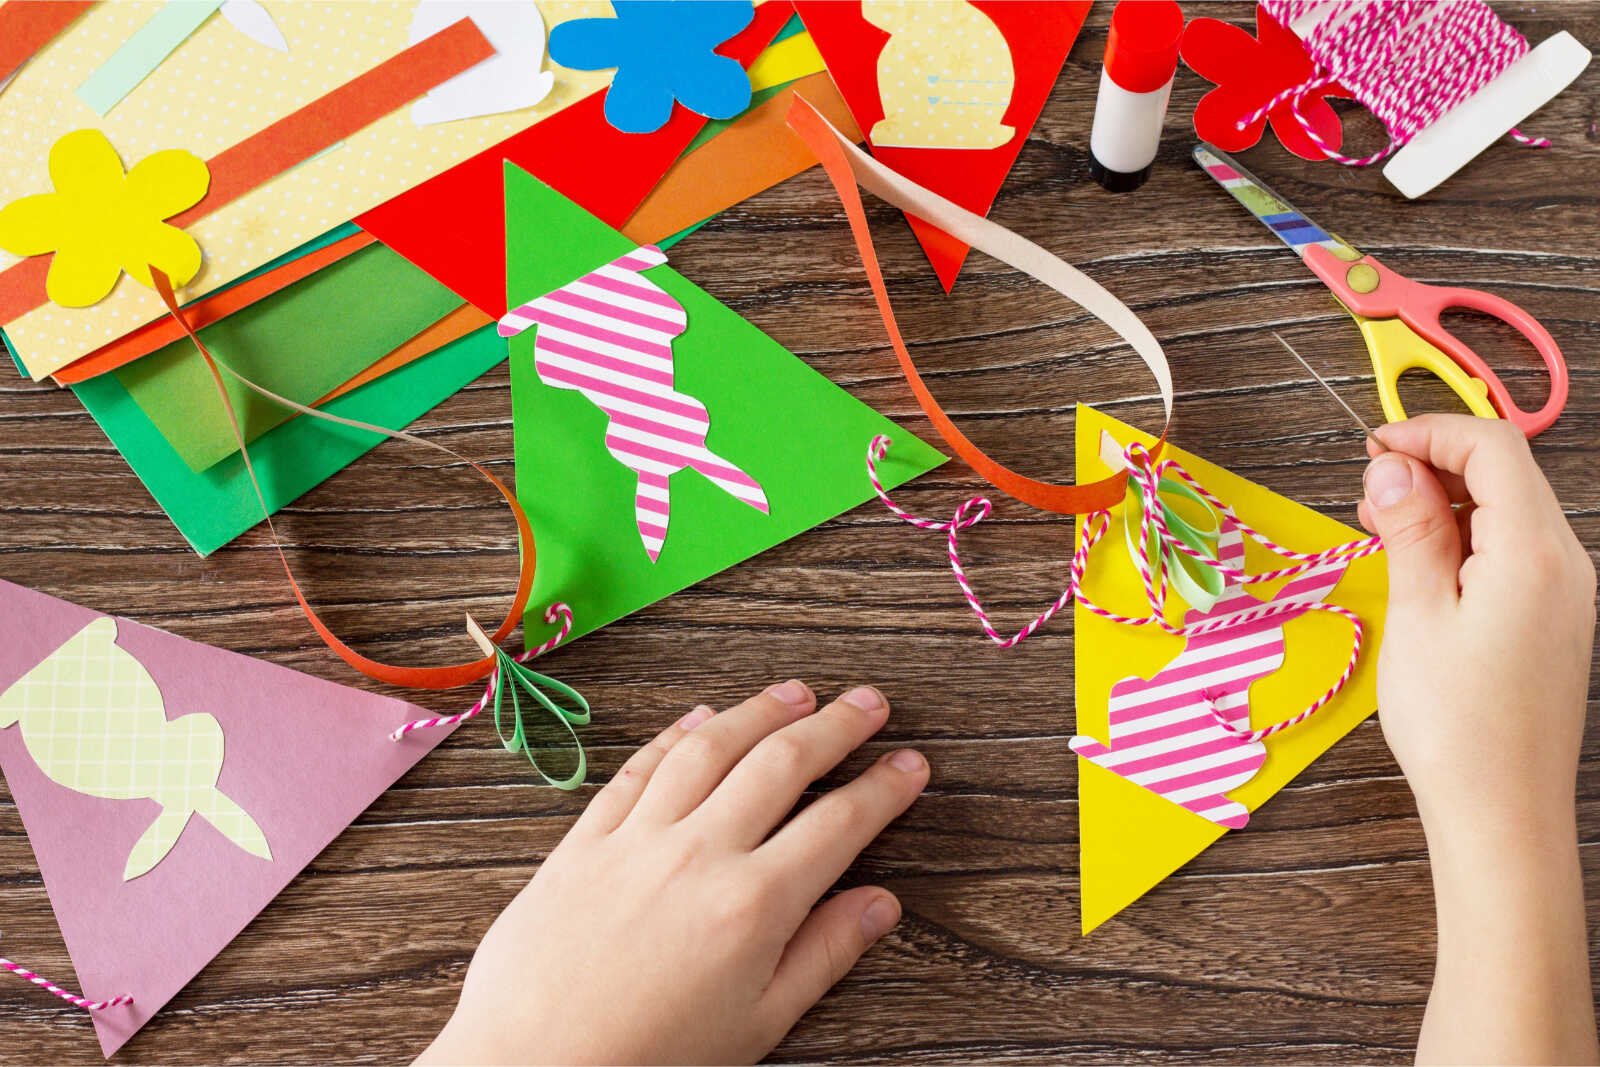
Use a hole punch to make holes near the top two corners of each triangle pennant. Try not to punch too close to the edge, or the paper may tear when the banner is hung.
If young kids are helping, an adult may want to do this step. You can also mark the hole placement with a pencil first so the spacing looks even.
Punch holes in the paper carrot decorations as well, or simply tie the string around the gathered carrot tops.
Step 7: Thread the Banner onto String
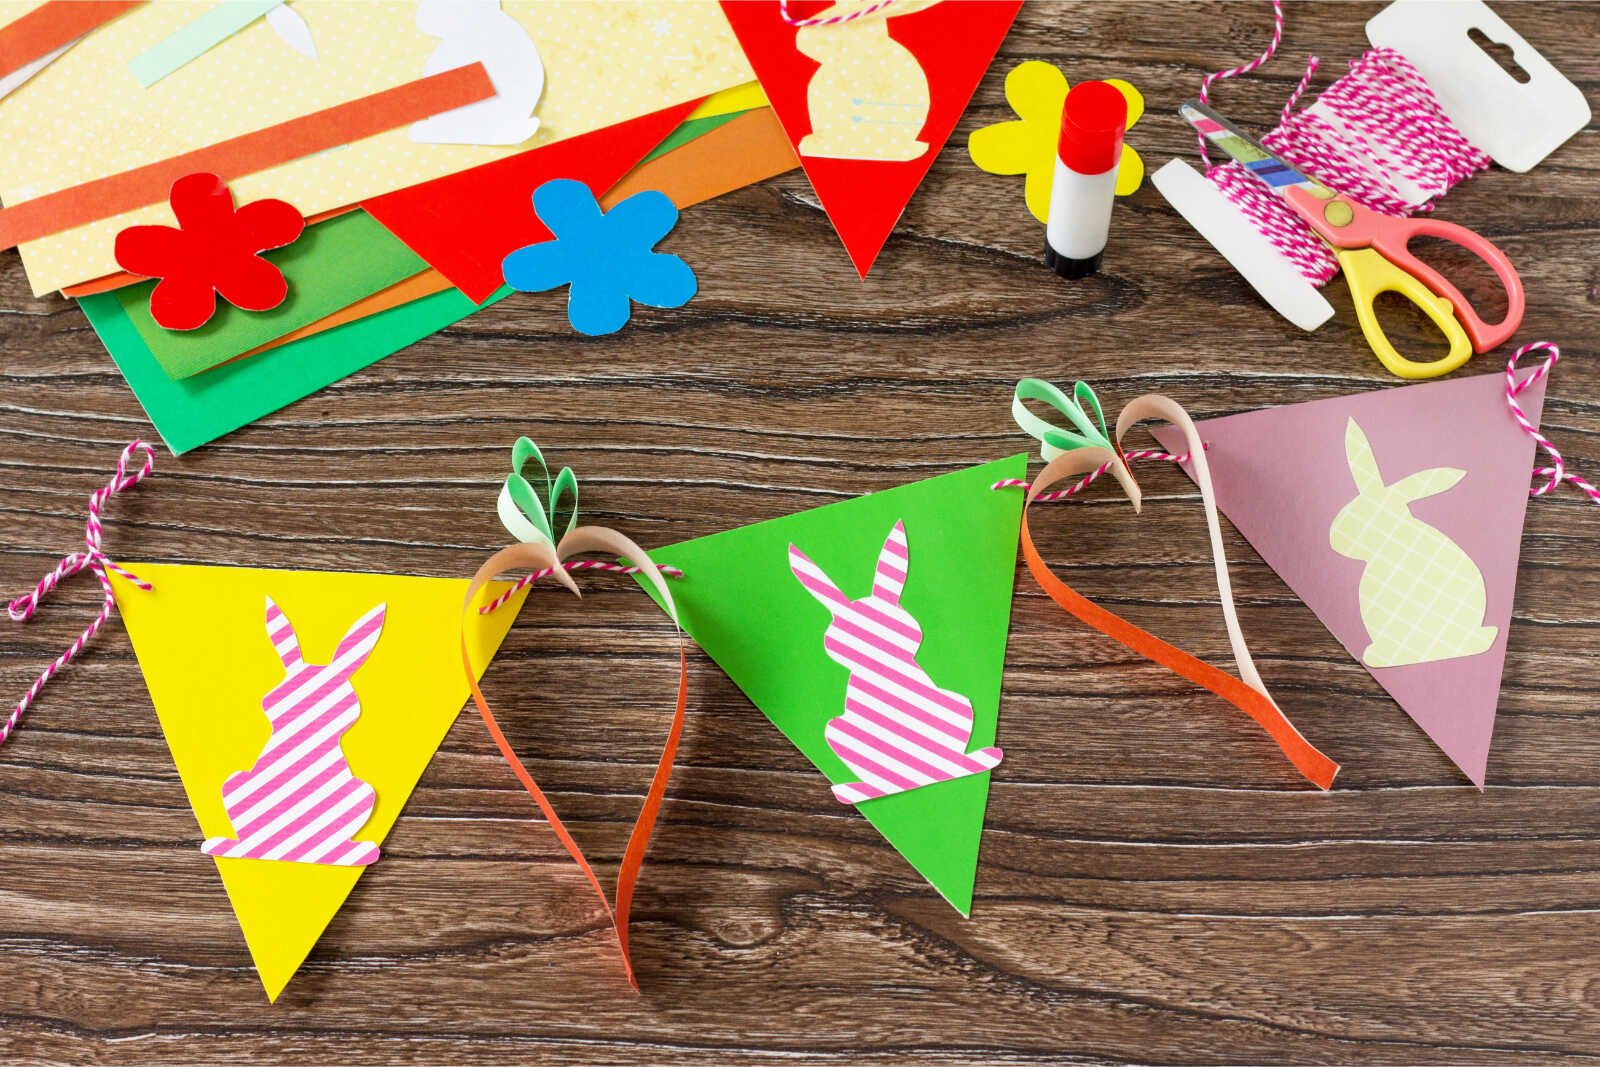
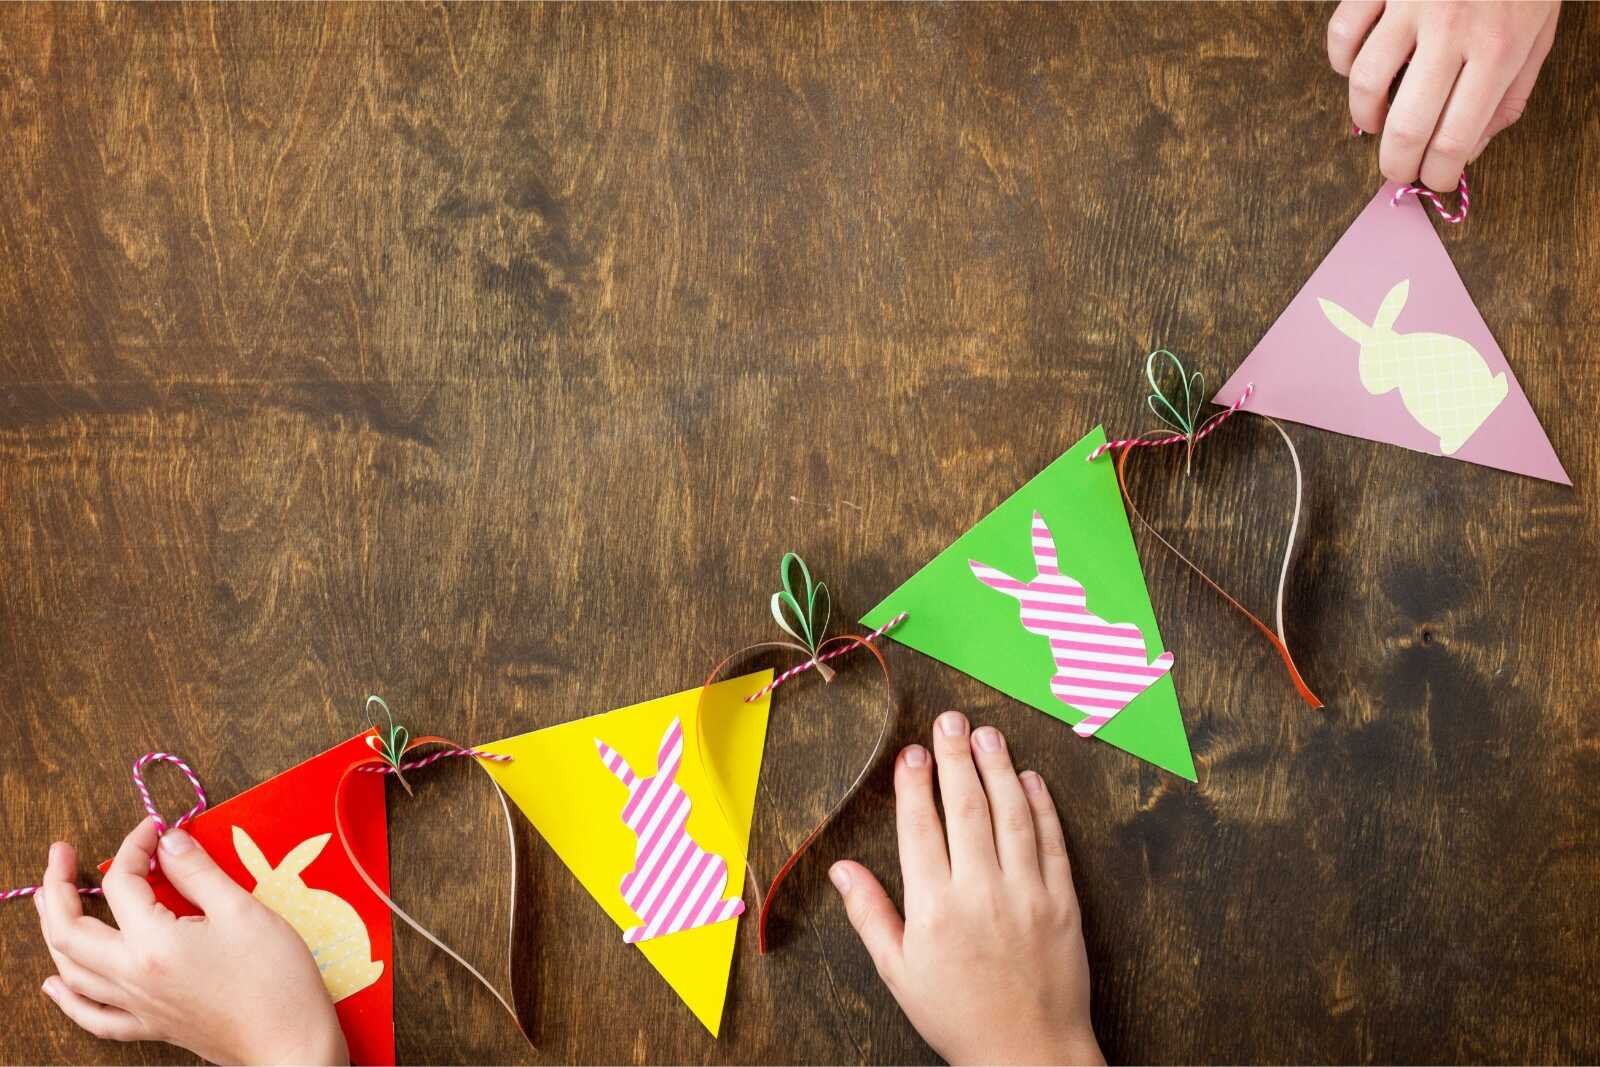
Cut a long piece of baker’s twine, yarn, ribbon, or string. The pink and white twine shown in the photos adds a cheerful spring look, but any string will work.
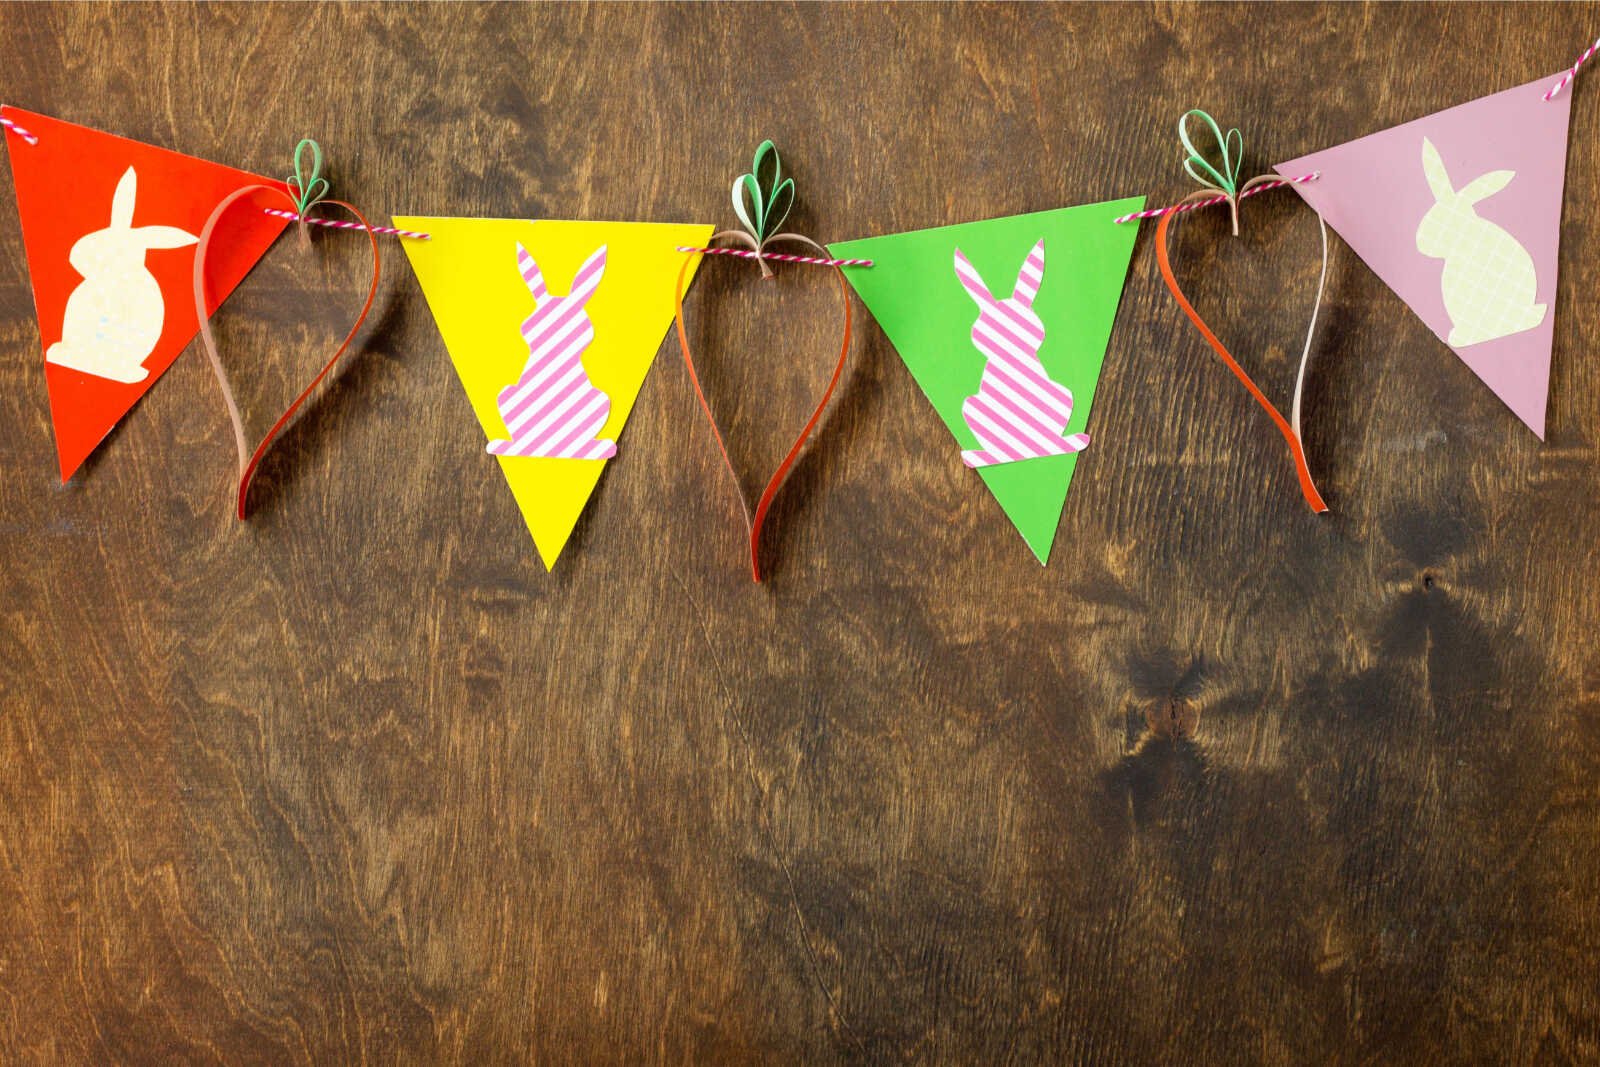
Thread the twine through the holes in each triangle flag. You can string the flags in a repeating color pattern, such as red, yellow, green, and pink, or let kids choose the order.
Between the triangle flags, add the paper carrot decorations. Tie them in place with small knots or loop the twine through the carrot tops.
Leave extra string on both ends so the banner can be tied, taped, or hung easily.
Step 8: Add Extra Paper Decorations
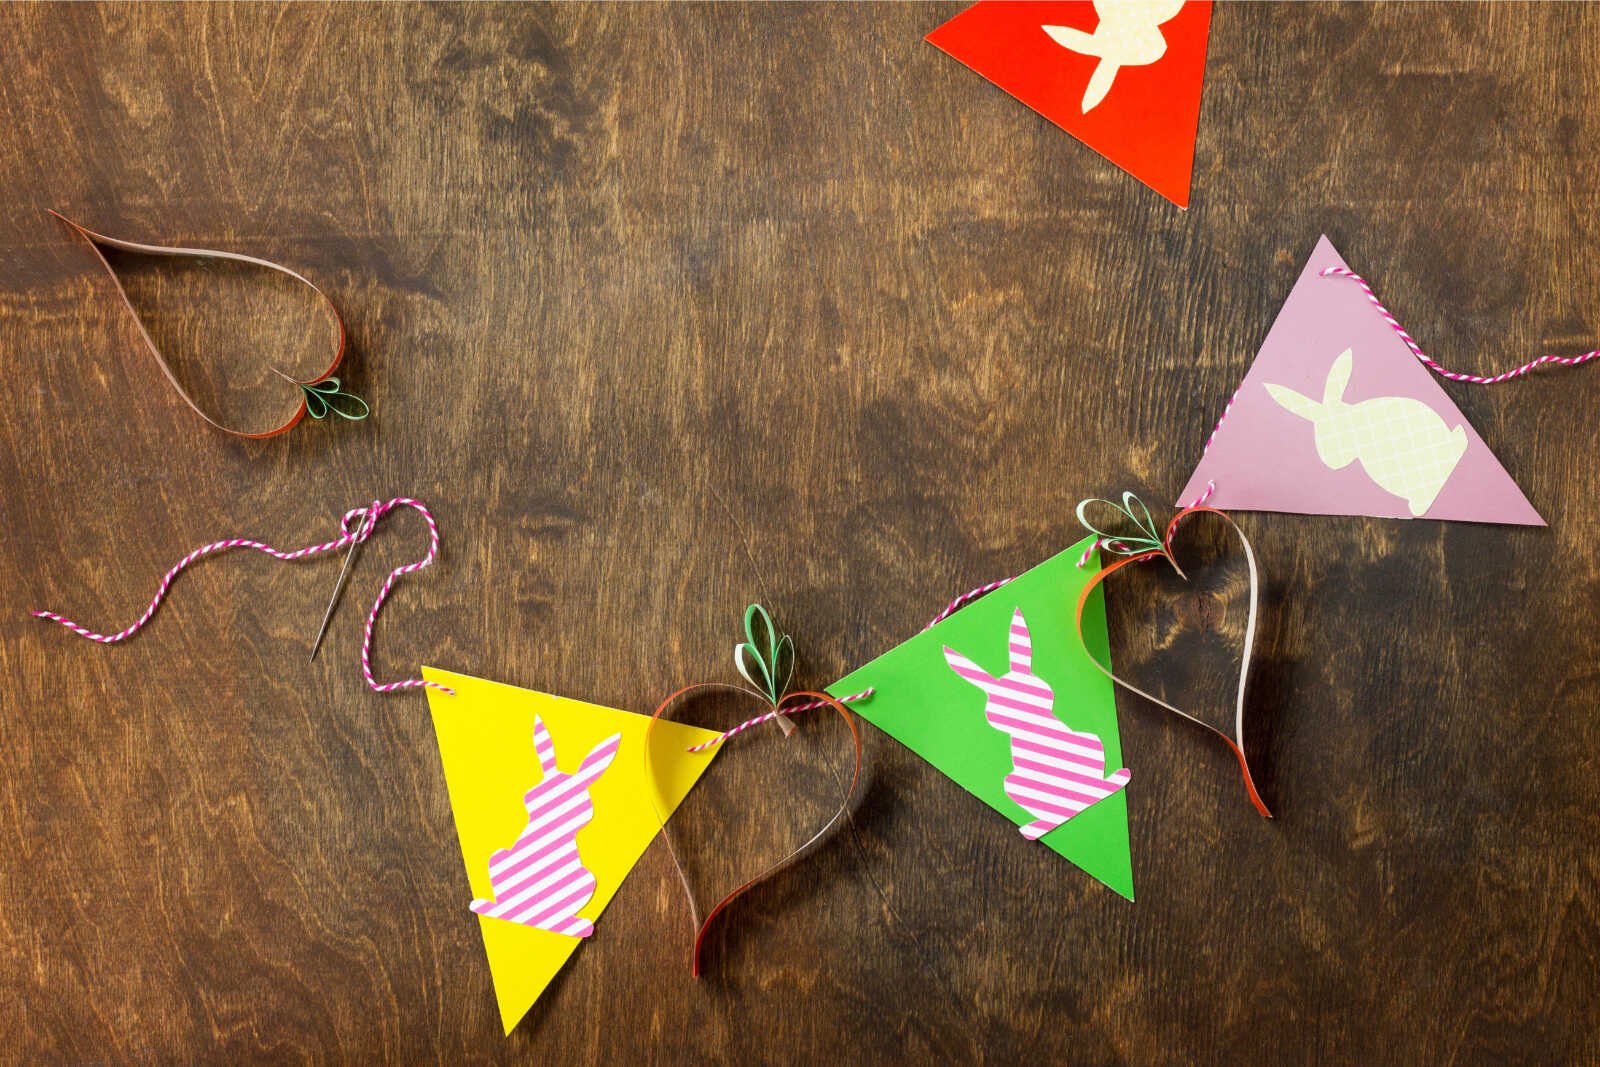
Once the main bunny banner is assembled, kids can add more decorations. Paper flowers, extra bunny cutouts, small bows, or carrot shapes all make the garland more playful.
The photos show colorful flower cutouts scattered among the supplies, which would be cute additions to the banner. Kids can glue flowers directly onto the pennants or tie them between the flags.
This is a fun step for creativity because there is no wrong way to decorate an Easter banner. Some kids may want a simple bunny garland, while others may want lots of flowers, carrots, and bright colors.
Step 9: Hang the Easter Bunny Banner
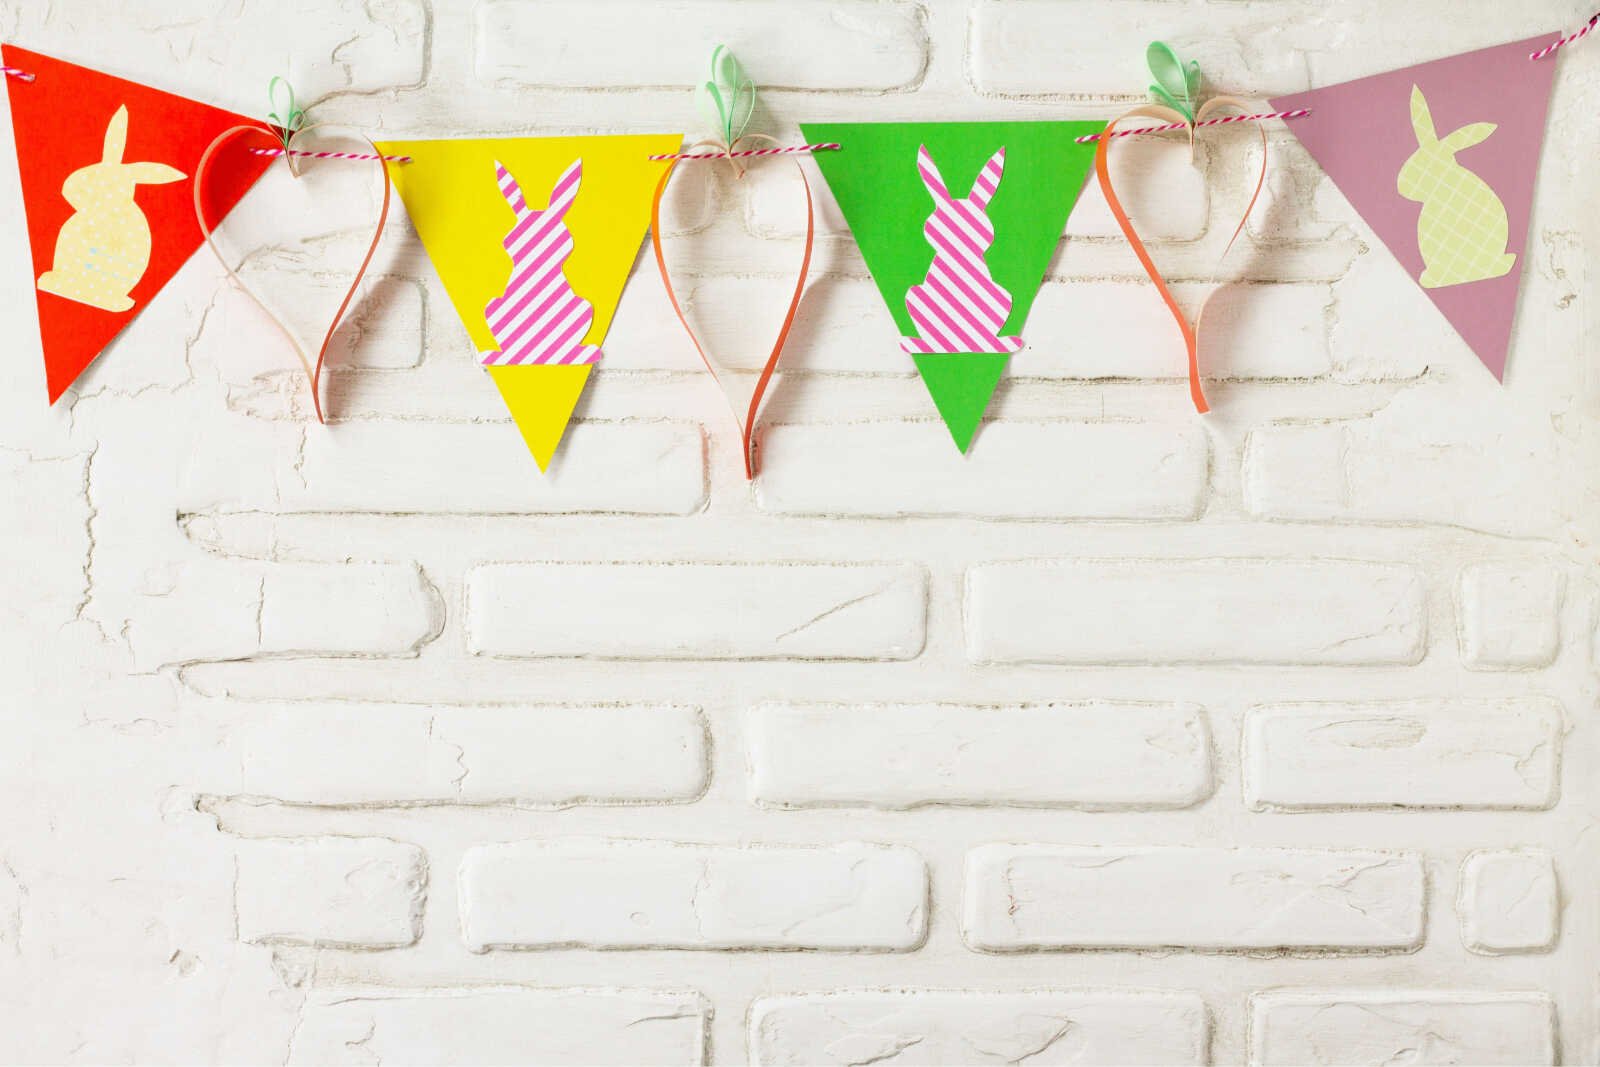
When the banner is finished, hang it on a wall, mantel, window, craft table, bookshelf, or Easter brunch display. The finished garland looks especially cute against a light wall or white brick background because the bright colors stand out.
You can also use it as a photo backdrop for Easter baskets, spring crafts, or kids’ Easter party pictures.
If the banner is made with cardstock, it should be sturdy enough to save and reuse. Store it flat or gently folded in a craft bin after Easter.
Tips for Making This Craft with Kids
For younger children, prepare the triangle flags and bunny shapes ahead of time. This lets them focus on gluing, decorating, and stringing the banner.
For older children, let them draw and cut their own bunny shapes. They can also experiment with different patterns, flag sizes, and carrot designs.
If you are making this craft with a group, set out bowls of pre-cut bunnies, paper strips, flowers, and triangle flags. Kids can choose their pieces and assemble their own mini Easter garland.
Easy Variations
This Easter bunny banner craft is easy to customize. Try making an all-pastel version with soft pink, lavender, mint, and yellow paper. For a rustic look, use kraft paper triangles with white bunny cutouts.
You can also turn this into a name banner by adding one letter to each triangle. This would be adorable for an Easter party, spring birthday, classroom display, or kids’ room decoration.
Another fun idea is to make each bunny different. Add cotton ball tails, pom-poms, bows, glitter paper, or tiny drawn-on details.
Why Kids Will Love This Easter Craft
Kids love this project because it combines cutting, gluing, threading, and decorating. It feels like a real handmade decoration they can proudly hang up when they are done.
The bunny shapes are simple and recognizable, while the paper carrots add a fun spring detail. This craft also works well for using up leftover scrapbook paper and construction paper from other projects.
Best of all, the finished Easter bunny banner is bright, happy, and easy to display. It is the kind of craft that makes your home feel ready for spring without needing complicated supplies.
Final Thoughts
This DIY Easter bunny banner craft is a sweet and simple way to celebrate the season with kids. With colorful triangle flags, patterned paper bunnies, playful carrot decorations, and cheerful twine, it creates a handmade Easter garland that looks festive and fun.
Whether you make it for an Easter party, classroom activity, Sunday school project, or afternoon craft at home, this paper bunny banner is an easy spring decoration kids will be excited to create and display.